


Setting up your restaurant
Wix Restaurants: Adding and Setting Up a Loyalty Program
Create a loyalty program to reward returning customers and attract new ones to order from your restaurant. Choose the actions that customers can do on your site to earn points, decide on the amount of points they get and the rewards you want to offer in return (e.g. a 20% discount).
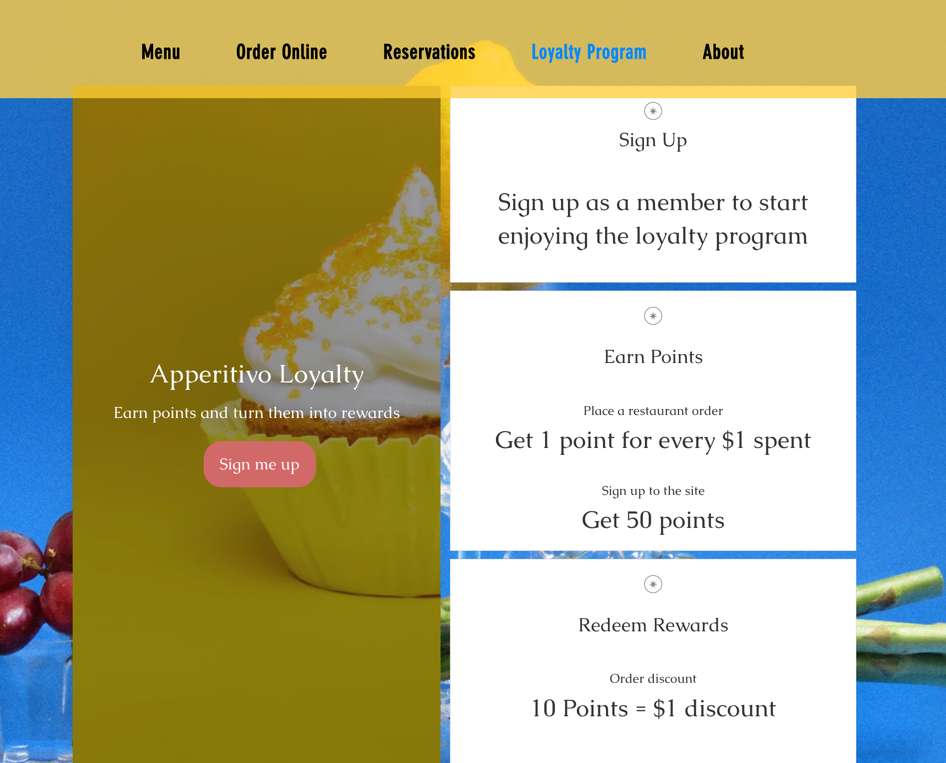
When you add Wix Loyalty Program to your restaurant or store, two customizable pages are added to your site:
Your Loyalty page includes your description of your loyalty program for visitors to see
Your My Rewards page allows signed-up members to log in to see their loyalty point balance and rewards
Set up your loyalty program, choose how your customers earn points, and customize the pages of your loyalty program on your site.
Important:
To launch your loyalty program, you must upgrade to a plan that includes accepting payments.
Step 1 | Create your loyalty program
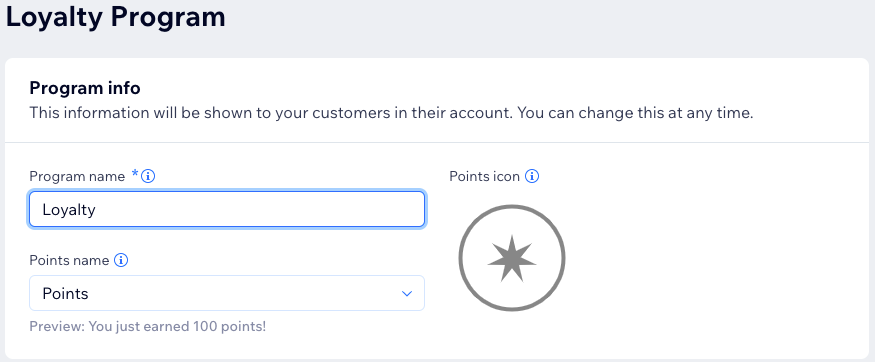
Create and customize your loyalty program to suit your customers and restaurant business. Set the title of your rewards program, give your points a unique name and icon.
To create your loyalty program:
Go to Loyalty Program in your site's dashboard.
Click Start Now.
Enter your loyalty program details:Program name: Add your loyalty program name.
Points name: Choose a name for your loyalty points. You can choose Points or create a custom name.
Points icon: Select a loyalty points icon.
6. Click Continue to Setup.
Step 2 | Choose how your customers earn points
Loyalty points are awarded to customers based on how much they spend on your restaurant site, excluding delivery and taxes. The number of points awarded is determined by multiplying the amount spent by the number of points given per $1 (in the currency that your account uses).
Example of a loyalty point calculation:
For every $1 spent the customer earns 10 points. The customers subtotal is $4.99, and earns 40 loyalty points. The amount of loyalty points awarded are based on the subtotal. Loyalty points are not earned for payments for delivery fees or taxes. Points are rounded down to the nearest whole number.
To choose how customers earn points:
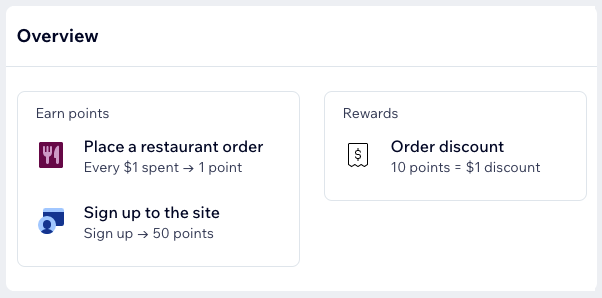
Click the Points and rewards tab.
Hover over Place a restaurant order and click Edit.
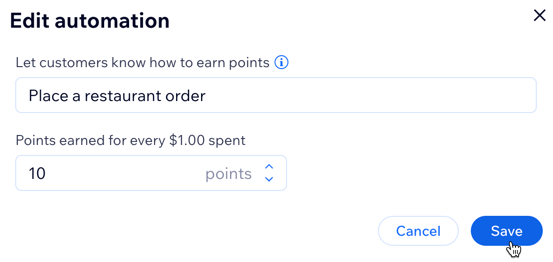
Enter your loyalty points details:Let customers know how to earn points: Describe what customers have to do to earn points.
Points earned for every $1.00 spent: Choose how many points are earned per $1 spent.
Click Save.
Step 3 | Set up your loyalty rewards
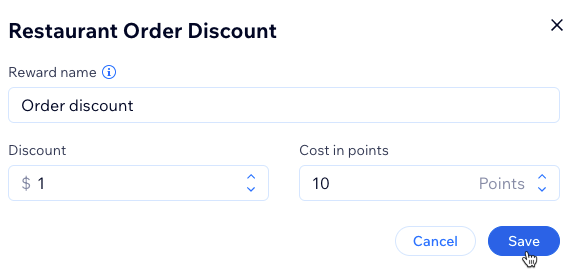
Choose a reward name and decide how your customers can redeem a reward. For example, a customer can redeem 10 points for a $1 discount.
To set up loyalty rewards:
Hover over Order discount and click Edit.
Enter your loyalty rewards details:Reward name: Enter a name for your reward.
Discount: Enter the discount amount.
Cost in points: Choose how many points need to be redeemed in order to receive a discount.
Click Save.
Step 4 | Decide whether to activate email automations
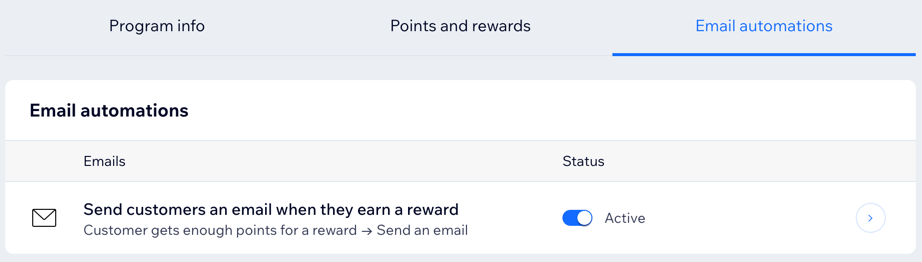
You can activate email automations so that customers will automatically receive an email when they earn a reward. Automatically notifying customers of new rewards encourages them to return to your site.
To edit email automations:
Click the Email automations tab.
Click the Status toggle to turn email automations on or off:Active: Customers automatically receive an email when they earn a reward.
Inactive: Customers do not automatically receive an email when they earn a reward.
Step 5 | Review and launch your loyalty program
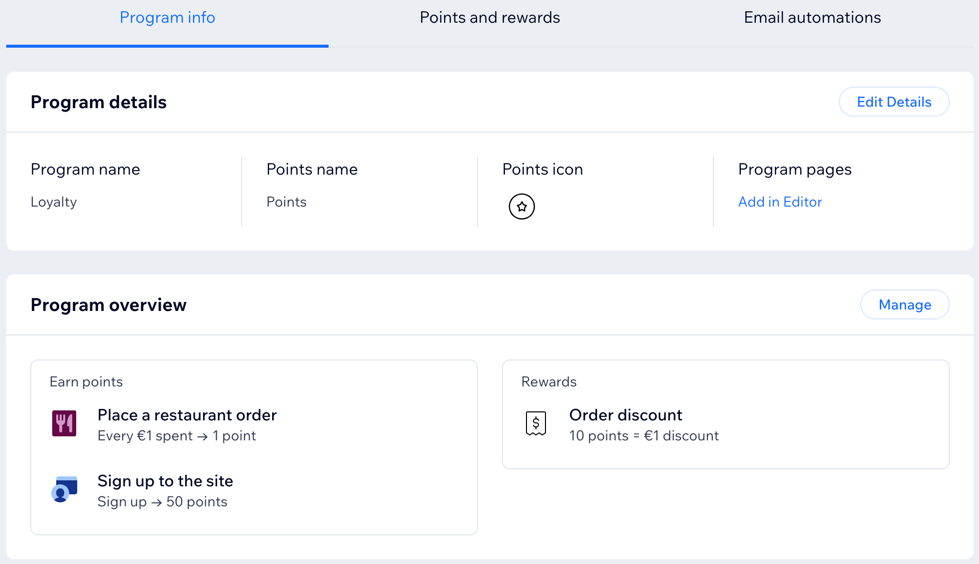
Review the details of your loyalty program before launching it. Check that you're happy with the ways your customers can earn points and redeem points.
To review and launch your program:
Click the Program info tab.
Review your Program details and click Edit Details to make any changes.
Review your Program overview and click the Points and rewards or Email automations tab to make any changes.
Click Launch Program at the top right of the page.
Click Launch Program again to confirm.
Click Add Widget to install the Loyalty widget and add it to the checkout page.
Click Add to Checkout.
Click Add to confirm.