Wix Forms FAQ
Wix Forms: Adding Payments to a Site Form
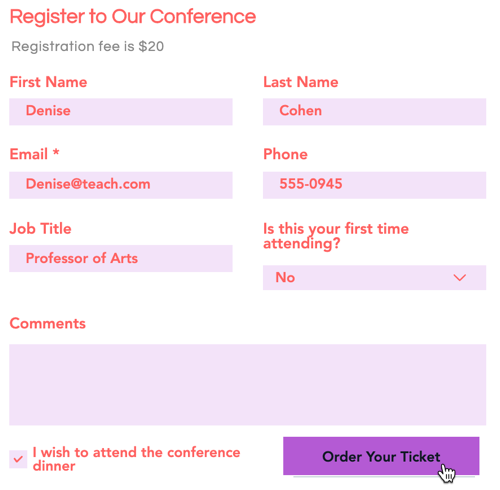
Add payments to forms to allow visitors to buy products, register for fitness classes, or purchase 1-1 services. Once a visitor submits the form, they are sent to a checkout page to complete their payment.
Before you begin:
Make sure you've connected your site to a payment method and upgraded your site.
How do I know if I'm using old Wix Forms or new Wix Forms?
This article will help you understand the differences between old and new Wix Forms.
Step 1 | Add a form to your site
Add a form to your site to gather valuable insights while allowing your visitors to submit inquiries, subscribe to newsletters, make purchases and more.
New Forms
Old Forms
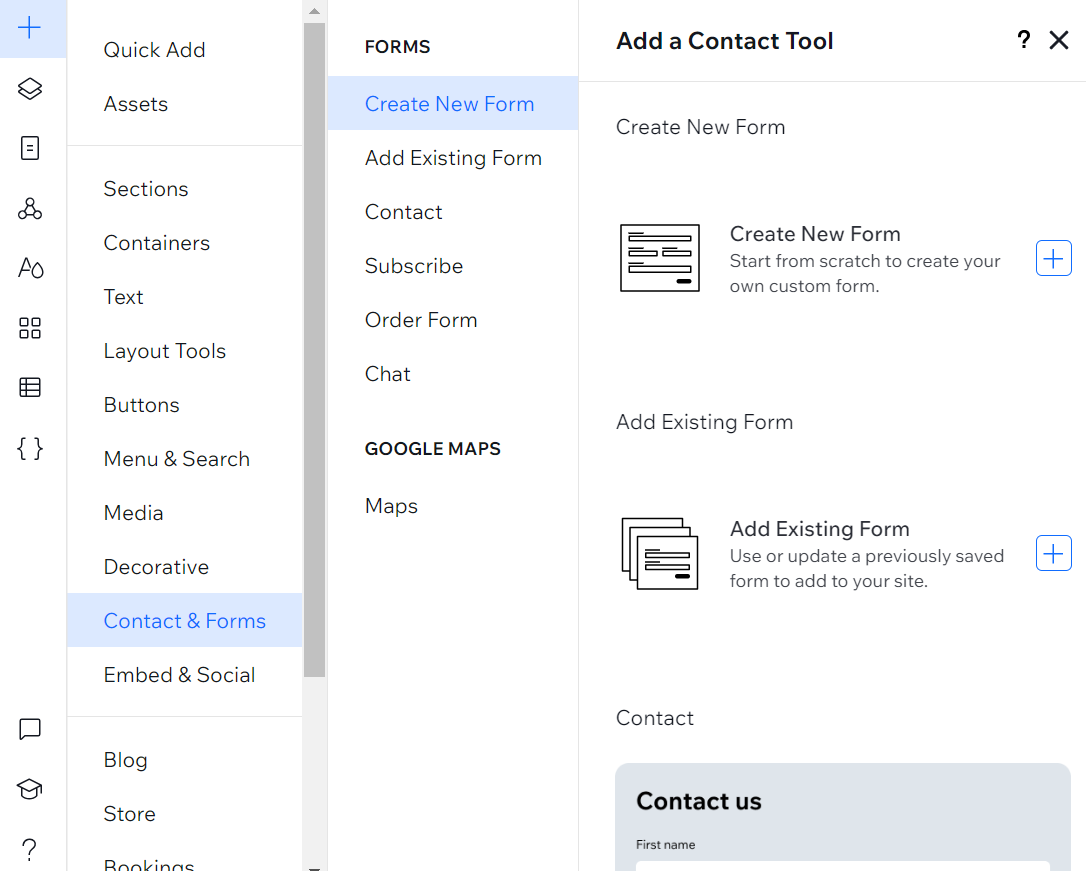
Click Add Elements
 on the left side of the editor.
Click Contact & Forms.
Choose from the following options:Create a new form.
Add an existing form.
Select a form template.
Drag the desired form onto the page.
Step 2 | Set up payments in your form settings
Now that you've added a form, it's time to set up the products or services that visitors will purchase through the form.
New Forms
Old Forms
Added an Order Form template?
These templates use the old Wix Forms. Follow the steps in the Wix Editor tab instead.
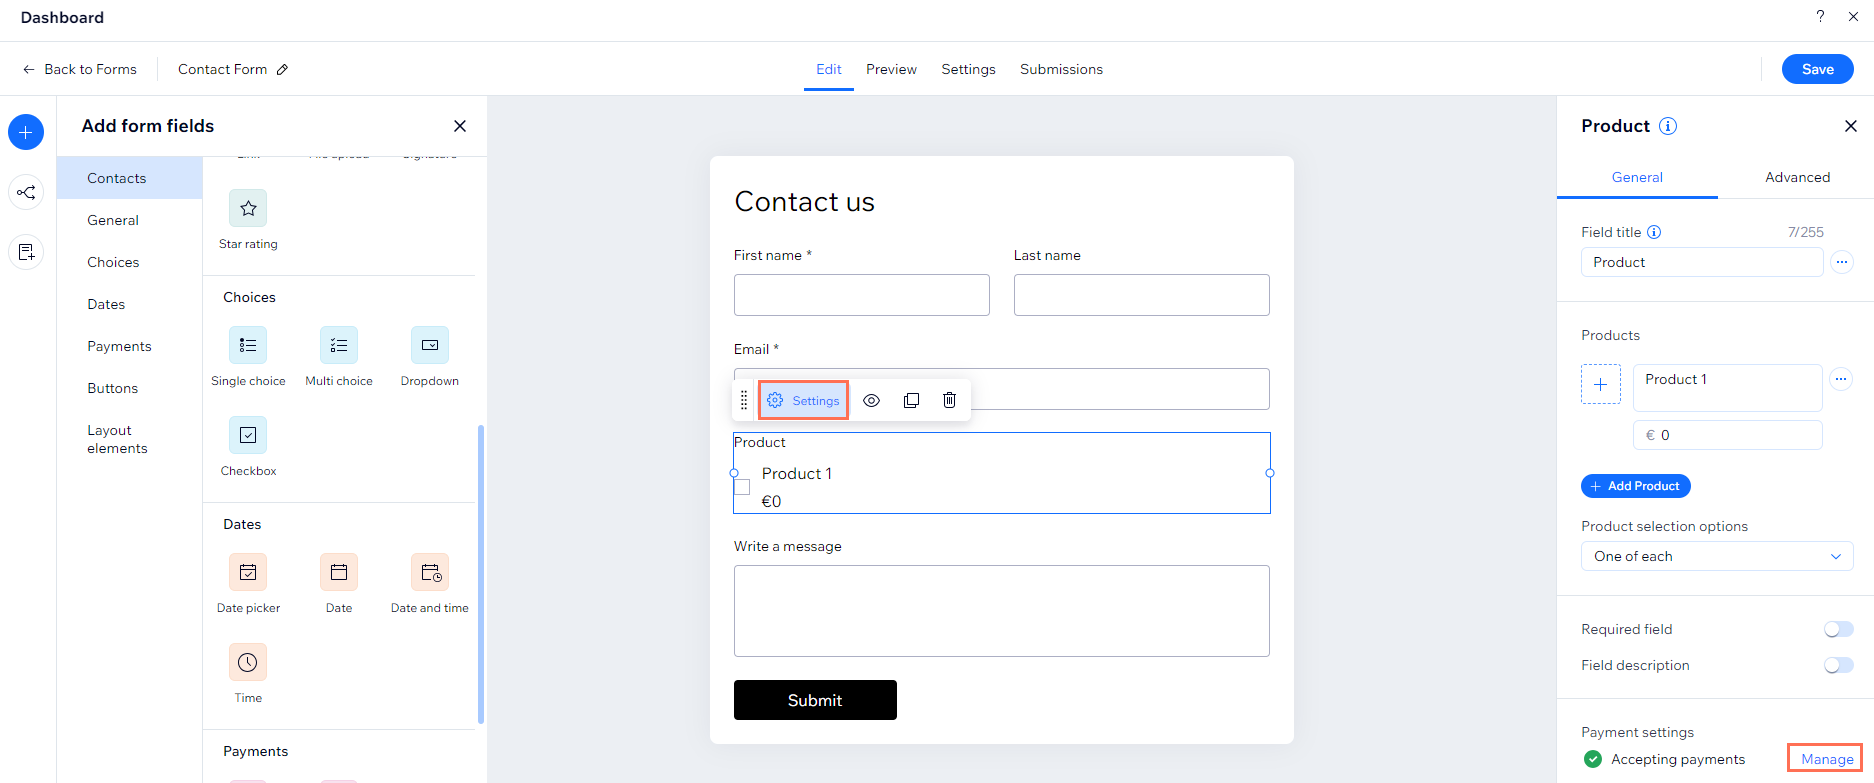
Click the form you want to add payments to.
Click Edit Form.
Choose one of the following options under Payments fields:Product: Sell products directly from your form.
Fixed price: Collect payments for services, registration fees, deposits and more.
Custom price: Let people choose the amount they want to pay.
Donation: Accept contributions for your cause or organization.
Click the General tab.
Depending on what payment option you select, follow the steps below.
Single Product
Give a short title that tells people what you are asking for in the field.
Note: To hide the title, click the More Actions icon then Hide field title.
Enter the name of your product, select an image and set the price for your product.
(Optional) Click the More Actions icon
 and select Check as default.
Set the product options that meets your needs:One of each: Offer one item on your form for a fixed price.
Multiples of any: Offer multiples of your item on your form for a fixed price.
Required field: Make this field mandatory for your visitors to fill out.
Field description: Add a note that gives details or instructions about the field.
Multiple Products
Give a short title that tells people what you are asking for in the field.
Note: To hide the title, click the More Actions icon then Hide field title.Enter the name of your product, select an image and set the price for your product.
Click Add Product to add more product(s).
Enter the details of your additional product(s).
(Optional) Click the More Actions icon
 to move products up or down your product list, check as default or delete products.
Set the product options that meets your needs:One of each: Offer one of each item on your form for a fixed price.
Multiples of any: Offer multiples of each of your items on your form for a fixed price.
Only one: Offer only one of your items on your form for a fixed price.
Required field: Make this field mandatory for your visitors to fill out.
Field description: Add a note that gives details or instructions about the field.
Fixed price
Give a short title that tells people what you are asking for in the field.
Note: To hide the title, click the More Actions icon, then Hide field title.Enter the payment amount(s).
(Optional) Enable the Required field toggle to make this field mandatory for your visitors to fill out.
Custom price
Give a short title that tells people what you are asking for in the field.
Note: To hide the title, click the More Actions icon, then Hide field title.Enter the minimum payment amount(s).
(Optional) Enable the Maximum amount toggle to set a maximum payment limit.
Set the payment options that meet your needs:Required field: Make this field mandatory for your visitors to fill out.
Field description: Add a note that gives details or instructions about the field.
Column display: Align your donation options in one, two or three columns.
Donation
Give a short title that tells people what you are asking for in the field.
Note: To hide the title, click the More Actions icon, then Hide field title.Enter the donation amount(s).
(Optional) Enable the Allow custom amount toggle to allow your users to set their own donation amount.
Set the donation options that meets your needs:Required field: Make this field mandatory for your visitors to fill out.
Field description: Add a note that gives details or instructions about the field.
Column display: Align your donation options in one, two or three columns.
Good to know:
Head over to the Advanced tab to edit the products field key and image size. A Field key allows you to quickly reference the product field in code. Image resizing lets you choose whether the image should fit or fill the product thumbnail.
Tip:
Write a few details about your product/service within your form to give your site visitors more information about what they're purchasing.
Step 3 | Connect a payment provider
The final step, before you can start collecting payment through your form, is connecting a payment provider that meets your needs.
Already connected a payment provider?
You can skip this step.
To connect a payment provider:
New Forms
Old Forms
Click Connect Payment.
Set up your payment provider in the Accept Payments tab.
(If you have not upgraded your site) Click Upgrade.
Click Back to forms to be taken back to your form setup.
(In the editor) Click Save.
Click Publish to see your form on your site.
Remember:
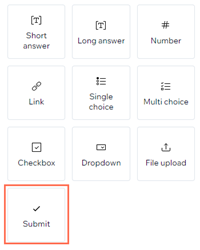
If you create your own form, remember to add a Submit field so your visitors can share their submissions.
What's next?
Design your form to tailor the form fields and background to your brand.
FAQs
Click a question below to learn more:
How do I see all the payments collected on the form?
To manage your payments go to Payments in your site's dashboard.
Note: If you're using a manual payment method, the transaction details are saved in the form's submissions table, but do not appear on the Transactions tab.
Are the sales I make using my form reflected in my site's product inventory?
No, the form is not connected to the site's product inventory. Go to the All Payments page to view your transactions.
How do I remove the payment option from my form?
If you're no longer selling the product or service, you can remove the payment option from the form. Visitors will no longer be sent to checkout.
To remove the payment option in the Wix Editor:
Select the form in your editor.
Click Form Settings.
Click the Payment tab.
Click the Settings icon
 next to Status: accepts payments.
Click Remove Payment.

Click Remove to confirm.
To remove the payment option in the Studio Editor:
Select the form in your editor.
Click Edit Form.
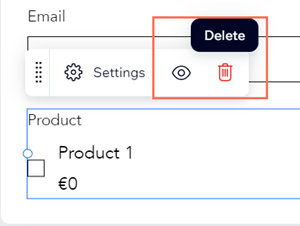
Select the Product field on your form.
Click Delete.
What if I see the error message: 'You're almost ready to get paid'?
If you connected a payment method to your form but didn't upgrade your site, you will see an orange alert on the Payment tab with the message "You're almost ready to get paid.' Click Upgrade to select a Premium plan and accept payments on your form.
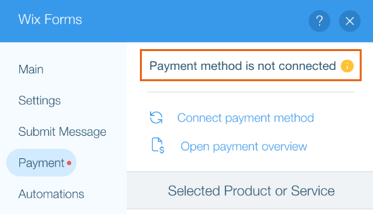
What if I see the error message: 'Payment method is not connected?'
If you have upgraded the site but have not connected a payment method to your form, you will see an orange alert on the Payment tab. Click Connect payment method to accept payments on your form.