


Promoting your event
Wix Events: Using Wix Automations to Promote an Event
The right action at the right time can convince a guest to purchase tickets or join your next RSVP event.
Using Wix Automations, you can select an action (such as the sending of a email) that occurs automatically when a trigger takes place (such as when someone becomes a site member or finishes an event).
Step 1 | Select a trigger
The trigger is the action that causes the automation to take place. For example, you can automatically send an email to guests when an event ends. In this case, the end of the event is the trigger.
To select a trigger:
Go to Automations in your site's dashboard.
Click + New Automation.
Click Start from Scratch.
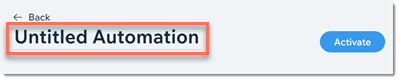
Enter a automation name.
Tip: Your guests won't see his name.
Select Wix Events.
Choose an event trigger:Guest purchases ticket
Guest RSVPs
Guest is added to waitlist
Event ends
Note: The event is considered ended when a guest is checked in.
Select an option from the Select which event triggers this automation drop-down:All events on site: This automation works for all your events.
Choose specific events: Select the events that work with this trigger.
Step 2 | Select an action
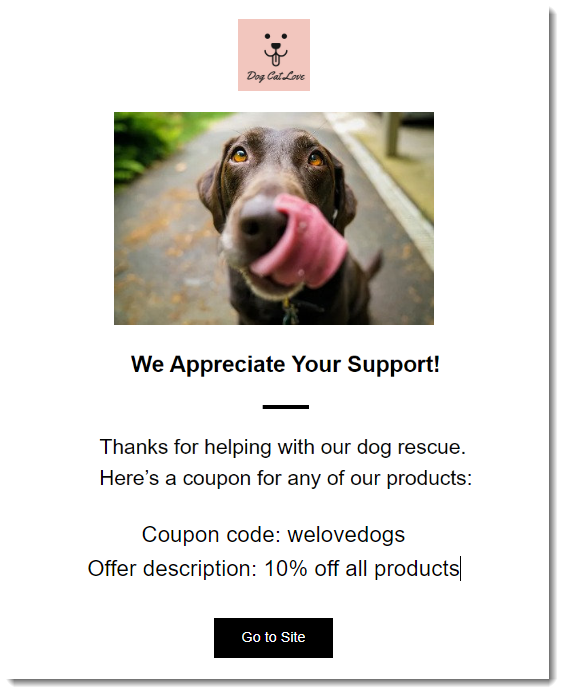
Now you can select what happens when the trigger has occurred. For example, you can send an email that contains a discount coupon for a future events.
To select an action:
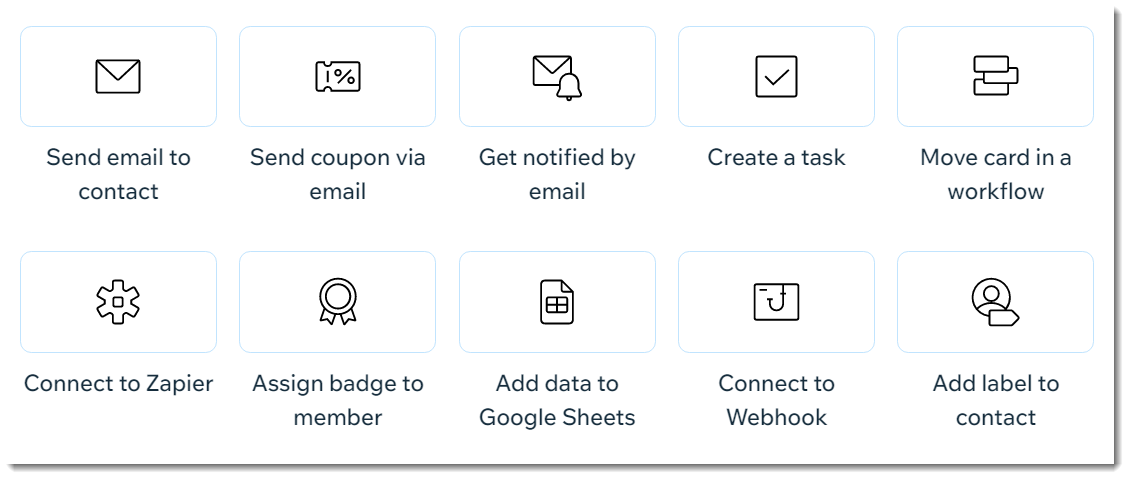
Click to select one of the available actions.
Enter the required information.
Note: This varies depending on the action you selected.
Step 3 | Set the timing and activate the automation
All that's left for you now is to choose when the action you selected occurs and whether it occurs more than once.
To set the timing & activate the automation:
Click the arrow next to Timing.
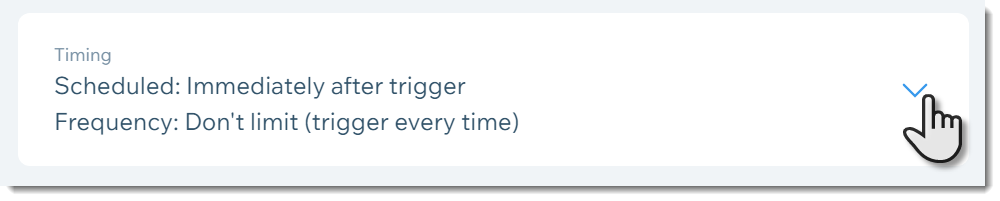
Click the drop-down under Choose a time to send this action and select an option:Immediately: The action is performed as soon as the trigger occurs.
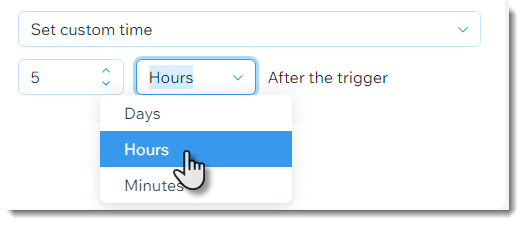
Set custom time: Click the up and down arrows to set the number and click the drop-down to choose between days or hours.
Click Activate to save activate the automation.