


Wix Bookings
Wix Bookings: The Essential Checklist for Professional Bookings Site Owners
Wix Bookings is an all-in-one online scheduling software that lets clients book appointments or sign up for classes and courses. The Wix online scheduler provides you with the industry-leading tools you need to manage and grow your business online.
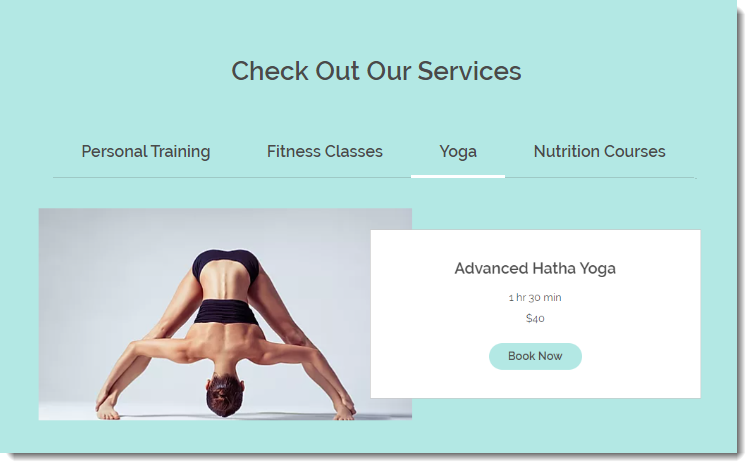
In this article, we'll walk you through the essential steps to taking your bookings online, and then show you how to manage your business efficiently and grow your online presence.
Setting up your business
While there are loads of special, optional features in Wix Bookings, we've listed the essential steps you need to complete before you can launch and start getting booked.
The essential checklist:
Choose a template: Start with a stunning Wix template.Select a template.
Create your services: Choose which of our 3 types of services are right for you.Create an appointment.
Create a class.
Create a course.
Take any of your services online.
Add staff members: Have people working for you? Add them to your team.Add staff members who provide services.
Let staff members manage their calendars.
Tip: The default staff member (you) is labelled "Staff Member #1". Don't forget to edit the name.
Set availability: If you provide appointment services, their availability is based primarily on your default work hours and the hours of staff members who provide the service.Set default work hours.
Set staff hours.
Customize how Wix Bookings is displayed on your site:Decide where to display services on your site (All together? On separate pages?).
Customize each of the pages your client sees as they select a service and book it:Service List
Service Page
Calendar Pages
Booking Form
Confirmation Page
Checkout Page
Members Area
Set how you collect payment:Connect a payment provider (Wix Payments, Stripe, PayPal, etc.) to accept credit/debit cards and other payment methods online.
Choose how you'd like clients to pay for each service (Pay when booking? Pay when arriving?).
Offer clients membership plans or packages.
Add your business details: Set up your business address, currency, time zone etc.
Upgrade your site & connect a domain: Upgrade so clients can start booking services.Purchase the right Premium Plan for your business.
Get your own domain (available for free for 1 year with some Premium Plans).
Publish your site: Ready to go live? Click "Publish" and share your site with the world.
You might also want to:
Sync calendars:Sync you and your staff members' personal calendars (Google or Apple) with the Bookings calendar.
Create booking rules & policies: Set limits on when clients can book or cancel.Set how far in advance and how close to a session clients can book
Set your cancellation policy
Customize your bookings form: Clients fill out a form while booking.Edit the form fields to collect the info you need.
Personalize your automated emails: Edit the email text to match your brand's style. Learn more about outbound client emails
Managing your business
Now that your business is up and running, it's time to manage the bookings you have coming in.
Manage clients via the Wix app: Manage your business anytime - anywhere.Get the app
Invite clients to book on the app
Enable waitlists
Mark attendance
Update payment status
Contact session participants
Manage clients on desktop:Enable waitlists
Mark attendance
Update payment status
Send clients automated reminders:Send SMS reminders
Email reminders
Growing your business
Once your business is running smoothly, it's time to let the world know about it. Wix offers lots of ways to get the word out and keep clients engaged. Here are some ideas to get you started.
Market your business:Create social posts to share on Facebook and Instagram.
Share a service on social media.
Offer discount coupons.
Send an email marketing campaign.
Integrate with marketing tools.
Create a community:Blogs are great for sharing ideas and attracting new clients.
Add a forum to foster lively discussion.
Invite clients to complete challenges you create for them.
Let members chat with each other.
Use Wix Chat to increase business:Communicate with your clients.
Use a lead capture form when you're offline.
Request payment through chat.
Improve your site's SEO: Take action so potential clients can find you on Google:Learn the SEO basics.
Use the SEO Setup Checklist to get found.
Analytics: Get business data to help optimize your business.Check out your stats.
Tip:
To configure the SEO settings of the new version of the Service Page, click Edit SEO Settings in the Marketing & SEO panel. This is a feature of the new Service Page and is not yet available to all users.

You can learn more about configuring the SEO settings here.To access a suite of tools made specially for promoting your services and attracting clients, click Promote your service in the Marketing & SEO Panel.
