


Setting up shipping & fulfillment
Wix Stores: Setting Up Local Delivery
Important:
We're in the process of rolling out new shipping settings. If you have a Create Region button instead of Add Region, then you have the new version.
Cater to your local customers by setting up a hand-delivery option. You can set up delivery within a specific time frame (e.g. 1-2 business days).
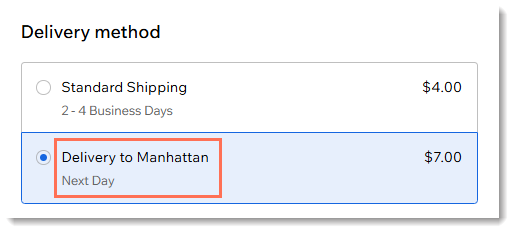
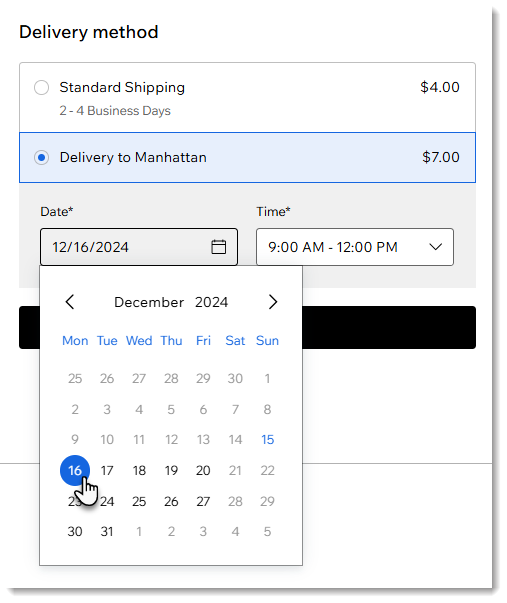
Alternatively, you can let customers select the day and time they prefer to receive the order.
Before you begin:
If you haven't done so already, create the relevant shipping region. For example, to set up local delivery in New York city, first create a shipping region for the US. Learn how to create a shipping region.
Step 1 | Name the delivery area & set a rate
To get started, give your delivery area a name and decide on a price. The name and price appear in the Cart (if the display of delivery rates is enabled) and on the Checkout Page.

To set a delivery area name and price:
Go to Shipping & fulfillment in your site's dashboard.
Select the relevant region (e.g. United States).
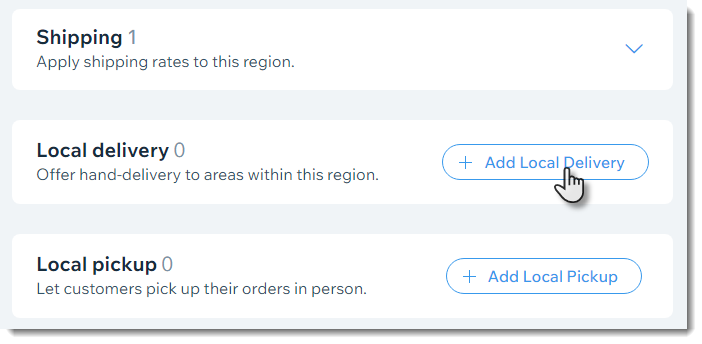
Click +Add Local Delivery.
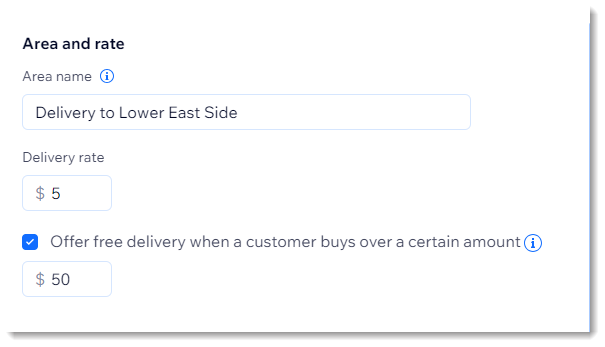
Enter an area name (e.g. Delivery to Lower East Side).
Enter your delivery rate (e.g. $5).
(Optional) Offer free delivery to customers who make purchases over a set amount:Select the Offer free delivery when a customer buys over a certain amount checkbox.
Enter the amount.
Note:
You can add up to 50 local delivery areas per region. For example, if you set up the US as a shipping region, you can add up to 50 local delivery areas in the US.
Step 2 | Define your delivery area
There are 3 methods you can use to define your delivery area. You can set a radius around an address, draw a map, or select postal codes (zip codes) to mark the area.
Define an area by radius
Choose an address as the center point of a radius. You can choose your business address or any other address. Then, set how large your radius is.

To define an area by radius:
Select Radius under Set area by.
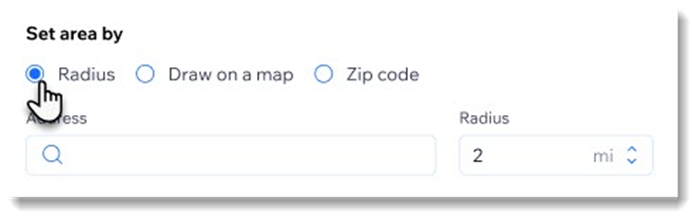
Enter an address.
Tip: This is the center point of your radius.Use the up / down arrows to increase or decrease the radius size.
Define an area by postal code
You can enter complete postal codes (also known as zip codes or post codes) or save time by entering partial postal codes with an asterisk.
Tips:
Some countries have short and long versions of postal codes (e.g. 10118 and 10118-9998). When customers check out, the longer version is usually added automatically. To make sure your postal codes work with the longer version, we recommend adding an asterisk at the end of short postal codes you use to define an area (e.g. 10118*).
Postal codes work differently in each country. Make sure to check how they work in your region.
For example, to deliver to the Lower East Side in New York, you can enter the 3 zip codes that make up the area, 10002, 10003, 10009. To deliver to all of Manhattan, you can enter the number one hundred with an asterisk (100*), since all zip codes starting with 100 are in Manhattan. This saves you the trouble of entering all 43 Manhattan zip codes. Learn more about defining a delivery area by postal codes.
To define an area by postal codes:
Select Zip / postal codes under Set area by.
Select any of the following options:Enter one or more complete postal codes and press Enter on your keyboard after each entry.
Enter a partial postal code with an asterisk to encompass a larger area and press Enter on your keyboard after each entry (e.g. Enter 100* for all 43 Manhattan zip codes which all start with 100). Learn more

Draw a map to define an area
The site address you entered in the dashboard is your default starting point. You can enter another address to replace it. Then, move any of the points 8 points at the edges of the map to draw the required shape.
To draw a map:
Select Draw on a map under Set area by.
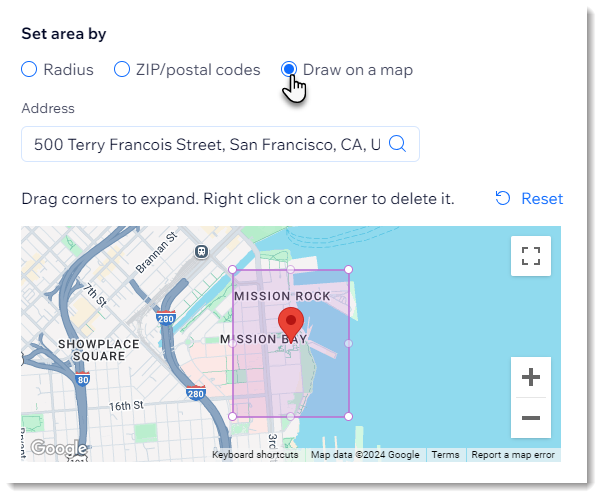
(Optional) Enter a different address.
Tip: This is the center point.Click and drag the corners of the shape to customize the delivery area.
Step 3 | Define delivery days & time frames
Now that you have set up where you deliver to and how much you charge, you can decide on the timing.
There are 2 ways to set up delivery days and time frames. The first option is to let your customer select the delivery time slot they prefer from a calendar.
Alternatively, you can set one delivery option and add a short message (e.g. Same Day) so users know when to expect their order.
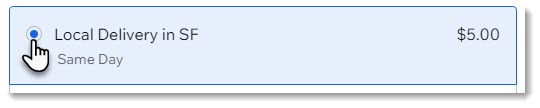
Set up a single delivery option
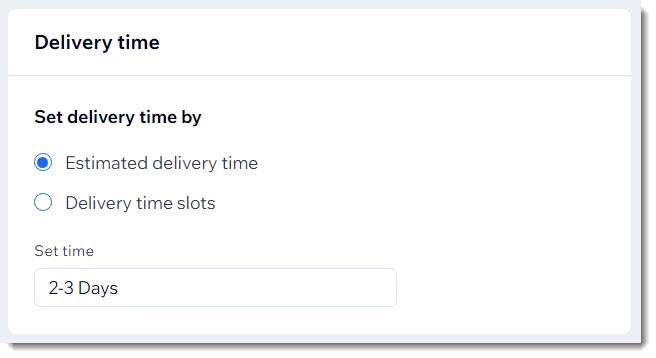
Select the Estimated delivery time option.

Enter an estimated delivery time (e.g. 2 - 3 Business Days).
Click Apply.
Set up scheduled delivery (Customer chooses the delivery date)
Select the Delivery time slots option.

Select checkboxes next to the days you deliver.
Select when your delivery hours start and end from the From and Until drop-downs.
(Optional) Click the Plus icon
 next to any time slot to add an additional slot to the same day (up to 8 time slots per day).

Choose the delivery type and conditions:
Same day delivery: Customers can choose to get delivery on the day they orderCut-off time for same day delivery orders: Enable the toggle to set a cut-off time in which you stop accepting orders for same day delivery, and enter the latest time a customer can place and order and receive it on the same day.
Next day delivery: Customers can choose to get delivery on the next day:Cut-off time for next day delivery orders: Enable the toggle to set a cut-off time in which you stop accepting order for next day delivery, and enter the latest time a customer can place an order and receive it on the next day.
Minimum 2 days delivery: Customers can choose to get delivery in 2 or more days.Enter the minimum number of days it will take to deliver the order after your customer places it.
Click Add Area.
Click Apply.
Tip:
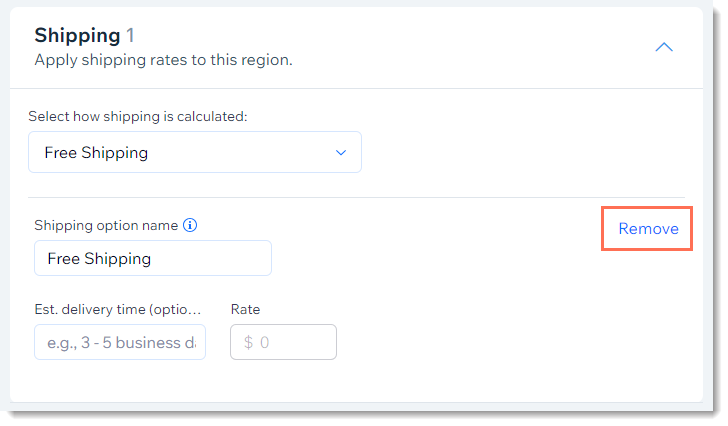
When you create a shipping region, a default Free Shipping rule is created. You can edit this rule, replace it with another shipping rule, or remove the shipping rule completely.
Step 4 | Setting up your Order tab
To get a clear picture of which orders you need to fulfill on specific days and at specific times, add the "Delivery Method" and "Delivery Time" columns to the Orders tab.

FAQs
Click a question below to learn more about local delivery.
Can I create a store pickup option in addition to local delivery?
Yes, you can also set up a store pickup option. At checkout, your customers can choose which option they prefer.
Is it possible to specify a cut-off time before which a customer needs to place their order for a single delivery option?
No, when you set up a single delivery option, you cannot specify that customers need to place orders before a specific time. This is true whether you select Estimated delivery time or Delivery time slots.
Is it possible to specify a cut-off time before which a customer needs to place their order with scheduled delivery?
When you set up scheduled delivery, you can choose from 3 delivery types: same day, next day, or minimum 2-day delivery. You can specify a cut-off time for the first 2 options.

In other words, you can specify that customers who place orders before 2:00 PM will receive their orders on the same day / next day. You cannot set a cut-off time when you select the Minimum 2-day delivery option.
To specify a cut-off time:
Select Same day delivery or Next day delivery.
Click the Cut-off time for same/next day delivery orders toggle to enable it.
Enter a cut-off time.