


Designing your store
Wix Stores: Setting How Customers View More Products in Your Product Gallery
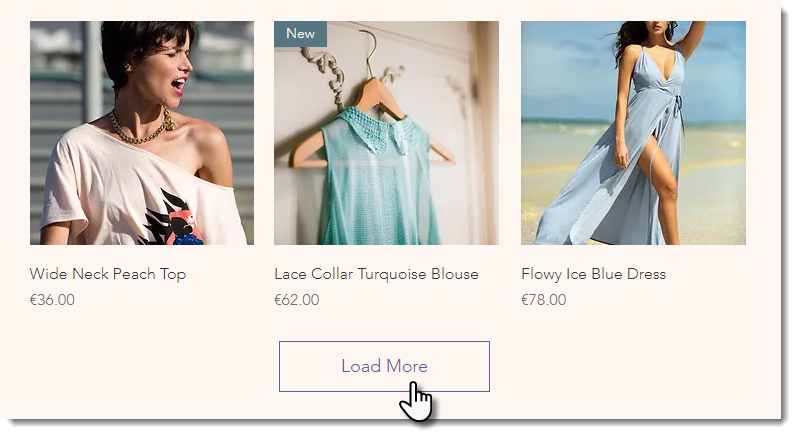
By default, when there are a large number of products in a Product Gallery, customers can click a Load More button to view additional products.
You can replace your Product Gallery's "Load More" button with pagination or infinite scroll.
In this article, learn more about:
Tip:
Adjusting the number of rows and columns in the gallery affects how many products are displayed per page. Go to the Layout tab in the editor settings to adjust the rows and columns.
Setting up the "Load More" button
You can customize the colors, font, and shape of the "Load More" button to match your site's design.
To enable and customize the "Load More" button:
Go to the page with the Product Gallery you want to customize.
Click the gallery on your page.
Click Settings
 .
.Click the Settings tab.
Select Scroll Behavior.
Select Load More button.
Edit the button text:Click the Text tab.
Edit the "Load More" button text.
Edit the "Load Previous" button text.
Edit the button design:Click the Design tab.
Click Load More/Previous button.
Choose what you want to customize:Text font and color: Select a text font and color.
Style: Select a button style.
Background opacity and color: Select the background color and change the opacity.
Border width (px) and color: Select the border color and change the border width.
Corner Radius (px): Make the button corners rounder (higher number) or more square (lower number).
Button Width: Change the width of the button.
Setting up pagination
Add pagination and customize the look. If your store has a lot of pages, you can add arrows that direct to the first and last page
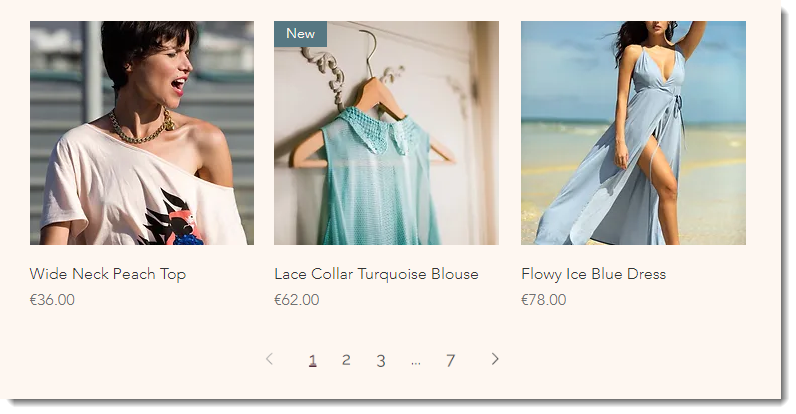
To enable and customize pagination:
Go to the page with the Product Gallery you want to customize.
Click the Product Gallery on your page.
Click Settings
.Click the Settings tab.
Click Scroll Behavior.
Select Pagination.
Customize the layout:Click the Layout tab.
Select Pagination.
Select a pagination style.
Click the First/Last arrows toggle to add a set of arrows that direct to the first and last page.
Align the pagination left, right, or center.
Customize the pagination font:Click the Design tab.
Click Pagination.
Select a font for the arrows and page numbers.
Select a color for the page the customer is viewing.
Setting up infinite scroll
With infinite scroll, customers can keep scrolling through all your product without clicking to move from page to page.
To enable infinite scroll:
Go to the page with the Product Gallery you want to customize.
Click the Product Gallery on your page.
Click Settings
.Click the Settings tab.
Click Scroll Behavior.
Select Infinite scroll.
FAQs
Which method of viewing more products is best for SEO?
No matter which method you choose, each page has a separate URL. For example:
First page URL: https://www.mystunningwebsite.com/shop
Second page URL: https://www.mystunningwebsite.com/shop?page=2
Having a separate URL helps boost your gallery's SEO ranking.
Can I set how many products are displayed on my mobile site before the "Load More" button appears?
On your mobile site, the "Load More" button is always displayed after 10 products.