Managing store inventory
Wix Stores: Notifying Customers when Products Are Back in Stock
Make sure you don't miss out on potential sales when items are out of stock.

Note:
Collecting customer requests, and sending automated notifications to customers, are enabled separately.
In this article, learn more about:
Video tutorial
Check out this short video tutorial, or scroll down to read the full article.
Collecting customer requests
Enable customer requests so that your customers can let you know they're interested in an out-of-stock item.
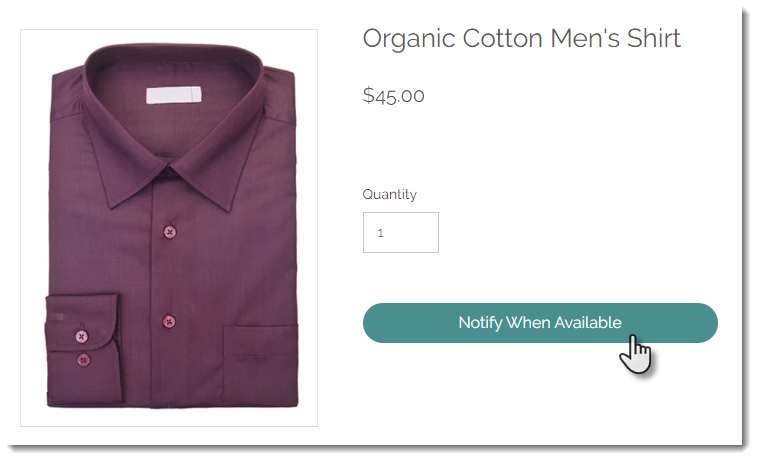
Once enabled, every time a customer requests to be notified, the following happens:
The "Add to Cart" button changes to "Notify When Available" when an product is out of stock.
You get an email notification.
The request appears in the Back in Stock Requests tab in your site's dashboard.
The customer gets notified when the item is back in stock (unless you deactivated this option).
To start collecting customer requests:
Go to the Back in Stock Requests tab in your site's dashboard.
Click Start Collecting Requests.
Activating customer notifications
After you start collecting requests, you can activate automated notifications so that customers get an email when the product they like is back in stock.
To activate automated notifications:
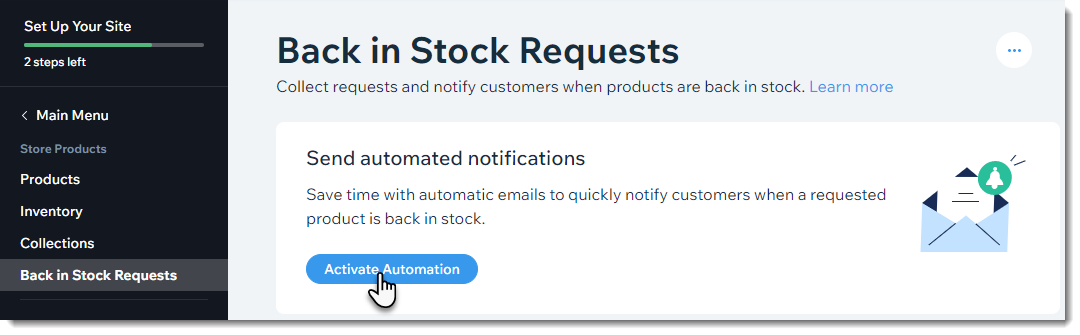
Go to the Back in Stock Requests tab in your site's dashboard.
Click Activate Automation.
Customizing the notification email
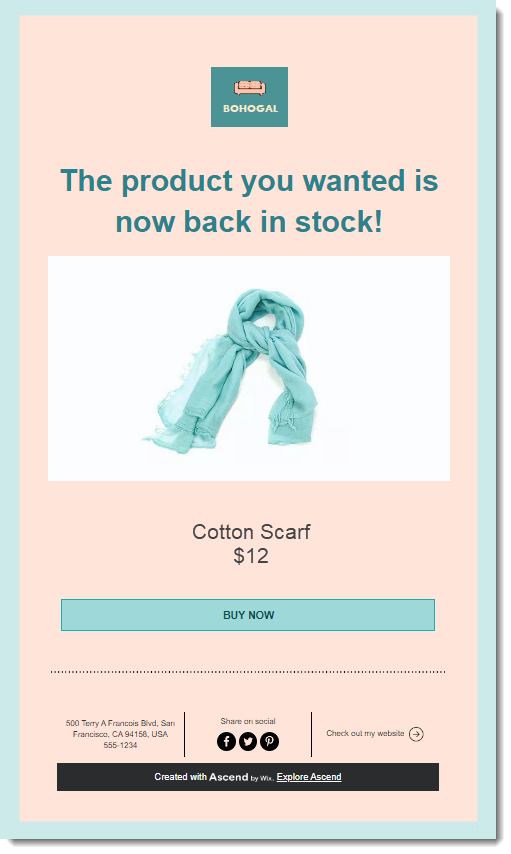
Your customers receive an email when the product they're interested is back in stock. The email has a "Buy Now" button to make it easy for customers to purchase it.
Make sure you customize the design of the notification email so it matches your store's branding.
To customize the design of the notification:
Go to the Back in Stock Requests tab in your site's dashboard.
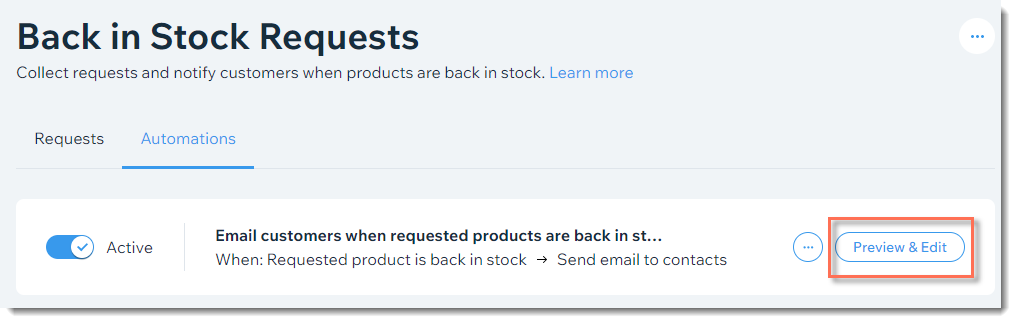
Click the Automations tab.

Click Preview & Edit.
Edit the Sender Details:Click Edit.
Edit the "from" name.
Note: Enter a name customers recognize like your business name.
(Optional) Edit the reply-to email.
Tip: This is where emails are directed if customers reply.
Click Save.
Customize the notification:Click Edit Template to customize the text and design of the notification.
Tip: Click Add and then Logo to display your logo at the top of the notification.
Click Save & Publish.
Tip:
To see what the email looks like when sent to customers, go back to the Automations tab, click Preview & Edit again and select Preview & Test.
From there you can click Send Test Email and enter your details to get the notification sent to your inbox.
Pausing the back-in-stock feature
You can pause the collecting requests feature so customers can no longer sign up to get notified. You can also pause the sending of back-in-stock notifications to customers - or stop both.
Note:
If you stop collecting new requests, customers who requested notifications still receive them, as long as automated notifications is still enabled.
To pause the back-in-stock feature:
Go to the Back in Stock Requests tab in your site's dashboard.
Stop collecting requests:
Note: When an item is out of stock, the "Add to Cart" button text changes to "Out of Stock".Click the More Actions icon at the top right.
Click Pause requests.
Click Pause requests to confirm.
Stop sending automated back-in-stock notifications (available if you haven't stopped collecting requests):
Note: Customers will not be not notified when you restock an item.Click the Automations tab.
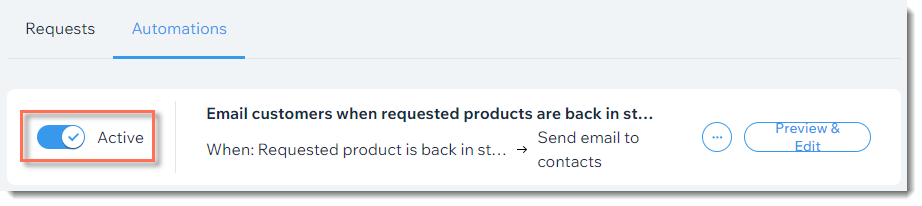
Disable the Active toggle.