


Promoting stores sales
Wix Stores: Creating a 'Buy X, Get Y Free' Coupon
Encourage your customers to buy extra items with a "Buy X, get Y free" coupon (e.g. buy 2 posters, get 1 free). The least expensive item is the free one.

Tip:
You can also use automatic discounts to create additional types of buy X, get Y discounts. Using this option, customers won't need to enter a coupon code. Additionally, the "Y" can be a reduced price, not only a free item (buy 2 hats, get 1 at 50% off).
In this article, learn more about:
Creating a 'Buy X, get Y free' coupon
You can create a new coupon directly from your site's dashboard. Choose how many products your customers need to buy to get one or more products for free.
To create a "Buy X get Y free" coupon:
Go to Coupons in your site's dashboard.
Click + New Coupon.
Select Buy X get Y free.
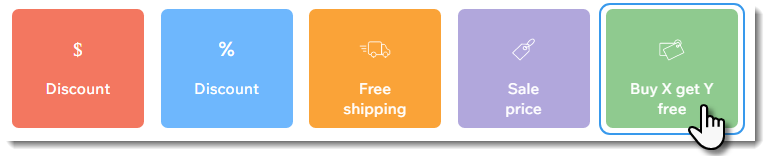
Enter the Coupon code customers need to enter.
Enter the Coupon name.
Note: This name appears in the cart page and your site's dashboard.Set up the coupon offer:Buy: Enter the number of products customers must purchase to get free product(s).
Get: Enter the number of products customers gets free.
Select an option from the Apply to drop-down:All products: Applies to all products.
Specific product: Applies to one product. Click the Product drop-down and select the product.
Specific category: Applies to all the products in a category. Click the Category drop-down and select the category.
Select when the coupon is valid:Enter the start date.
Enter the end date, or select the Don't set an end date checkbox.
(Optional) Select the checkboxes next to the limits you want to apply:Limit the total number of uses for this coupon: Enter the total number of times the coupon can be used.
Tip: Multiple purchases by the same customer are counted individually.
Limit to one use per customer: Each customer can use the coupon only once.
Click Create Coupon.
FAQs
Click a question below to learn more about coupons.
How can I apply a coupon to a group of products?
To apply a coupon to a group of products, create a new category and add all the relevant products. No need to display this category on your site - it can be used only for the sale.
Can this coupon apply to product subscriptions?
No, Buy X, get Y free coupons cannot be applied to product subscriptions.
Why isn't the promo code visible on the cart page?
The promo code may not be visible because you hid it or because the text color blends in with the background color.
Learn how to unhide the "Promo Code" link and select a font color.
Are coupon codes case sensitive?
No, coupon codes are not case sensitive. Customers can enter your codes without using the same case.
For purchases with the manual payment method, when does the number of available coupons update?
If you limited your coupon use to a set number of coupons (e.g. available for the first 100 shoppers), every time a coupon is used, it's counted. When a customer pays you offline, the coupon count is updated when you mark the order as paid.
How can I promote or share my coupon?
Use the Promote link to easily create an email marketing campaign or social post for any of your coupons.
To promote your coupon:
Go to Coupons in your site's dashboard.
Click the More Actions icon
 next to the relevant coupon.
Select Promote.
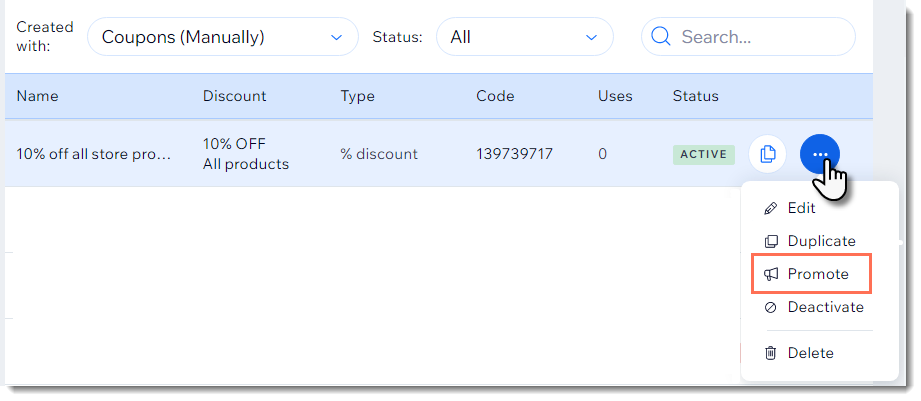
Select a promotion option:Send a social post. Learn more about social posts.
Send an email marketing campaign. Learn more about email marketing campaigns.
Can I create a coupon with unique coupon codes for each use?
Yes. You can use the Bulk Coupon Creator app to generate up to 1000 unique codes per coupon.
Can I offer discounts without coupon codes?
Yes, you can also offer products at a sale price or provide automatic discounts.