


Designing your store
Wix Stores: Adding and Setting Up a Wishlist
Let your customers keep track of their favorite products by adding them to a wishlist.
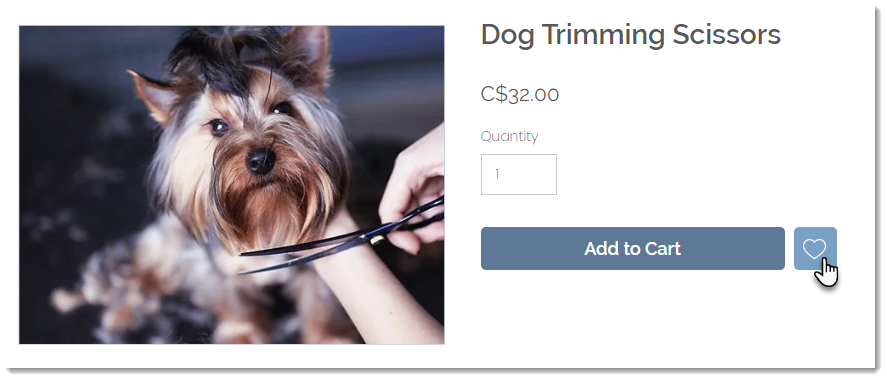
Later, they can review wishlisted items and choose which ones to purchase.
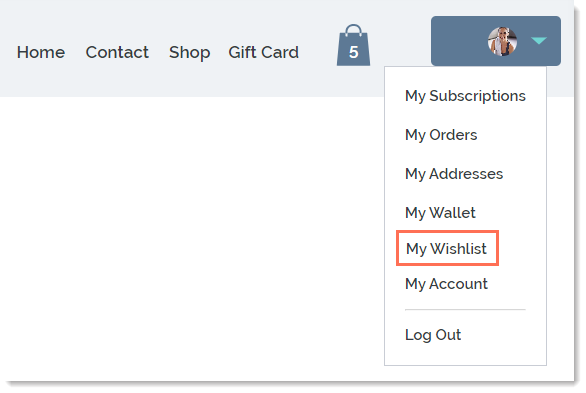
Step 1 | Adding and customizing the wishlist icon
Add a wishlist icon to the Product Page so customers can keep track of their favorite products. Then, customize the icon to suit your site's design.
Note:
The wishlist icon appears next to the button you display in the Product Page ( i.e. next to the "Add to Cart" or "Buy Now" buttons). If you don't display these buttons, the wishlist icon itself turns into a button with text.
Wix Editor
Studio Editor
Go to your Product page:Click Pages & Menu
 on the left side of the editor.
Click Store Pages.
Click Product Page.
Click the Product Page element on your page.
Click Settings.
Click the Wishlist tab.
Click Add Wishlist.
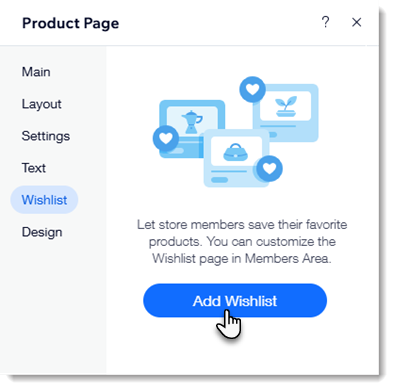
Click the Product Page in the editor again.
Click Settings.
Click the Wishlist tab.
Customize the button using the available customizations.
Step 2 | Customizing the My Wishlist page
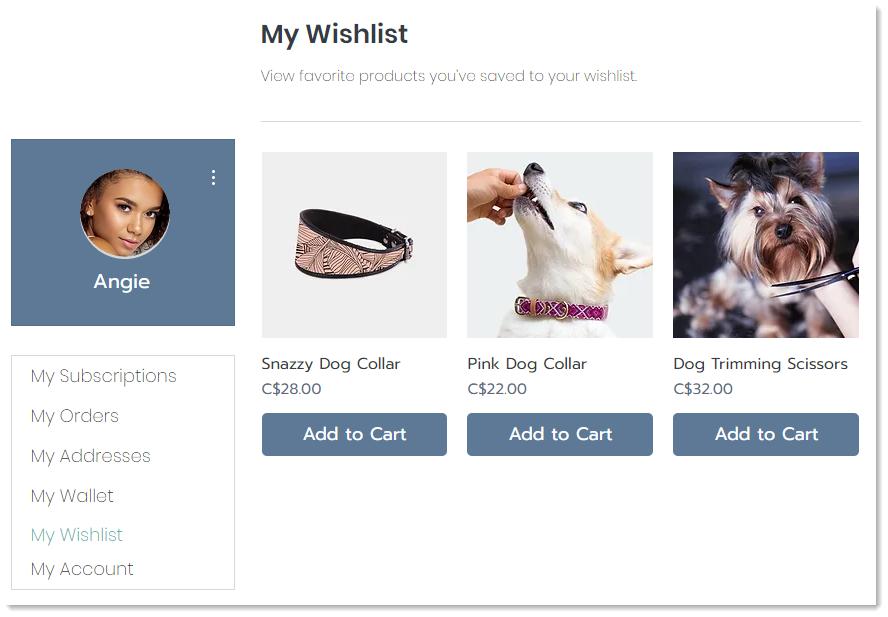
The My Wishlist page is where customers can view and keep track of their favorite products. You can optionally add an "Add to Cart" button to make it easy for customers to make purchases.
Wix Editor
Studio Editor
Click Pages and Menu
on the left side of the Editor.Click Members Area.
Click the My Wishlist page.
Click the My Wishlist page in the Editor.
Click Settings.
Customize the My Wishlist page using the available options.
FAQs
How can I remove the wishlist from my store?
To remove the wishlist in the Wix Editor:
Click the Product Page in your editor.
Click Settings.
Select the wishlist tab.
Scroll to the bottom and click Remove Wishlist

To remove the wishlist in the Studio Editor:
Click the Product Page in your editor.
Click the Plugins icon
 .
.Click the More Actions icon
 next to Wishlist.
Click Remove Plugin.