


Managing your orders
Wix Stores: Adding a Tracking Number to a Store Order
Tracking numbers help you and your customers follow the progress of packages as they make their way to their destinations.
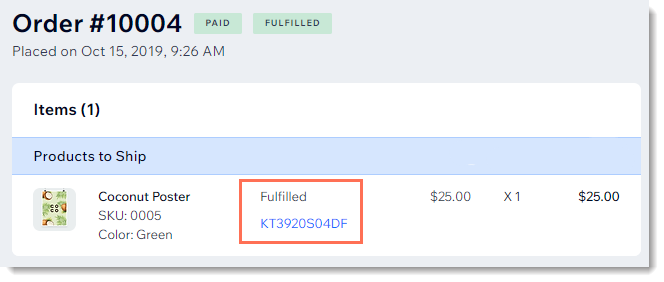
Customers can find an order's tracking number in the shipping confirmation email and in their My Orders page. You can find them in the Orders tab in the Wix dashboard.
In this article, learn how to:
Manage tracking numbers add by third parties (e.g. dropshippers, shipping apps)
Add one tracking number to an order
Whether you're shipping a single product to your customer, or multiple products together in the same parcel, you'll want to add one tracking number to the order.
To add a single tracking number to an order:
Go to the Orders tab in your site's dashboard.
Click the relevant order.
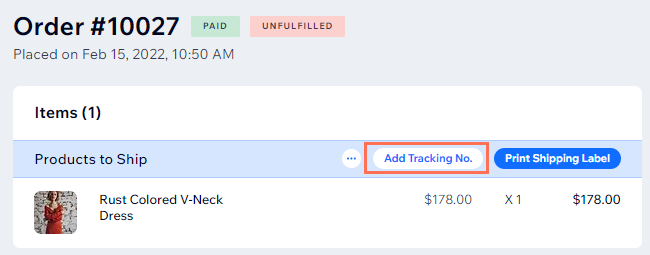
Click Add Tracking No.
Enter the tracking number.
Click the Shipping Carrier drop-down and select an option:Select an existing carrier.
Scroll down and click Add shipping carrier to add a new carrier.
(Optional) Add a tracking URL
(Optional) Check the Send shipping confirmation email checkbox to send an email to your customer informing them that the item was shipped. The tracking number appears in the email. Learn more about confirmation emails.
Click Apply.
Add multiple tracking numbers to the same order
Occasionally, a customer buys more than one product and you choose to ship products separately. When this happens, you can add more than one tracking number to the same order.
To add multiple tracking numbers to an order:
Go to the Orders tab in your site's dashboard.
Click the relevant order.
Click Add Tracking No.
Deselect the Apply to all self-fulfilled items in this order checkbox.
Note: After you deselect the checkbox, you'll see the products in this order listed individually.Select the relevant product(s).
Enter the tracking number.
Click the drop-down to select your Shipping carrier.
Tip: Scroll down and click Add shipping carrier to add a new carrier.(Optional) Check the Send Shipping Confirmation Email checkbox to send an email to your customer informing them that the item was shipped. The tracking number appears in the email.
Click Apply.
When you ship other products in this order, follow the steps above to add an additional tracking number.
Tip:
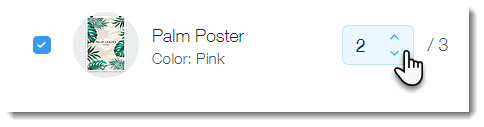
If a customer buys 2 or more of the same item, you can also ship them separately and give each package a different tracking number. Simply select the number of items you want to ship.
Managing tracking numbers added by third-parties
If you use third-party suppliers (e.g. Modalyst) or if shipping is handled through a shipping app (e.g. Shippo) then those third parties will update the tracking numbers for you.
For mixed orders - when some products are fulfilled by you and some are fulfilled by third-parties - you can add a tracking number when you ship your own items. Simply follow the instructions above for adding tracking numbers to an order.
Tips:
You cannot add a tracking number when updating multiple orders at once.
You can edit tracking numbers updated by third parties by clicking the More Actions icon
 .
.
