


Setting up Retail POS hardware
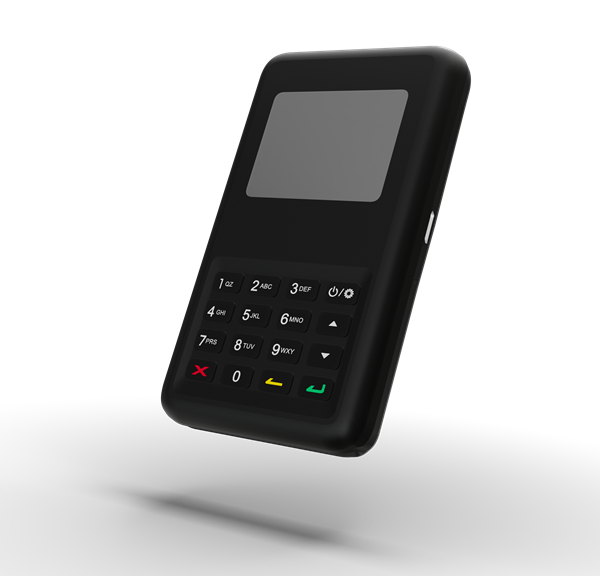
Wix Retail POS: Using the BBPOS WisePad 3 Card Reader
Important:
The BBPOS WisePad 3 reader is available for purchase only for merchants based in Canada.
Your card reader allows you to accept credit and debit cards as well as phone app payments from customers.
This card reader supports all magstripe and EMV payment functions and you can use it to accept new forms of payment, such as Apple Pay, Android Pay, Samsung Pay, VISA Paywave, MasterCard PayPass, AMEX ExpressPay, Interac, and Discover D-PAS.
Charging the reader
Make sure the device is fully charged before you use it.
Note:
When charging, always plug the reader into a wall outlet, not directly into the tablet.
Connecting the reader to the tablet
To set up the card reader, you need to connect it to your tablet. If you ever replace your reader, you can use the instructions below to disconnect the old one and connect a new one.
To connect or disconnect the reader:
Tap and release the power button on the card reader to turn it on.
Tip: The Bluetooth turns on automatically. Open the POS tablet.Tap the Connect Reader icon
 at the bottom right of the tablet.

Select what you want to do:
Connect your card reader:Tap Set up Card Reader.
Tap Connect next to the relevant reader.
Tap Done.
Disconnect your card reader:Tap Unpair at the top right.
Tap Unpair to confirm.
Using the card reader
Keep your card reader charged, so it's ready to use whenever you need to make a sale. The reader automatically disconnects if the battery dips below a 25% charge.
To ensure smooth functioning, make sure the card reader is no more than 15 meters (49 feet) away from the tablet.
Tip:
When the reader isn't in use, it turns off automatically after 10 hours.
Updating the card reader software
Check for updates to the card reader software from time to time and update the software when available.
To update the card reader software:
Open the POS tablet.
Tap the Connect Reader icon
at the bottom right.
Tap Check for Update.
If an update is available, tap Update Now and follow the instructions.
Note: After the update has been completed, it will flash blue and orange. If the reader is unresponsive, restart it.