


Wix Portfolio
Wix Portfolio: Adding Media to Projects
Create a rich, engaging portfolio that highlights your skills and creativity. Add media to your portfolio projects by importing from the Media Manager, uploading from your computer and apps, embedding URLs, or syncing media from app integrations.
A well-curated portfolio with diverse media types makes a strong impression and sets you apart from others. For example, if you're a graphic designer, you can upload high-quality images of your designs, embed video tutorials, or sync your latest work from Instagram, giving your visitors much to browse.
To add media, make sure you have added and set up your portfolio.
In this article, learn more about:
Importing media from the Media Manager
Import any media you have stored in your Media Manager to your portfolio projects. This includes both images and videos.
Note:
If you connected your project to an app integration (Instagram, Google Photos, DeviantArt, Dribbble) you will not see an option to add media from the Media Manager. Instead, make changes in the relevant app to sync them to your portfolio. Learn more about syncing media from portfolio integrations.
To import media from your Media Manager:
Go to Portfolio in your site's dashboard.
Hover over the relevant project and click Edit.
Click Manage Media next to Project Media.
Note: Click Import from Wix Media Manager if this is the first media item you're adding.

Click + Add Media.
Click Import from Media Manager.
Select the media you want to add to your project.
Tip: If you do not have any media yet uploaded to your Media Manager, click + Upload on the top right to upload media from your computer.Click Add to Project on the bottom right.
Click the imported media and customize the following:Set as cover image: Click to make this the project's cover image.
Focial point: Click the Focal point icon to choose the media's center of interest.
Title: Update the name of the media.
Description: Enter more information about the media. This can also help improve your site's SEO and accessibility.
Alt Text: (For images only) Enter a short description of your image. This can help improve your site's SEO and accessibility.
Link: Paste a link to connect the media in expand mode to another URL.
Click Done on the bottom right.
Click Save & Close on the top right.
Uploading your own media
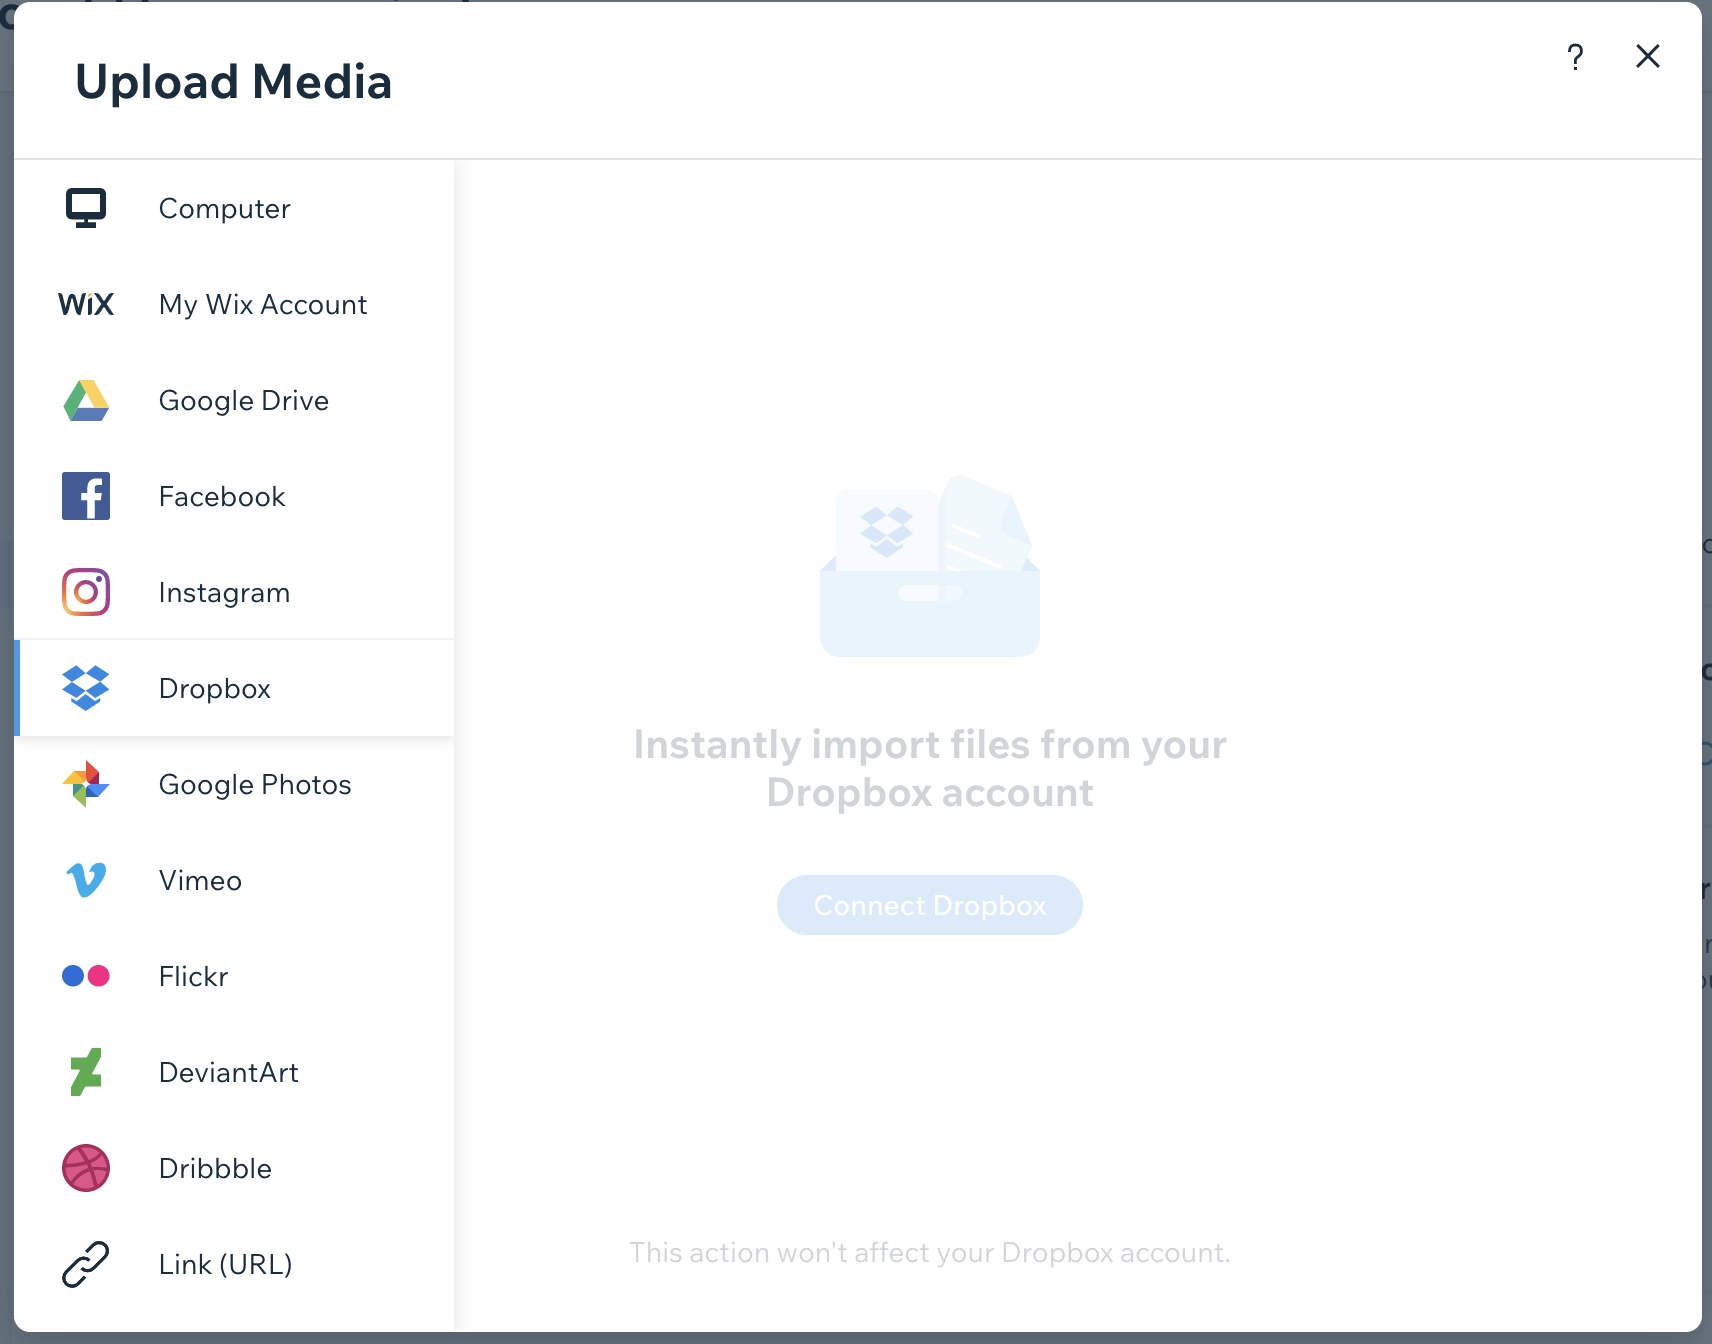
You also have the option to upload photos and videos stored on your computer or your social networks. You can upload media from social networks such as your Google Drive, Facebook, Flickr and more.
To upload your own media:
Go to Portfolio in your site's dashboard.
Hover over the relevant project and click Edit.
Click Manage Media next to Project Media.
Click + Add Media.
Choose where you want to add media from:
Your computer
Click Upload from Computer.
Select the files you wish to upload.
Click Done on the bottom right.
Click Save & Close on the top right.
Social networks
Click Import from Media Manager.
Click + Upload Media in the top left corner.
Click the relevant app on the left.
Connect the app and your media will be available to import.
Select an image or video from your connected app to upload it to your Media Manager.
Select the image or video again in the Media Manager.
Click Add to Project on the bottom right.
Click Done on the bottom right.
Click Save & Close on the top right.
Embedding videos by URL
Embed YouTube and Vimeo videos directly into your portfolio by pasting in the video URL.
To embed your videos:
Go to Portfolio in your site's dashboard.
Hover over the relevant project and click Edit.
Click Manage Media next to Project Media.
Click + Add Media.
Click Embed video from the drop-down.

Paste in the URL of your video from YouTube.
Note: Make sure your video is set to Public or Unlisted. Private videos won't be visible.Click Add Video.
Click Done on the bottom right.
Click Save & Close on the top right.
Syncing media from portfolio integrations
Connect your portfolio to integrations like Instagram, Google Photos, Dribbble and DeviantArt. Once connected, you can sync media from these apps to your portfolio, update project details and remove those you no longer want to showcase.

FAQs
Click a question below to learn more about adding media to your portfolio projects.
Can I add media from my Media Manager to projects created from any of the portfolio integrations, e.g Instagram?
No, you cannot add media from your Media Manager to projects created from any of the portfolio integrations.
Sync and update media to your project's created by an integration, by updating your media in that integration.
How can I tell if my project was created from an integration or from the dashboard?
Go to Portfolio in your site's dashboard.
Check the Source of your project on the project's page.

Can I set a video as the cover image for my project?
Yes. You may need to update the Wix Portfolio app to do so.