Setting up your hotel
Wix Hotels by HotelRunner: Adding Room Types
Important:
This article refers to the latest version of Wix Hotels by HotelRunner. We are in the process of releasing Wix Hotels by HotelRunner but it's not available to everyone yet. Sign up for more information about Wix Hotels by HotelRunner and join the beta.
For information on the previous version of Wix Hotels, click here.
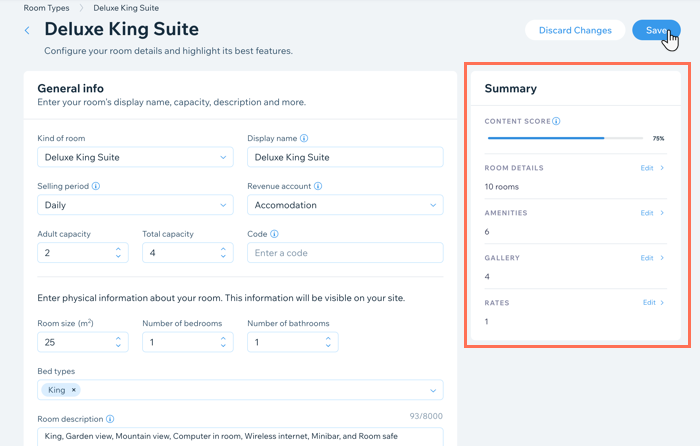
Create and edit the different room types you offer from your site dashboard. Make sure to include images of the different room types to attract more bookings. You can update any details of your room types at any time.
To add a room type:
Go to Room Types in the dashboard.
Click + Create Room Type.
Select the relevant room type from the Kind of room drop-down then click Next.
Enter your room's details:Display name: Enter the room name your customers see when they search for available rooms on your site.
Adult capacity: Enter the number of adults the room can accommodate.
Total capacity: Enter the total number of people the room can accommodate, including children.
Number of rooms: Enter how many of this room type your property offers.
Note: The number here refers to the number of a specific room type you offer. So, if you rent out an apartment or villa, a dog hotel, or a deluxe suite, the number of rooms is the total number of the relevant room type.
Revenue Account: Choose Accommodation from the drop-down (you can update this later if necessary).
Click Next.
Enter your base price details:Base Price (per night): We recommend you enter a value as high as your most expensive rate.
Set base price for what occupancy?: Choose the relevant number of guests that your base price applies to from the drop-down. The options you see depend on the details you enter in the steps above.
Different occupancy: Set the pricing using the available options:Percentage: Click the Percentage icon . Choose whether the price increases or decreases by the percentage amount.
Fixed amount: Click the Fixed amount icon . Choose whether the price increases or decreases by the fixed amount.
Click Next.
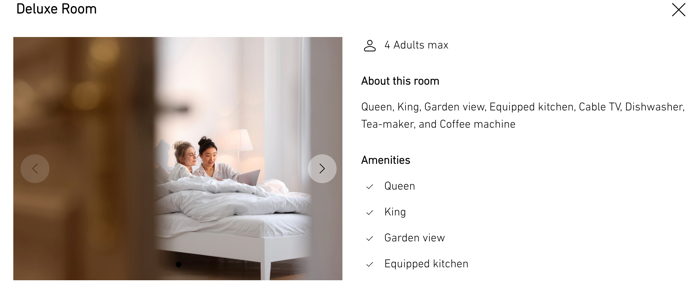
Click the checkbox next to the amenities you offer in this room type (e.g. bed types, room features, domestic appliances, etc). Then, click Next.
Click the Add Photo icon
 to upload photos of this room.
Note: The maximum image size is 2MB.Click Complete.
When ready, click Save at the top.