Designing Wix Events
Wix Events: Choosing Which Events to Display on a Site Page
With Wix Events, you can create as many events as you need and choose which ones to showcase on any of your site pages.
Tip:
For all sections in this article, you can add a new site page or events to an existing page.

In this article, learn how to:
Displaying a single event on a site page
Showcase a specific event by dedicating a site page to it. This page would include all of the information your guests need to know.
Note:
Currently, displaying a single event is only available in the Wix Editor.
To display a single event on a page:
Go to the Events page:Click Pages & Menu
 on the left side of the editor.
Click Event Pages.
Click your Events page.
Click the Event List element on your page.
Click Settings.
Click the Events tab.
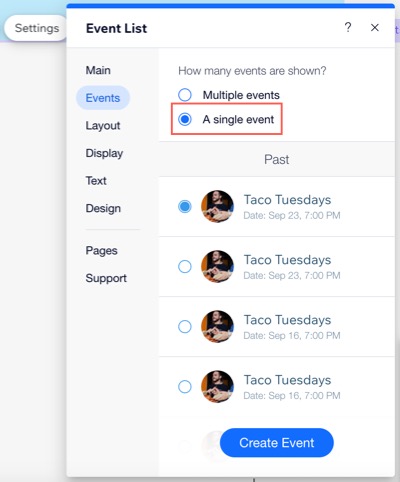
Select A single event under How many events are shown?
Scroll down and select the event you want to display.
Showcasing a recurring event on a site page
If you created a recurring event, you can display it in two ways: A single event with multiple dates, or show each occurrence as its own event.
Click below to see how each option looks like on the event list.
Display as a single event with multiple dates
In the example below, the event is shown as one entry with several dates. When guests try to register, they select the date they want to attend.

Display each occurrence of the recurring event separately
In the example below, each event date is listed as its own entry.

Notes:
You need to have a recurring event set up to select this option
If you are using the Calendar layout, all occurrences of the event are displayed.
To showcase a recurring event on a page:
Wix Editor
Studio Editor
Go to the Events page:Click Pages & Menu
on the left side of the editor.
Click Event Pages.
Click your Events page.
Click the Event List element on your page.
Click Settings.
Click the Events tab.
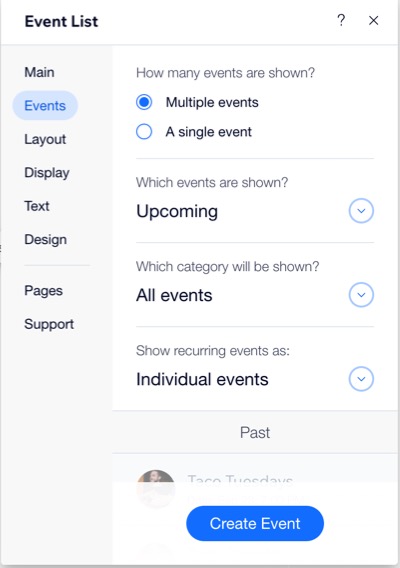
Select Multiple Events under How many events are shown?
Select an option from the Which events are shown drop-down:
Note: You can also choose to manually select an event(s).Upcoming & past: All events, including past events, are displayed.
Upcoming: All future events are displayed.
Past: All past events are displayed.
(Optional) Select a category from the Which category will be shown? drop-down.
Select an option from the Show recurring events as drop-down:One event: The event is shown as one entry with several dates.
Individual events: Each event date is listed as its own entry.
Manually selecting and ordering events
You can choose specific events to display in the event list and customize the order in which they appear.
To manually select and order events:
Wix Editor
Studio Editor
Go to the Events page:Click Pages & Menu
on the left side of the editor.
Click Event Pages.
Click your Events page.
Click the Event List element on your page.
Click Settings.
Click the Events tab.
Click the Which events do you want to show drop-down and choose Select Manually.
Note: If you don't choose this option, events are displayed according to the date they occur.Click Select Events under Select events to display.
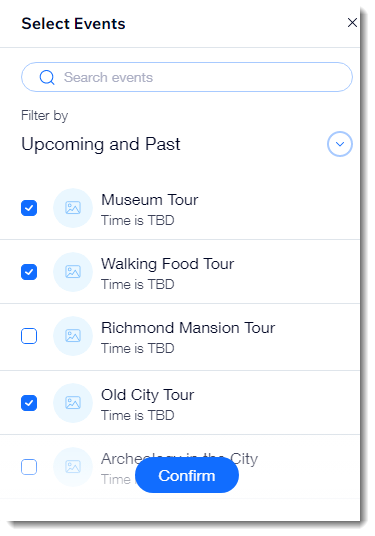
Select the checkbox(es) next to the events you want to display and click Confirm.
Choose the event order under Display order:Chronologically: Select Chronological to sort events by start date.
Sort manually: Drag and drop the events to reorder them.
When you choose the Select Manually option:
New events you create in the editor automatically appear on your site, but you can hide them.
New events you create in the dashboard are hidden by default, but you can unhide them.
Showing all upcoming, past, or all events
When displaying multiple events, you can display all events past and upcoming or limit the selection to only upcoming events or only past events.
Tip:
When displaying only upcoming events, once they've taken place, events are automatically removed from your site.
To select which type of events to display:
Wix Editor
Studio Editor
Go to the Events page:Click Pages & Menu
on the left side of the editor.
Click Event Pages.
Click your Events page.
Click the Event List element on your page.
Click Settings.
Click the Events tab.
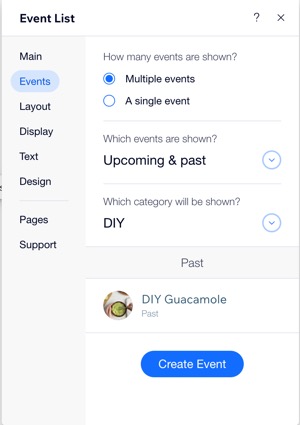
Select an option from the Which events are shown drop-down:Upcoming & past: All events, including past events, are displayed.
Upcoming: All future events are displayed.
Note: If you have no upcoming events, a "No Upcoming Events at the Moment" is displayed on your live site and sample events are displayed in the Editor.
Past: All past events are displayed.
Displaying different event categories on separate pages
You can show different types of events on separate pages. For example, create one page for concerts and another for lectures, and then display each category on its respective page.
Before you begin:
Create the categories you need and assign events to the relevant categories.
To display event categories on separate pages:
Wix Editor
Studio Editor
Go to the page where you want to add a single event.
Click the Wix Events element on your page.
Click Events.
Select Multiple Events.
Select an option from the Which events do you want to show drop-down:Upcoming and Past: All events, including past events, are displayed.
Upcoming Events: All future events are displayed.
Past Events: All past events are displayed.
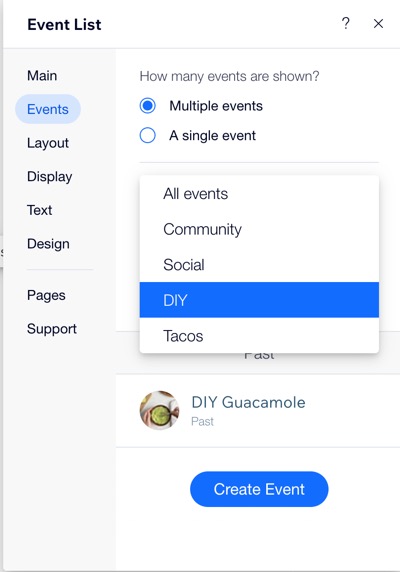
Select a category from the Which category will be shown? drop-down.
(Optional) Repeat steps 2 - 7 to select a different category to display on a page.