


Creating your event
Wix Events: Customizing the Registration Form for RSVP Events
When guests join your event, they fill out a registration form. For non-ticketed events, such as weddings, guests are asked to add their details when they RSVP.
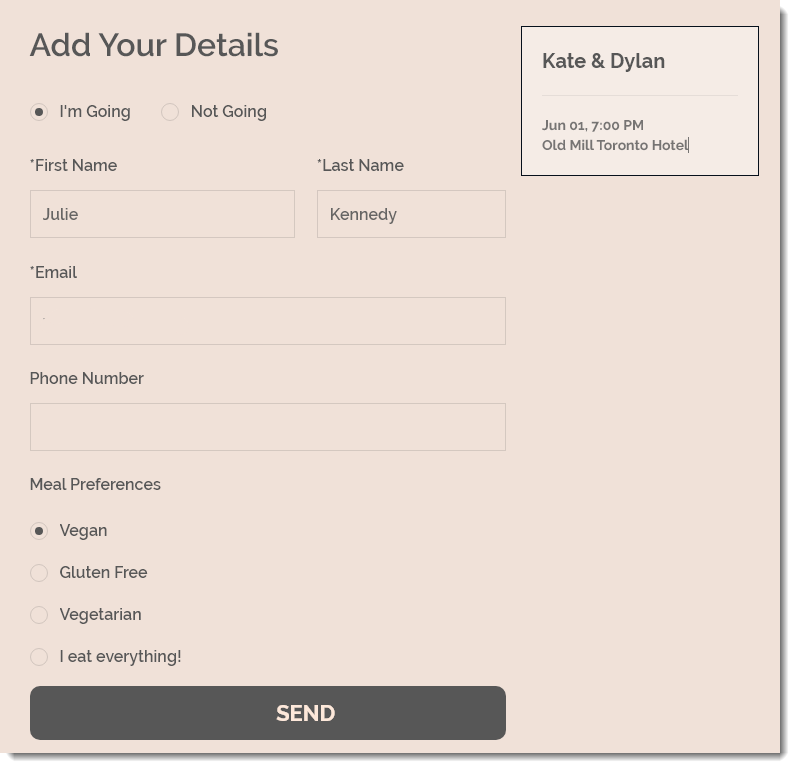
In this article, learn more about:
Customizing the registration form of an RSVP event
You can make changes to the fields in the form that guests fill out when they RSVP for the event.
To customize event registration:
Go to the Events in your site's dashboard.
Select the relevant event.
Click the Settings tab.
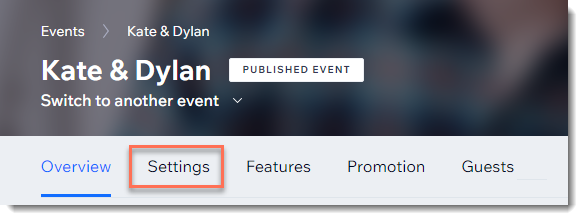
Click Edit next to Registration Form.
Click the Guests can RSVP "No" toggle to enable or disable it:Enabled: Guests can indicate on the form if they are attending. You can edit the "I'm Going / Not Going text.
Disabled: Guests only need to RSVP if they are attending.
Edit the form text:Hover over any the text fields and click the Edit icon
 .
.
Edit the text and click the checkmark to save.

Add additional preset fields to the form:Click +Add More Options.
Select the field you want to add.
 Edit the option using the available customizations.
(Optional) Select the Make this info required checkbox.
Note: When selected, guests cannot RSVP without entering the requested information.
Add a custom question to the form:Click Custom Question.
 Enter a title under Custom Question Text (e.g. Meal Preferences).
Select the type of response (e.g. multiple choice).
If you selected, Dropdown Menu, Multiple Choice, or Checkboxes, enter all the options your guests can choose from (e.g. Vegan, Gluten Free, Kosher). Press Enter on your keyboard after every choice.
Click the checkmark to save.
(Optional) Edit the "Submit" button text:Hover over Submit and click the Edit icon
 .
.
Edit the button text and click the checkmark to save.
Click Save at the top right.
Allowing guests to add others when registering
Let guests bring an additional guest to your event, such as a "plus one". You can allow guest to add up to 10 additional guest when they are filling out the registration form.
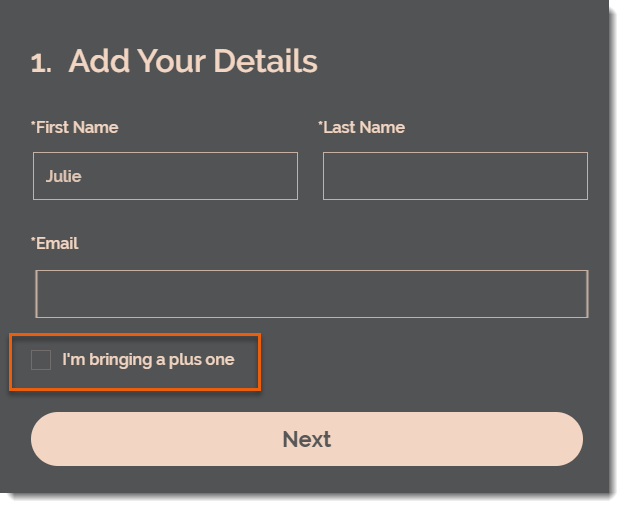
To allow guests to bring a friend:
Go to the Events in your site's dashboard.
Select the relevant event.
Click the Settings tab.
Click Edit next to Registration Form.
Click +Add More Options.
Select Additional Guests.
Select how many guests are allowed to attend the event:Single Guest: Guests may bring one additional guest.
Multiple Guests: Select the number of additional guests (up to 10).
Edit the Additional guest text field.
Select the Guest names are required checkbox to require guests to enter the names of additional guests.
Click the checkmark to confirm.
Click Save.
FAQs
Click a question below to learn more about customizing the registration form.
How can I read responses to registration form questions?
The Guests tab is the place to view responses that individuals guests entered in the registration form. To view a table with all your guests' responses, you can export the guest list.
Learn more about viewing guest responses and exporting your guest list.
How can I customize the "Thank You" and "Registration Closed" messages?
Guests see the "Thank You" message after they click the Submit button when registering or declining an event. The "Registration Closed" message appears when it's not possible to register.
To access the message customizations:
Go to the Events in your site's dashboard.
Select the relevant event.
Click the Settings tab.
Click Edit next to Thank You Message.
Learn more about editing the "Thank You" and "Registration Closed" messages.
How can I customize the design of the registration form?
You can update the colors, font, and more to get a look that suits your site. Learn how to customize the registration form design.