Selling event tickets
Wix Events: Creating Invoices for Ticketed Events
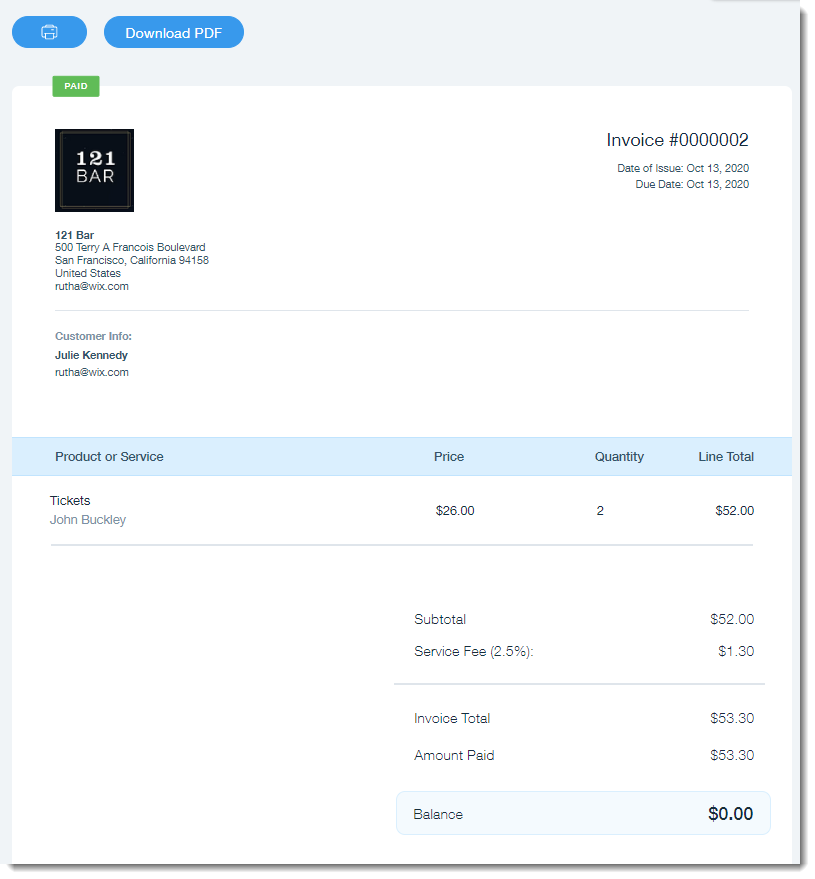
Wix Events gives you the option of automatically sending an invoice to every event guest, or manually sending an invoice when needed. Guests receive an email with a link to their invoice, which they can download or print out.
Note:
Invoices are sent only after you receive payment.
In this article, learn more about:
Customizing your invoices
Before you start sending invoices to guests, make sure to customize them to suit your business and brand. You can add elements such as a company logo, a personal message or a legal disclaimer.
Tip:
You only need to customize your invoices once. Your changes are saved for future events.
To customize your invoices:
Go to the Events in your site's dashboard.
Select the relevant event.
Select the Settings tab at the top.
Click Edit next to Invoices.
Enter your business info and click Add & Continue.
Customize your invoices. Learn more about the customization options.
Enabling automatic invoicing
You can enable automatic invoicing for a particular event. When you do, an email containing an invoice is sent to every guest.
Notes:
Automatic invoicing must be enabled for each event individually.
Guests who purchase event tickets online receive the invoice right away. If the guest checks out using the manual payment method, an invoice is sent as soon as the order is marked "paid".
To send invoices automatically:
Go to the Events in your site's dashboard.
Select the relevant event.
Select the Settings tab at the top.
Enable the Invoices toggle for automatic sending of invoices when a guest purchases a ticket.
Note: The Invoices toggle must be enabled for each event separately.

Sending an invoice manually
You can send an invoice to a guest who requests one, even if you have not enabled automatic invoicing. You can also resend an invoice to a guest.
To send invoices manually:
Go to the Events in your site's dashboard.
Select the relevant event.
Select the Orders tab at the top.
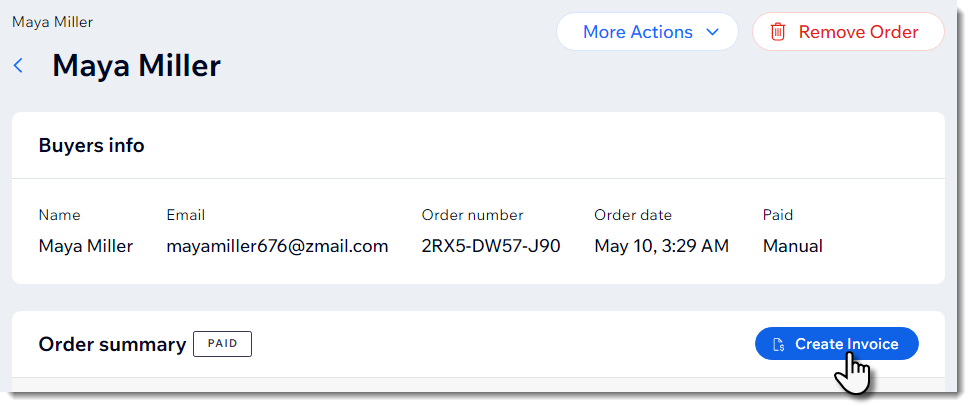
Click the relevant paid order.
Note: It is not possible to send an invoice to an order that has not yet been paid.Click Create Invoice / View Invoice.
Click any of the send options at the top:Share Link: Click Copy Link and paste the link in any message to share it with your guest.
Print: Print the invoice.
Resend via Email:(Optional) Edit the subject line or message.
Click Send.