Using the Wix app for Wix Events
Wix Events: Creating an Event Schedule in the Wix App
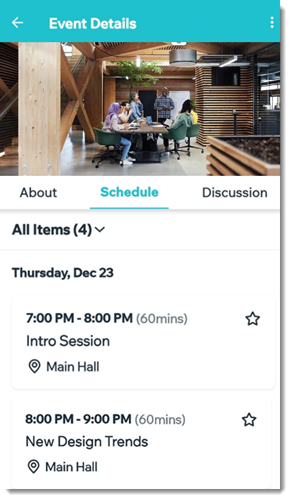
Let participants know what's happening at your event by creating an event schedule. Schedules are ideal for conferences, festivals, and more.
Before you begin:
Make sure to create and save your event. Learn more about the different types of events you can create.
To create an event schedule:
Go to your site in the Wix app.
Tap Manage
 at the bottom.
Tap Events.
Select Published Events or Draft Events.
Select the relevant event.
Note: For recurring events, you can add a schedule to an individual occurrence of an event.Tap the Manage tab.
Select Add-ons.
Tap Add to Event under Schedule.
Add the first schedule item:Enter the Item Name (e.g. Opening Session).
Set the start and end dates and times.
(Optional) Fill out the Item details:Enter the Place (e.g. Main Stage).
(Optional) Click Add Tags to enter a tag and tap Done (Android) or Return (iOS) on your keyboard, and then tap Done at the top right.
Note: Tags are used to classify event sessions. For example, for a renewable energy conference, you might create tags for "Solar Energy", "Wind Energy", and "Electric Vehicles". Guests can filter the schedule to locate the events they're interested in. After you create a tag, apply it to other items of the same type.
(Optional) Tap Add Description to enter a description of the schedule item and tap Done.
Tap Save.
Add more scheduled items:Tap Add New Item.
Repeat step 9 above for each of the scheduled items in your event.
To hide, cancel, or delete an item:
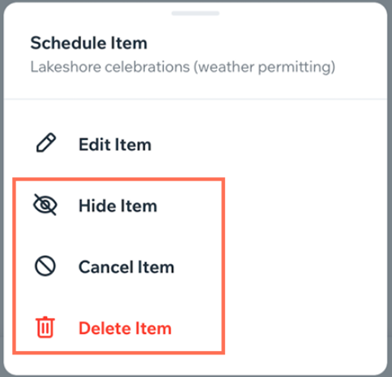
Tap the More Actions icon  next to the relevant item and select an option:
Hide Item: Hide the item so you can display or edit it later.
Cancel Item: Cancel the item and show in the schedule that the item has been canceled.
Delete Item: Permanently delete the item and remove it from the schedule.