top of page

Wix Contacts FAQ

Wix Contacts: Adding and Managing Custom Contact Fields

Add custom fields to store additional information about your contacts. Custom fields can be either text, number, date or URL, and can have any name you choose.
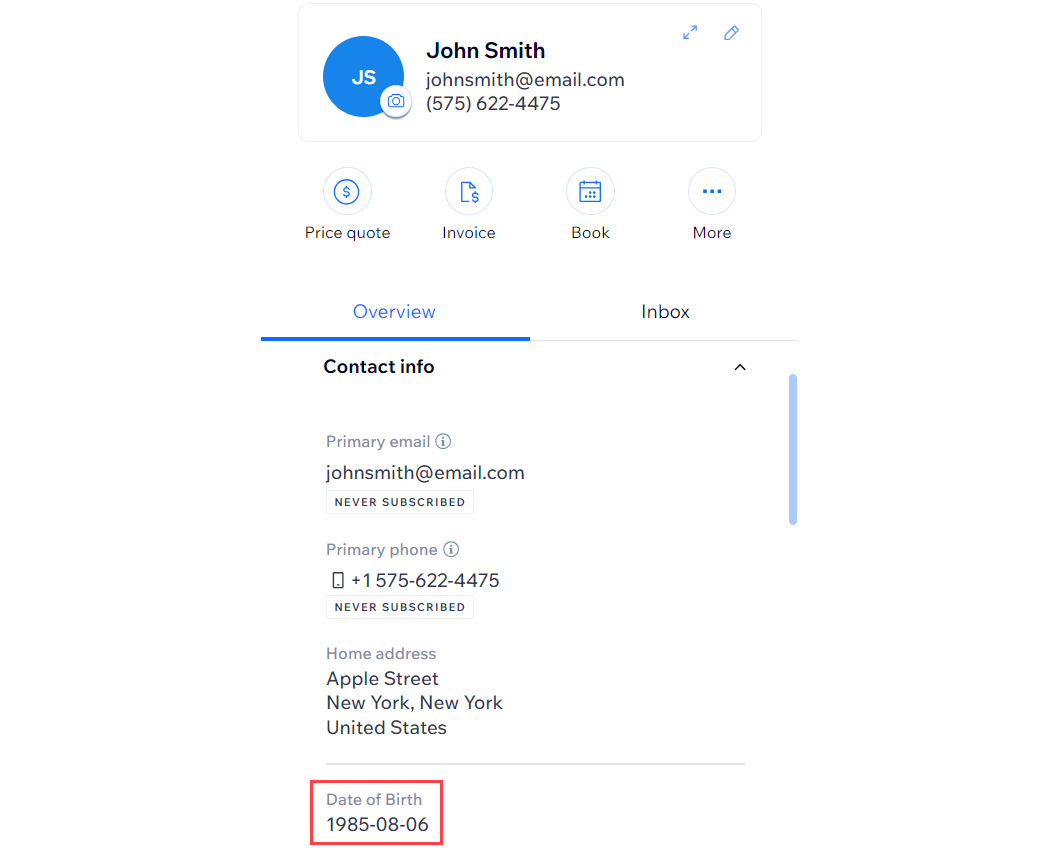
A screenshot of the contact panel with the date of birth custom field highlighted.

Adding custom fields to contacts

Any custom field that you add is automatically added to all contacts in your Contact List. This way, you do not have to fill in this field for every contact.

Tip:

Sync custom fields from your contacts to Wix Forms to collect this information from your visitors from a form on your site.

To add a custom field:

  1. Go to Contacts in your site's dashboard.

  2. Click the More Actions icon at the top and select Custom fields.

  3. Click + Add New Field.

  4. Click the Field Type drop-down and select the type of content: Text, Number, Date, or URL

  5. Enter the name of the new field (e.g. "Date of Birth") in the Field Name field.

  6. Click Add.

A screenshot of the custom field menu with the text field type selected, and Date of Birth entered as the custom field.

  1. Click Done.

Renaming custom contact fields

You can change the name of a custom field without affecting any of the information stored in the field.

To rename a custom contact field:

  1. Go to Contacts in your site's dashboard.

  2. Click the More Actions icon at the top and select Custom fields.

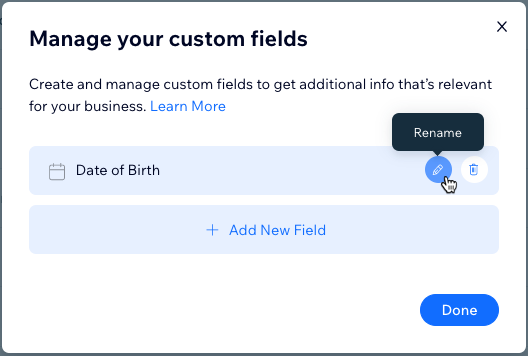
  3. Hover over the field you want to rename and click the Rename icon .

  4. Edit the name of the field and click the checkmark to save.

  5. Click Done.

A screenshot of the Manage your custom fields menu, with the mouse hovering over the Rename option on a custom field.

Deleting custom contact fields

Clean up your contacts by deleting custom fields that you no longer need. Deleting the custom field removes it, and the information it contains, from all your contacts.

To delete a custom field:

  1. Go to Contacts in your site's dashboard.

  2. Click the More Actions icon at the top and select Custom fields.

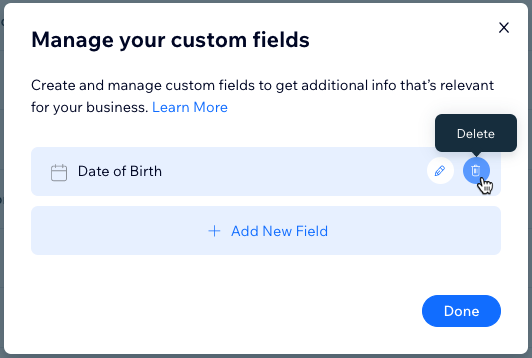
  3. Hover over the field you want to delete and click the Delete icon .

  4. Click Delete to confirm.

  5. Click Done.

A screenshot of the Manage your custom fields menu, with the mouse hovering over the Delete option on a custom field.

Need A Professional Website?
Contact Us 
Today!

Accepting Payments: An Overview

Third-Party App: Adobe Express for Wix by Adobe

Third-Party App: Image Zoom by Widgetic

Third-Party App: Calculator Builder by Lumifish LABS

Third-Party App: Blocky IP & Country Blocker by Effective Apps

Third-Party Apps: Design Elements Apps

Third-Party App: Google Reviews by Elfsight

Third-Party App: Customer Reviews by Write a Customer Review

Third-Party App: Contact Management/CRM by vcita Inc.

Third-Party App: 123 Form Builder & Payments by 123FormBuilder

Third-Party Apps: Communications Apps

Third-Party App: Cookiebot™ for Wix by Usercentrics

Recommended Apps for Musicians

Third-Party App: Weglot Translate by Weglot

Third-Party Apps: Media and Content Apps

Third-Party App: Boom Event Calendar by BoomTech

Third-Party App: Cap Rate Calculator by Allioo.com

Third-Party App: Nash: All-in-1 Local Delivery by Nash Technologies Inc

Third-Party Apps: Hotel & Airbnbs Map

Third-Party App: Events Calendar by inlight Labs

Third-Party Apps: Services and Events Apps

Third-Party App: Mailchimp by Intuit Mailchimp

Third-Party App: ReConvert Upsell and Cross Sell by ReConvert

Third-Party App: Visitor Analytics by Visitor Analytics

Third-Party App: Site Booster by AppSharp

Third-Party App: rankingCoach SEO by rankingCoach

Third-Party App: Rabbit SEO by SEO Tools

Third-Party App: Mailchimp Integration by PoCo

Third-Party App: Mailchimp Forms by MailMunch

Third-Party App: GetTraffic by Infolinks Media

wix experts
Graphic2Traffic web design
©
bottom of page