


wix studio
Adding a Scroll Animation
Add scroll animations to make the browsing experience more engaging and memorable. The animation's progress is directly linked to the scroll position, revealing or transforming an element as visitors scroll up and down.
Tip:
Check out our Wix Studio Academy course and learn more about adding animations & interactions.
In this article, learn more about:
Adding a scroll animation
To add a new scroll animation, select the element that triggers it. The animation you choose starts when visitors scroll past this element. Then, decide which element gets animated and select an animation type (In or Out).

To add a scroll animation:
Select the relevant element or section.
Click the Open Inspector icon
 at the top right of the editor.

Click the Animations and Effects tab
 .
.Click + Add under Scroll.
Set up the animation:Choose which element shows the animation under Animated element.
Select an option under Animation type to decide if the element animates into or out of its original placement:In: The animation's ending point is the current design on canvas (e.g. the element fades in as you scroll down).
Out: The animation's starting point is the current design on canvas (e.g. the element fades out as you scroll down)
Select an animation from the list.
Tip: Hover over animations to see a preview of how they look.

Notes:
It is not possible to set a pinned element as the trigger, as it always stays in the same position (relative to the visitor's viewport).
Make sure there's enough room on the page for the scroll animation to appear properly. For example, if your element is located on the first or last fold of the page, you might not see the scroll animation.
Looking for horizontal scroll?
While options in the Inspector apply to vertical scrolling, you can follow our Wix Academy tutorial to create a striking horizontal scroll effect.
Customizing a scroll animation
After choosing an animation, set it up to behave the way you want. The available settings depend on the specific animation you choose.
To customize a scroll animation:
Select the relevant element or section.
Click the Open Inspector icon
at the top right of the editor.
Click the Animations and Effects tab
.Click the animation you want to change.
Click Adjust Animation to change its settings:Direction: Choose the direction the animation should come from (e.g. from left, from above).
Scale: Set the target size for the element in this animation. For example, 80% means the element shrinks by 20% in the animation.
Distance: Decide how far the element moves in this animation.
Animation area: Decide at what point while scrolling the animation starts and stops. 0% is the bottom of the screen and 100% is the top. For example, if you set the area to 100%, the animation starts when the element is at the bottom, and ends when it reaches the top.
Tip:
Enable the Scroll to preview toggle to see the animation you're creating, directly on the canvas.
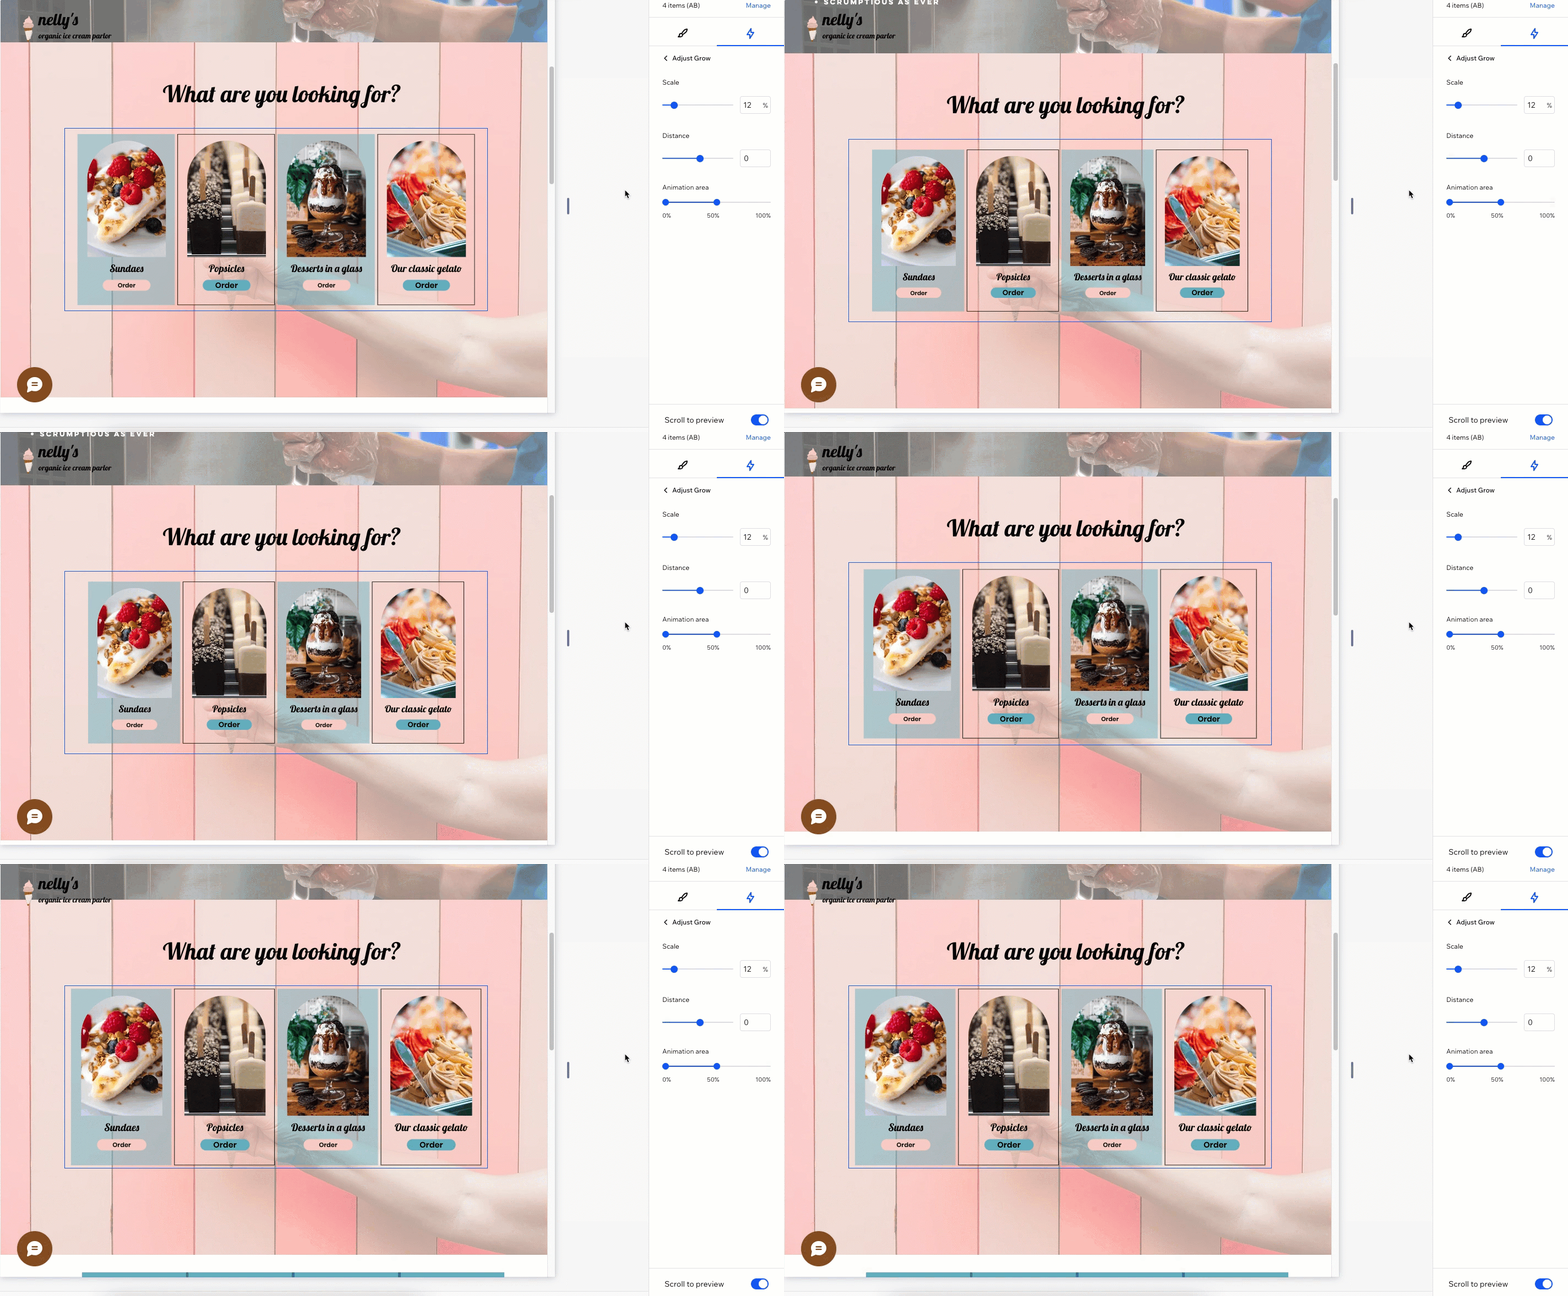
Setting the scroll animation area
Decide at what point, while scrolling, the animation starts and stops. 0% represents the bottom of the screen and 100% is the top.
For example, if you set the area to 0% - 50%, the animation starts when the element is at the bottom of the screen and stops when it reaches the middle.
To set the scroll animation area:
Select the relevant element or section.
Click the Open Inspector icon
at the top right of the editor.
Click the Animations and Effects tab
.Click the animation you want to change.
Click Adjust Animation
Drag the dots below Animation area to set when it starts and ends.
Tip: You can click the dots to enter the percentage manually.
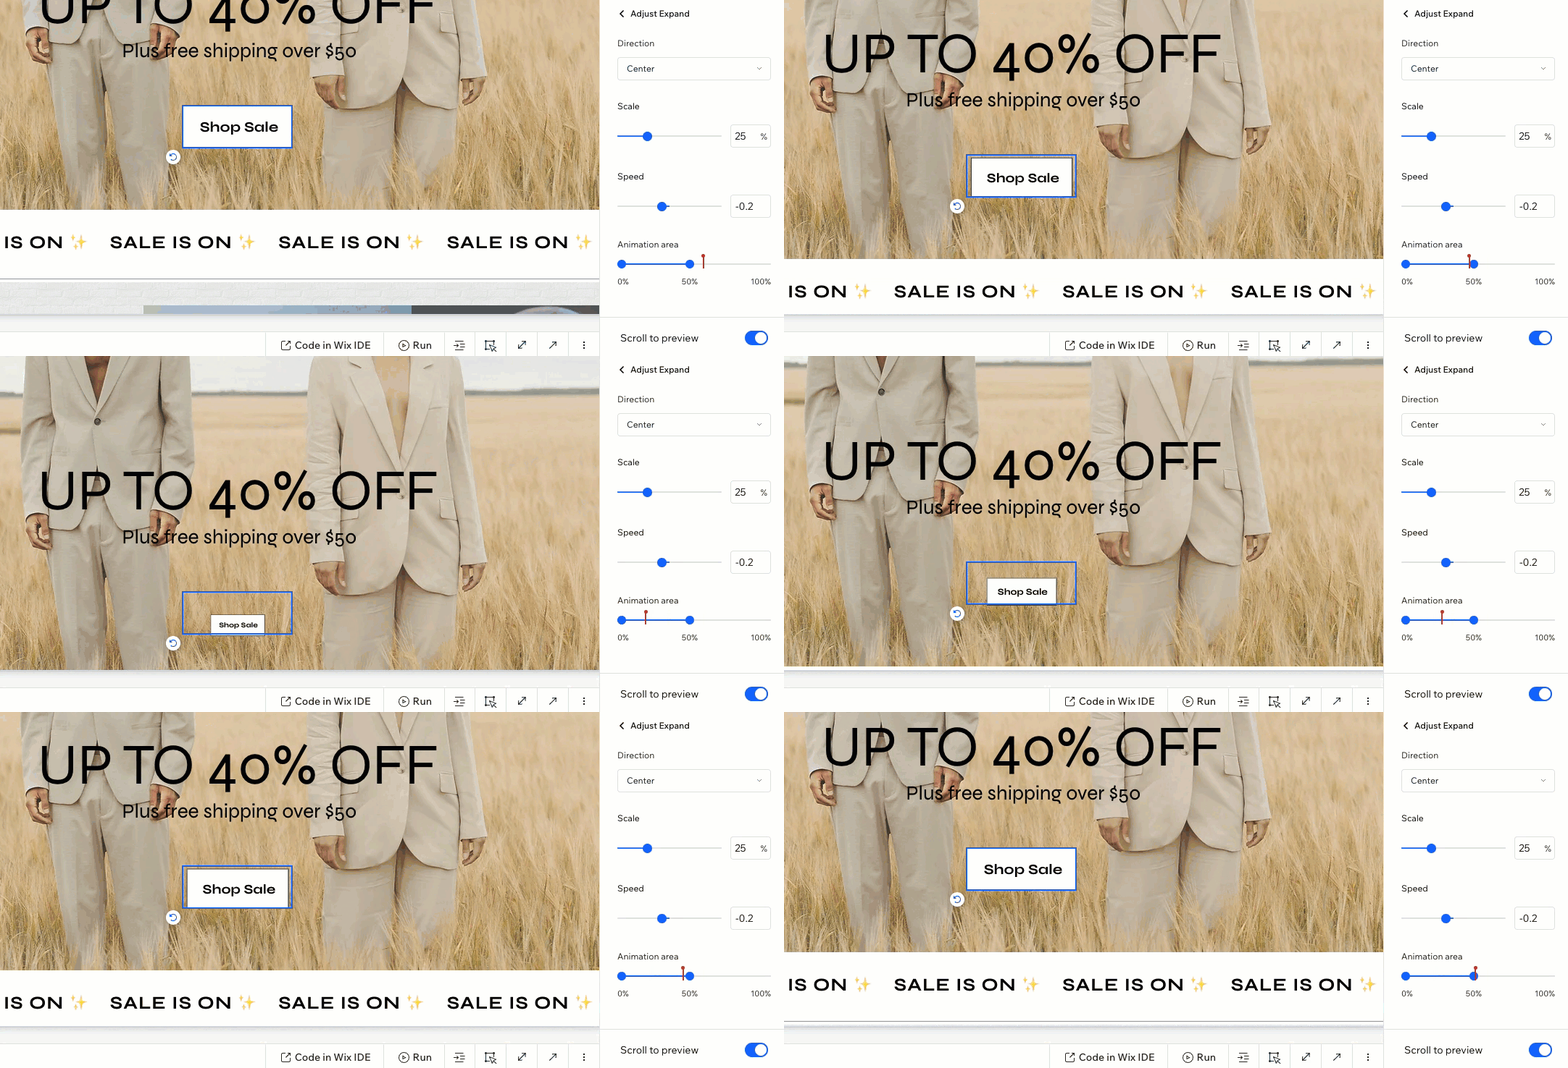
Test the animation area:
When the Scroll to preview toggle is enabled, an indication appears on the Animation area slider so you can better understand the exact part of the screen where the animation would appear.
Removing a scroll animation
You can remove a scroll animation at any time from the Inspector panel.
To remove a scroll animation:
Select the relevant element or section.
Click the Open Inspector icon
at the top right of the editor.
Click the Animations and Effects tab
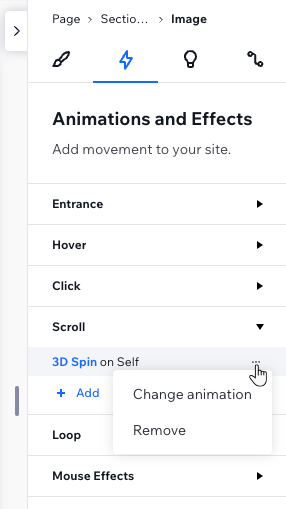
.Hover over the animation and click the More Actions icon
 .
.Click Remove.
Troubleshooting scroll animations
The scroll effect appears too late
If a scroll animation isn’t happening when you want it to, there are two properties to look at—the Animation path, and Animation area. Follow the steps outlined in this video tutorial to find out what’s causing the delay, and how to fix it.
(Mobile only) The scroll effect does not appear in landscape mode
When viewing your client's site on a mobile device, the scroll animation might stop working if the visitor rotates their screen mid-browsing. In other words, if they flip their phone to horizontal (landscape mode) while scrolling the page, the scroll animation won't appear.
To resolve this, visitors can refresh the page while in landscape mode – this will "restart" the animation.