


Managing products and categories
Wix Stores: Creating a Digital Product
Sell digital, downloadable products, such as music files, ebooks, or images
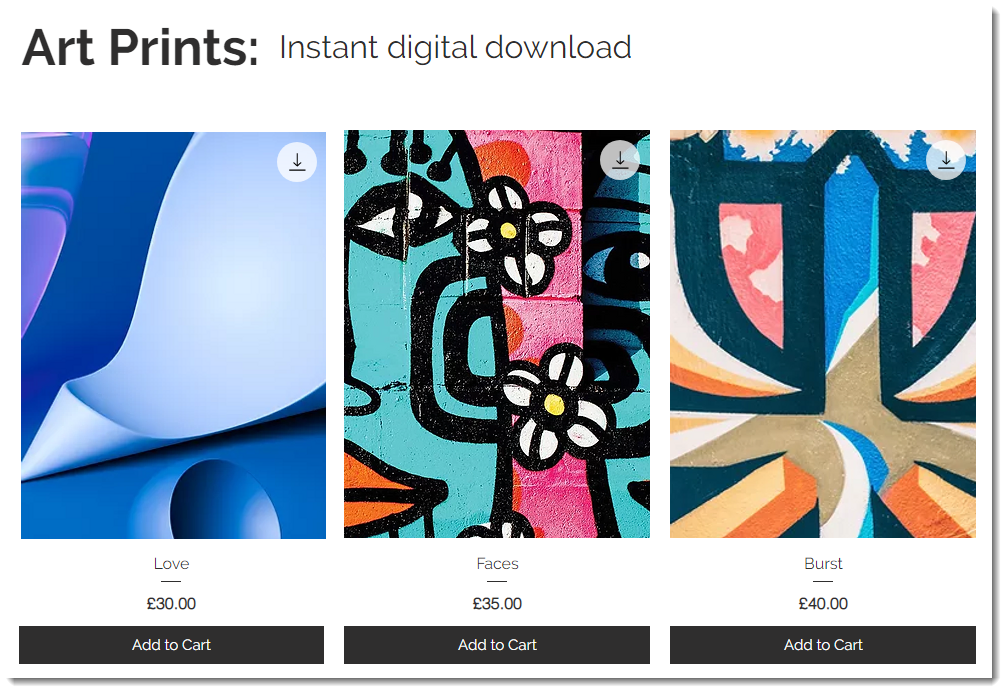
Step 1 | Upload your digital file
Start by uploading the digital file you want to sell. The following digital file formats are supported:
Digital File Type
Supported Formats
Maximum File Size
Image
.jpg, .png, .gif
50 MB
Audio
WAV, FLAC, M4A (Apple lossless, MP3). Audio files must be stereo, not mono.
100 MB
Document
.doc, .docx, .xls, .xlsx, .ppt, .pptx, .odt, .odp, .pdf, .epub
1 GB
Zip
.zip
1 GB
To upload a digital file:
Go to Products in your site's dashboard.
Click +New Product.
Select Digital file.
Click Upload File and select the type of digital file you want to upload.
Note: File must be uploaded by site owner, not by a site collaborator.Select or upload the file and click Add to Product.

Step 2 | Enter the basic product info
Add the basic product details, such as the name and product description.
To enter the basic product information:
Enter the product name (max. 80 characters).
(Optional) Add a ribbon by typing the ribbon name (e.g. New).
Notes:You can also select ribbons you previously created. This lets you manage your ribbons as a group. Learn more about ribbons.
Ribbons appear in the product gallery.

Enter a description of the product in the Description field. (maximum 8000 characters, including HTML tags).

Tips:
Click Generate AI Text to get help composing an effective product description.
When copying and pasting a description from another source, paste the text by pressing Shift +Ctrl + V on your keyboard. This removes any formatting to make sure the text displays correctly.
Step 3 | Add a product image, GIF, or video
Add a product image, GIF, or video that represents the digital product you're selling.
Important:
If you're selling an image, you can add a watermark.
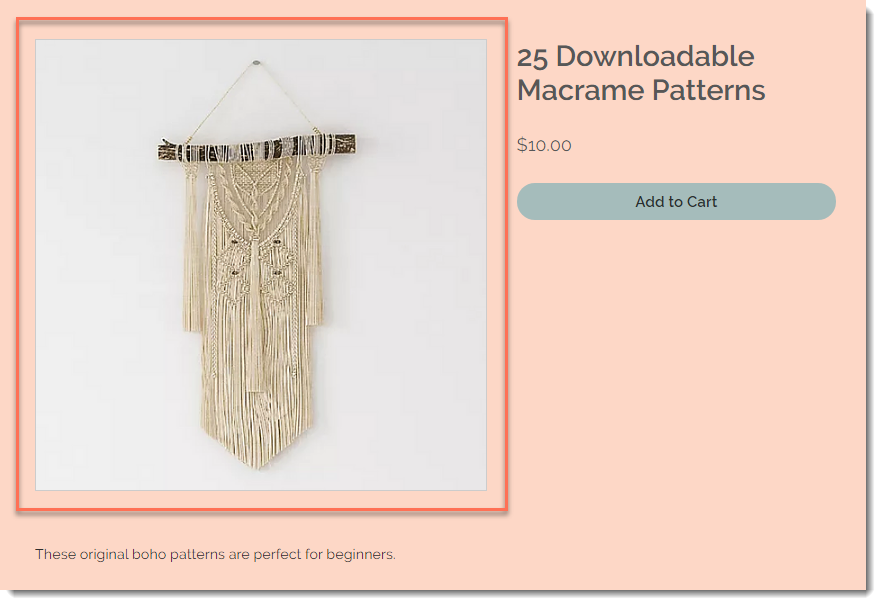
To add product media:
Select an option:Click Add Images to add images or GIFs.
Click Add Videos to add a video.
Click Upload Media to add images, GIFs, or videos and select the relevant media.
Click Add to Page.
Step 4 | (Optional) Add info sections
You can add helpful product information that customers can view on the Product Page.
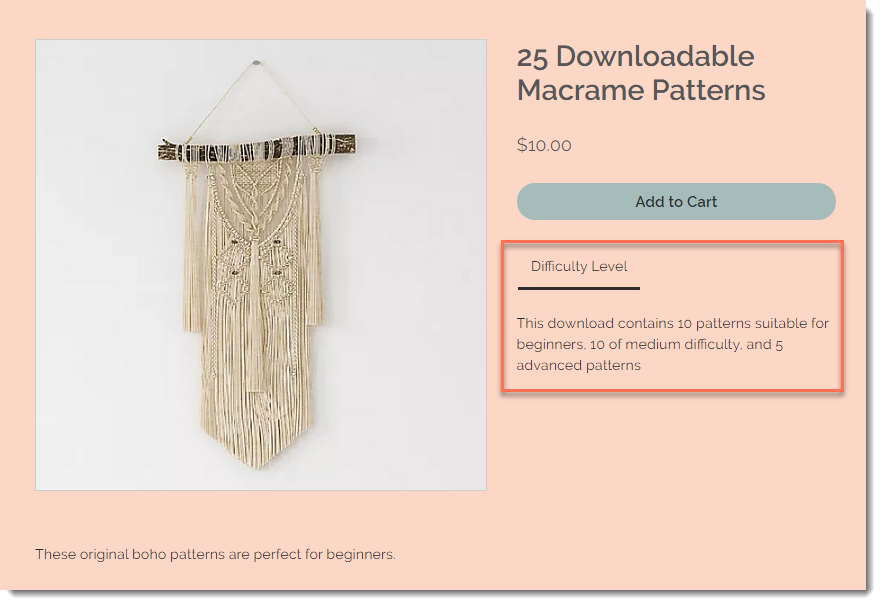
To add an information section:
Click +Add an Info Section.

Enter the title.
Select an option:Add text: Enter the relevant information and use the text editing toolbar to format the text.
Add a table: Click the Table icon to add a table.

Click OK.
Tip:
You can save time by adding the same info section to multiple products at once.
Step 5 | Add pricing information
In the pricing section, you can enter the product price and optionally add a sale price.
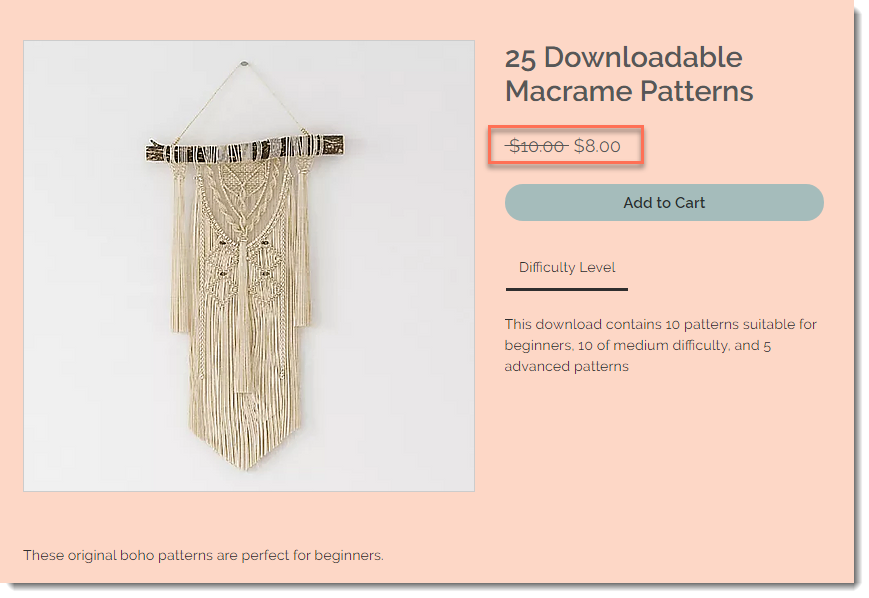
To add pricing information:
Enter the product price.
(Optional) Add a sale to the product:Enable the On sale toggle.
Select an option:Click the price icon and enter the amount of the discount (e.g. $10 off).
 Click the percentage icon and enter the discount percentage (e.g. 10% off).
 Enter the sale price directly in the Sale Price field (e.g. enter a $50 discount price).
Enable the Price per unit display: Learn more
Tip: Price per unit is usually relevant for physical products.Enable the Show price per unit toggle.
Under Total product quantity in units, select the relevant type of unit (e.g. ounces) from the drop-down.
 Under Total product quantity in units, enter the total product quantity in units (e.g. if you are selling a 5 ounce jar, enter "5").
Under Base units, enter the unit you want to measure by (e.g. enter 1 ounce to display a price per ounce).
(Optional) Enter the cost of goods.
Step 6 | Set inventory options
Since this is a digital product, you don't need to track specific inventory amounts. You can, however, add an SKU to your product and set the product as "In stock'.
To set inventory options:
Disable the Track inventory toggle.
Select In stock from the Status drop-down.
(Optional) Enter an SKU.
Step 7 | Save your changes
Click Save to display your product online.
FAQs
Click a question below to learn more about selling digital products.
When does my customer receive the digital product they purchased?
As soon as a customer completes online payment, (or when you receive offline payment and manually mark the order as paid), a confirmation email is sent containing a link to download the product. The link is valid for 30 days.
Can I resend a digital product to a customer?
You can resend the download link to your buyer from the order in the Orders tab. 
Can I sell multiple files together as one digital product?
Yes, you can bundle multiple files together into one product using the .zip format.
How can I protect my digital products?
While it's not possible to prevent the sharing of a digital file, you can add a watermark to the image you upload to represent a digital image that you sell.

Note: Wix stores your digital files in a secure library.
Do I need to collect tax for the sale of digital products?
Tax regulations for digital goods vary by location. Check with your local tax authority to find out what regulations apply in your location.