


Setting up your store
Wix Stores: The 10 Essential Steps to Creating Your Online Store
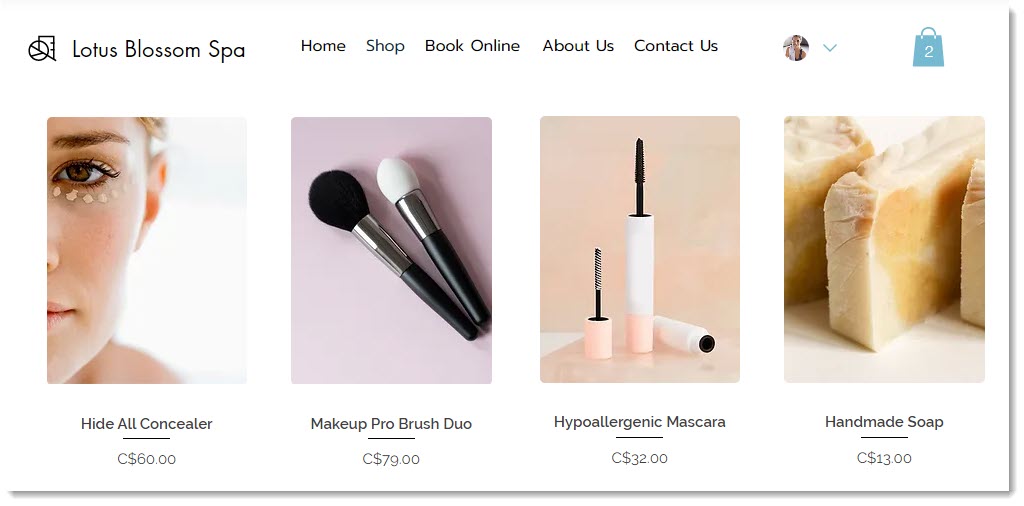
Welcome to the world of eCommerce. This article will guide you through the 10 essential steps you need to create your store.
Tip:
Though these steps are numbered, feel free to do them in any order. Remember, you can go back anytime to edit your settings or add more products.
Step 1 | Create products & product options
A great place to start is with store products. If your products have different options, such as sizes or colors, don't forget to add those up as well.
Tell me more
Products
There are two types of store products: physical items or digital downloads (e.g. PDFs, image files, etc.). Physical products can be sold as one-time purchases, or as part of a subscription model.
Dig deeper:
Physical products Learn more
Digital products Learn more
Product subscriptions Learn more
Product Options
If your product comes in different sizes, colors, materials or other variations, be sure to add product options so customers can choose the option they want. You have the option of tracking inventory for each variant.
Dig deeper:
Product options Learn more
Step 2 | Create categories & display them on separate pages
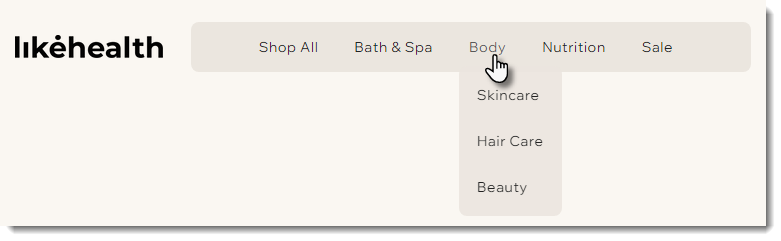
Categories let you group similar products so they can be displayed together on your site.
Tip:
If you sell only one type of product or a small overall number of products, you may choose to display all your products together in one "Shop" page.
Tell me more
Step 3 | Enter your site settings
Enter all the basic details needed for your site to function smoothly. These include the email address where you'll be contacted, your location, language, and currency.
Tell me more
Click Settings, and then enter your information (address, language, etc.) in the General section. If you have employees or partners, go to the Roles & Permissions section to give them limited access your site.

Dig deeper:
Site settings Learn more
Roles & permissions Learn more
Step 4 | Choose shipping, local delivery, & pickup options
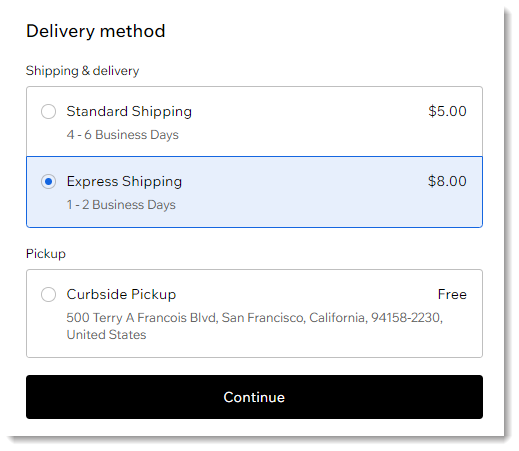
Time to figure out how to get your products to customers. For each location you want to sell to, set up any or all of the following options:
Shipping: Ship products to customers.
Delivery: Hand-deliver to customers who live in your area.
Pickup: Allow local customers to pick up products from any of your physical locations.
Tell me more
Wix stores has a wide variety of shipping rules to suit every kind of store, from flat rate shipping to rates that vary by weight and more.
Note: You can also offer customers the choice of paying more for faster delivery (e.g. Express Shipping).
Dig deeper:
Shipping, delivery, and pickup Learn more
Step 5 | Set up tax
Make sure to set up tax collection to comply with local tax laws.
Tell me more
You can manually enter how much tax you need to collect and from customers or you can set up automated tax collection with Avalara.
Dig deeper:
Tax setup Learn more
Step 6 | Set up payment providers
Before you can start selling products, you must set up a way for customers to pay you.
Tell me more
Connect at least one payment method so you can start selling. Choose from:
Wix Payments
Credit card payment providers
PayPal (which can also be used to process credit card payments)
Payment providers that let customers pay in installments (where available)
Manual (offline) payments
and more
The payment options available vary according to where you are located.
Dig deeper:
Set up a payment provider. Learn how
Step 7 | Choose additional checkout and store settings
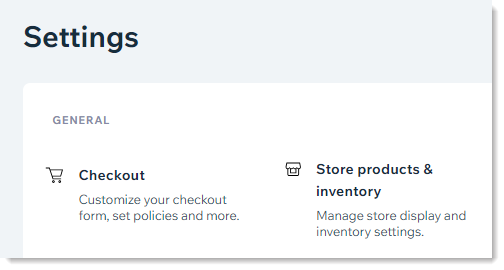
Click the Settings tab in your dashboard to access additional settings. In the Checkout section, you can customize your site's Checkout Page. Note that these setting update the Checkout Page for Wix Bookings and Wix Restaurants Orders too, if you use them.
The Products & inventory section has additional customizations specific only to Wix Stores merchants.
Tell me more
In the Checkout section, you can customize your site's Checkout Page. You can add fields to collect additional information from customers checking out, add store policies, enable payments with gifts cards, and more.
In the Products & inventory section, you'll find a variety of settings to help run your store the way you want to. These include adding a minimum order subtotal and displaying tax or shipping information beside product prices.
Dig deeper:
Customize your Checkout settings. Learn how
Customize your Products & inventory settings:
Step 8 | Design the look of your store
Edgy, classic, funky.... whatever your look, you can customize the design of your site to get the perfect style for your brand.
Tell me more
Select layouts, colors, and fonts to match your look and be sure to check out all the other settings that can be customized.
Dig deeper:
Product Gallery Learn more
Product Page Learn more
Mini Cart Learn more
Note: The Mini Cart is being replaced by the Side Cart.Cart Icon Learn more
Cart Page Learn more
Checkout Page Learn more
Thank You Page Learn more
Step 9 | Customize your members area
The Members Area is where your customers can view upcoming and past orders, edit their saved addresses and credit cards and more.
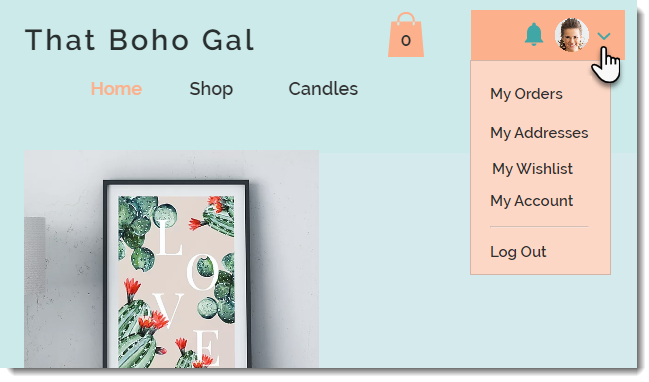
Tell me more
Customize the Members Area design so that it matches the rest of your store.
Dig deeper:
Members Area Learn more
Step 10 | Upgrade and go live
It's time to go live. Make sure to follow these last steps so customers can make purchases.
Tell me more
Upgrade your site to a Premium plan or Studio plan that allows you to accept payments.
Publish your site.
Tip: Connect a domain to give your site a professional look