


Using the Wix app for Wix Stores
Wix Stores: Start Selling in the Wix Member Apps
To get started selling in the Wix member apps, download the Wix app and the member app your customers use to connect with you (Spaces by Wix, Fit by Wix, Dine by Wix or Branded App by Wix).
Step 1 | Download the Wix app
The Wix app is where you'll set up and manage your store on the go. You can add products, manage inventory, set up shipping and tax, and fulfill orders.
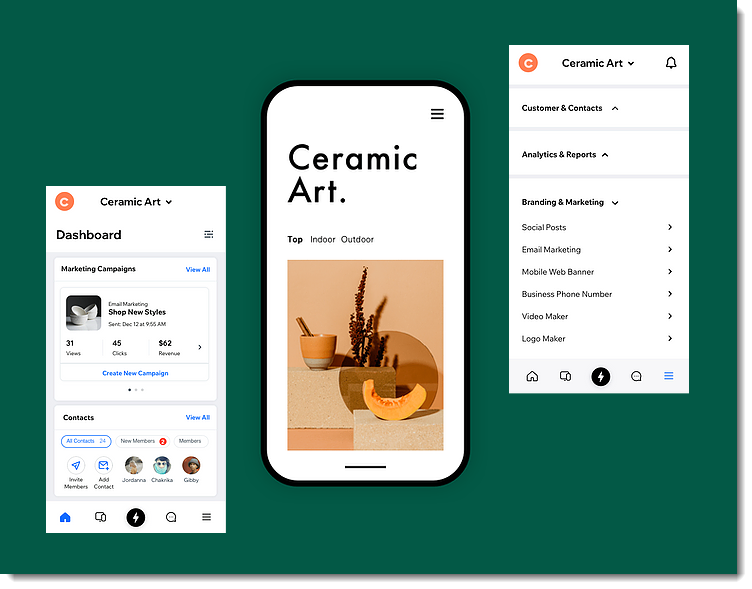
To download the Wix app:
Go to the Apple App Store (on iPhone) or Google Play (on Android).
Type 'Wix app' in the Search field.
Click Get or Install to download the app.
Download the Wix app right to your phone using these links:
If you are accessing this article on your phone, click the links below to download the Wix app:
Step 2 | Download the relevant member app
Visitors connect to your business and can purchase your products using one of the Wix member apps.
Wix offers the following member apps:
Spaces by Wix: The Spaces app is recommended for most general sites.
Branded App by Wix: Design a custom app for your site with your own branded app.
Fit by Wix: The Fit app is specially designed for fitness businesses (e.g. gyms, yoga studios).
Dine by Wix: The Dine app is specially designed for restaurants.
Once someone downloads a member app and connects to your store from their mobile device, they can purchase products, view their orders, and stay up to date with announcements.
Download the relevant member app so you can view your business as your customers see it.
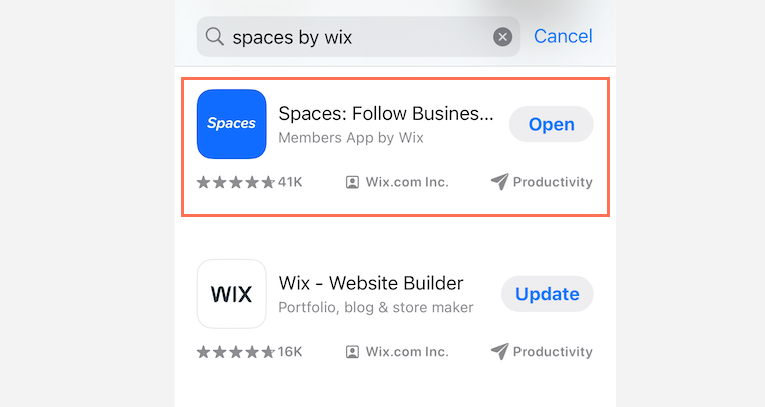
To download a member app:
Go to the Apple App Store (on iPhone) or Google Play (on Android).
Enter the name of the member app you want to download in the Search field (e.g. Spaces by Wix, Fit by Wix, Dine by Wix, Branded App by Wix).
Click Get or Install to download the app.
Viewing this article from your mobile device?
If you are accessing this article on your phone, click the relevant link below to download a member app to your device:
Step 3 | Build your store
Now that you have downloaded the apps you need, it's time to start creating your store. First, add store products from the Wix app. If you have a lot of products, you can organize them into different categories (e.g. men, women, kids). Then, to get ready to start selling, set up a payment method as well as shipping and tax preferences.
To add a store to your site on the member apps:
Go to your site in the Wix app.
Tap Manage
 at the bottom.
Tap Manage Apps.
Tap Add next to Store.
Build your store. Click the relevant links to learn more:Add products
Organize products into categories
Set how you want to accept payment
Set shipping, delivery, and pickup options
Step 4 | Customize your member app
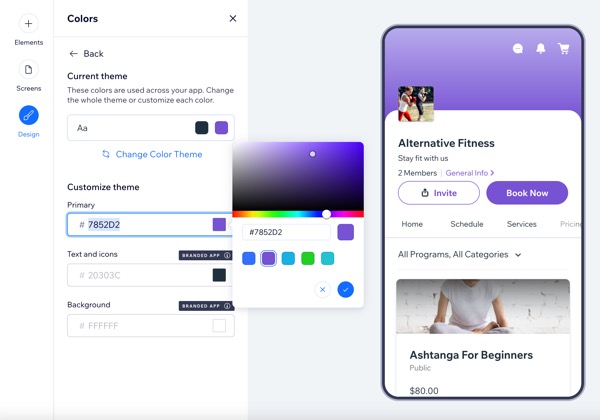
Customize every aspect of your site as it appears in the member apps to put the most important information and actions front and center. You can add your logo and header, customize the app colors and much more. Customizations to the member apps do not affect the look of your desktop site.
Learn how to customize your site on the member apps.
Step 5 | Customize your store in your member app
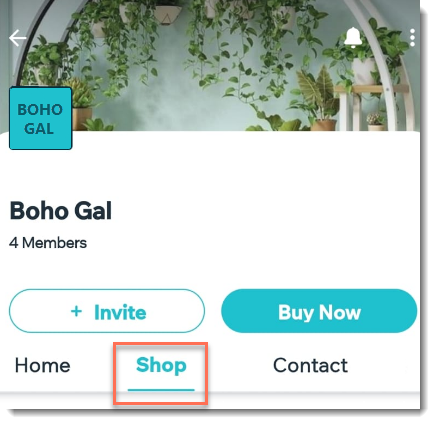
By default, there is a Shop tab that displays all your products. You can customize your app so that you display different categories in different shop tabs (e.g. menswear, womenswear, children's clothing).
Notes:
Tabs you create in the app do not affect your desktop site.
It is not currently possible to sell product subscriptions in the member apps.
Products that you've hidden from your store won't appear in the member apps.
Learn how to:
Step 6 | Invite visitors to connect to your member app
When your site is ready, you can invite your customers, clients, and contacts to download your member app and connect to your site. When you send an invite, contacts receive a link to download the relevant member app. From there, your members can engage with your shop and other parts of your site.