Setting up shipping & fulfillment
Wix Stores: Setting Up a Flat Rate Shipping Rule
Important:
We're in the process of rolling out new shipping settings. If you have a Create Region button instead of Add Region, then you have the new version. Learn how to set up shipping using the new settings.
Set up flat rate shipping to charge the same rate for all purchases delivered to a certain region.
Step 1 | Create or Select a Shipping Region
To start, create the region the shipping rule applies to.
Tip:
If you already created the shipping region, just select it and move on to step 2.
A region can be made of one or more countries. Alternatively, it can be made of one or more regions within a country. You can set up different shipping regions for your store. For example, a merchant might set up 4 shipping rules: a local shipping region for California, a region for the rest of the US, another for Mexico and Canada, and finally one for the rest of the world.
Important:
If there is no rule for a region, customers from that region cannot make store purchases.
If you previously set up shipping (and tax) in a merchant account (e.g. in PayPal), remove these settings before starting.
Can't find a shipping region you need? Contact us to let us know which region is missing.
Show me how
Go to the Shipping & fulfillment settings in your site's dashboard.
Select an option:Edit a default rule: Click the region you want to set up.
 Create a new rule:Click Add Region.
Click +Add destination, start typing a country name and select it.
(Optional) Select specific region(s) within a country (Not all countries have local regions):Click Edit next to the region number.
 Deselect the checkboxes next to the regions or states you don't want the rule to apply to and click Done.

(Optional) Click the title (e.g. Region 2) and rename it (e.g England & Scotland).

Click Done or move directly on to the next step.

Step 2 | Set Up a Flat Rate Shipping Rule
Now that you've selected a region, it's time to set up the Flat Rate rule for that region.
Show me how
Select Flat Rate from the Select how shipping is calculated drop-down.

Enter a name in the Shipping Option Name field (e.g. Standard Shipping).
(Optional) Enter a time in the Est. Delivery Time field.
Enter the shipping rate.
(Optional) Offer free shipping on orders above a specific price:Click the Offer Free Shipping when customer buys over a certain amount checkbox and enter the amount.
Note: If you create additional shipping services (e.g. priority shipping), this checkbox must be selected and the amount specified to apply to each rule.
Click Add another Delivery Option to add an additional options (e.g. Express Shipping).
(Optional) Check the Add a handling fee to every order checkbox and enter the handling fee.
Click Save.
Step 3 | Offer Local Delivery or Pickup options
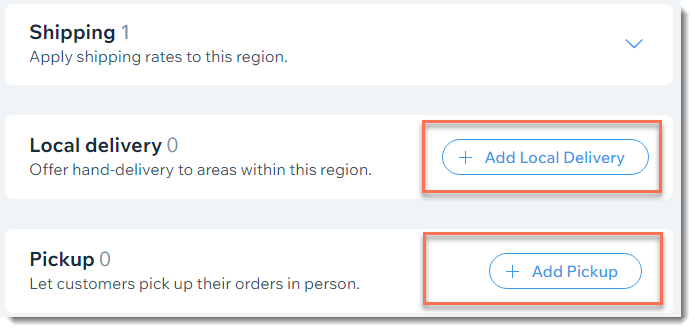
After saving your shipping rule, you can select the region again and add local delivery or pickup options.