


Managing your orders
Wix Stores: Fulfilling Store Orders
You just made a sale. Congratulations! The next step is processing the order. This can include shipping the order, adding a tracking number, printing a packing slip and more.
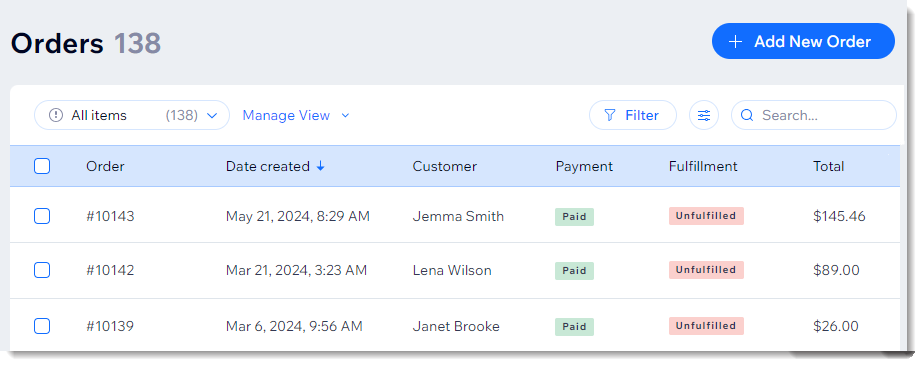
Show me how to access my orders
Most orders appear in the Orders tab as soon as the customer completes the purchase.
Note: A few payment providers (e.g. Boleto, Konbini, and Komoju) do not process payments immediately. In this case, the orders appear only after the payment has been processed (can take a few days).
To access your orders:
Go to Orders in your site's dashboard.

Click a specific order to view details and make changes.
In this article, learn how to:
Manually marking orders as "Paid"
If an order was placed using the Manual payment method, you must manually mark it as 'Paid' for your inventory to update and for any applied coupons to be considered as used.
Tip:
If you received partial payment, you can enter a custom amount.
To update the payment status:
Go to Orders in your site's dashboard.
Click the relevant unpaid order.
Click the Collect Payment drop-down and select Mark as Paid.
(Optional) Select a custom amount (i.e. accept partial payment):Select the Mark a custom amount as paid checkbox.
Enter the amount.
Note: Must be less than the order total.
Click Mark as Paid to confirm.
Note: This cannot be undone.
Digital Products:
As soon as a digital product is marked as "Paid", an email is sent to your customer with a link to download the file. The order status automatically changes to "Fulfilled".
Learn more about collecting payment for unpaid orders.
Marking orders as "Fulfilled"
To keep track of the orders sent to customers or picked up, make sure to mark them as "Fulfilled" as soon as they are processed.
To mark an order as "Fulfilled":
Go to Orders in your site's dashboard.
Select an order.
Click More Actions at the top right.
Select Mark as Fulfilled:(Optional, if the order is unpaid) Select the Mark Order as Paid checkbox.
(Optional) Send your customer an email:Shipping or delivery orders: Select the Send shipping confirmation email checkbox.
Pickup orders: Select the Send pickup ready email checkbox.
Click Mark as Fulfilled to confirm.
Tip:
You can change the status of an order back from "fulfilled" to "unfulfilled" by following the same steps and selecting Mark as Unfulfilled in step 4.
Adding tracking numbers
Tracking numbers help you and your customers follow the progress of packages as they make their way to their destinations.
Learn how to add tracking numbers to orders.
Learn how to scan tracking numbers on your phone using the Wix app.
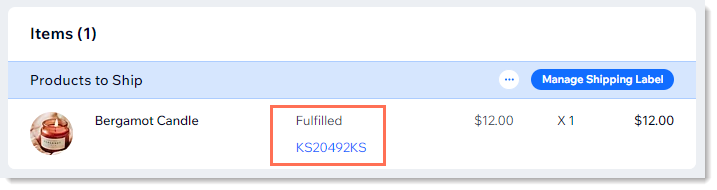
Customers can find an order's tracking number in the shipping confirmation email and in their My Orders page. You can locate them in the Orders tab in the Wix dashboard.
Fulfilling local delivery and scheduled orders
Learn how to add tracking numbers to orders.
Learn how to scan tracking numbers on your phone using the Wix app.
If you offer your customers local delivery - especially if you allow them to choose the time slot they prefer - you'll need to customize the look of the order page to help you see at a glance which orders need to be delivered at specific times. Learn how to customize the Orders tab for local delivery.
Printing packing slips
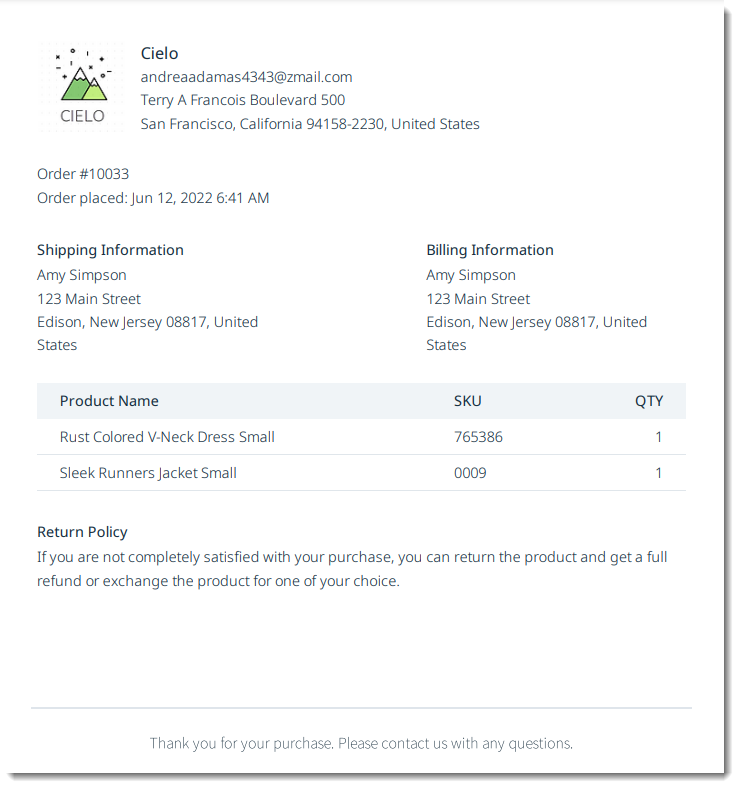
Packing slips display the order number, shipping and billing addresses, the products purchased, as well as your store policies.
Notes:
Packing slips are not available for dropshipping or digital orders.
You can print a packing slip for pickup and local delivery orders.
To print a packing slip:
Go to Orders in your site's dashboard.
Select an order.
Click the More Actions icon
 .
.
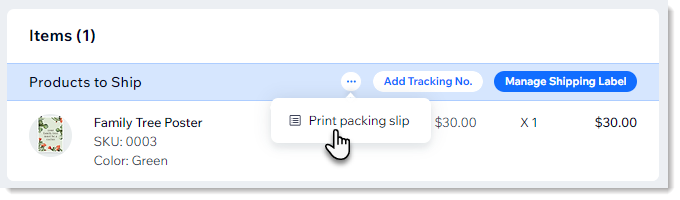
Select Print packing slip.
Click the Print icon
 .
.Click Print.
Below is a sample packing slip:
FAQs
Click a question to learn more.
How can I mark an order as "partially paid"?
When marking an order as paid, you can enter a custom amount. For example, if the order total was $100 and you received $60, you can enter that as the custom amount. The order status will change to "Partially Paid".
Can I change the status from "Paid" to "Unpaid"?
Once an order status was changed to "Paid", it cannot be changed back.
Can I edit an order?
Yes. You can add or remove items from the order, add a fee, tip, or discount, and more. You can also edit your customer's details, including the shipping address.
Learn how to edit orders.
Can I print an order?
Yes, you can print any store order to create a hard copy.
Select the checkbox next to one or more orders and click Print Orders.

How can I customize the columns in the Orders tab?
Handle orders more efficiently by viewing only relevant information. You can do this by filtering your orders and customizing the columns in your order list. To increase efficiency, save the views you go back to again and again