


Designing your store
Wix Stores: About Your Store Pages
When you create a store with Wix Stores, it adds the following special pages to your site:
Category Page
Product Page
Cart Page
Checkout Page
Thank You Page
Learn more about each of the pages that make up your online store.
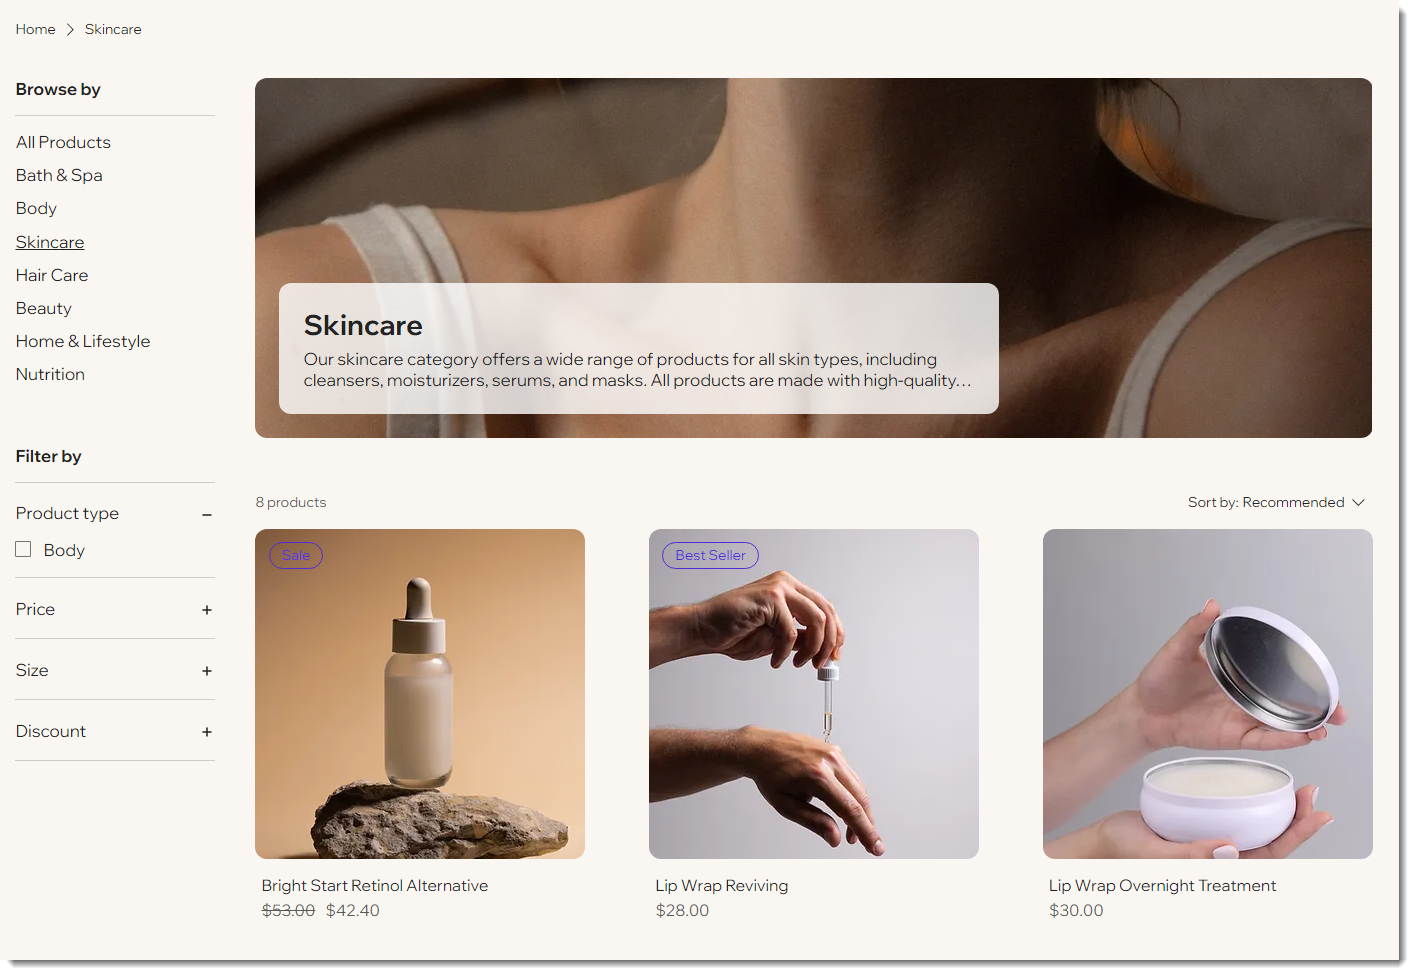
Showcase products in your Category Page
Important:
We're in the process of releasing a new Category Page, which replaces the shop page. If you do not yet have the Category Page, click this link to learn about store pages.
When you add Wix Stores, it comes with the Category Page, where you can display all your categories and products. If your shop has a small number of products and you don't have multiple categories, you can hide the category list.
Tip:
In addition to this page, you can display any of your categories on other site pages using a Product Gallery.
Share product details in the Product Page
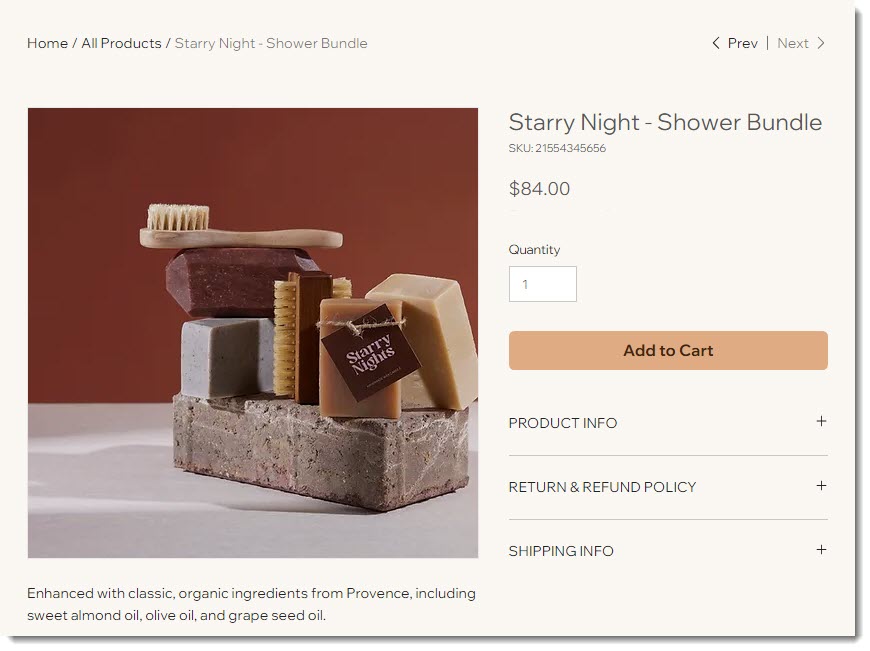
The Product Page is where customers can learn more about each of your products.
Since the page is dynamic, you customize it once. The settings you select apply to all products. The content (e.g. product name, images, description) changes according to the product your customer is viewing.
Let customers add products in the Cart Page
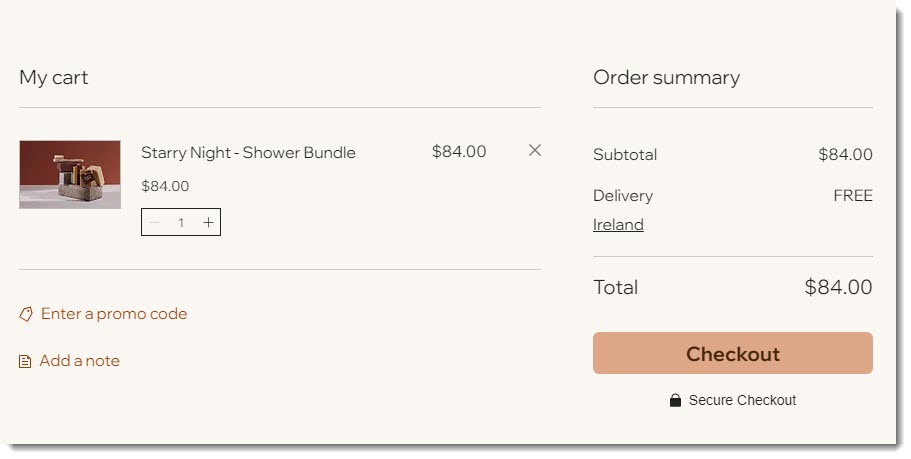
When a customer clicks the "Add to Cart" button, the product is added to the Cart Page. From there, your customer can continue shopping or proceed to checkout.
You can add or remove elements from the Cart Page. For example, if you don't use coupons, you can remove the "Enter a promo code" link. In addition, you can customize the design to fit your business's branding.
Complete sales on the Checkout Page
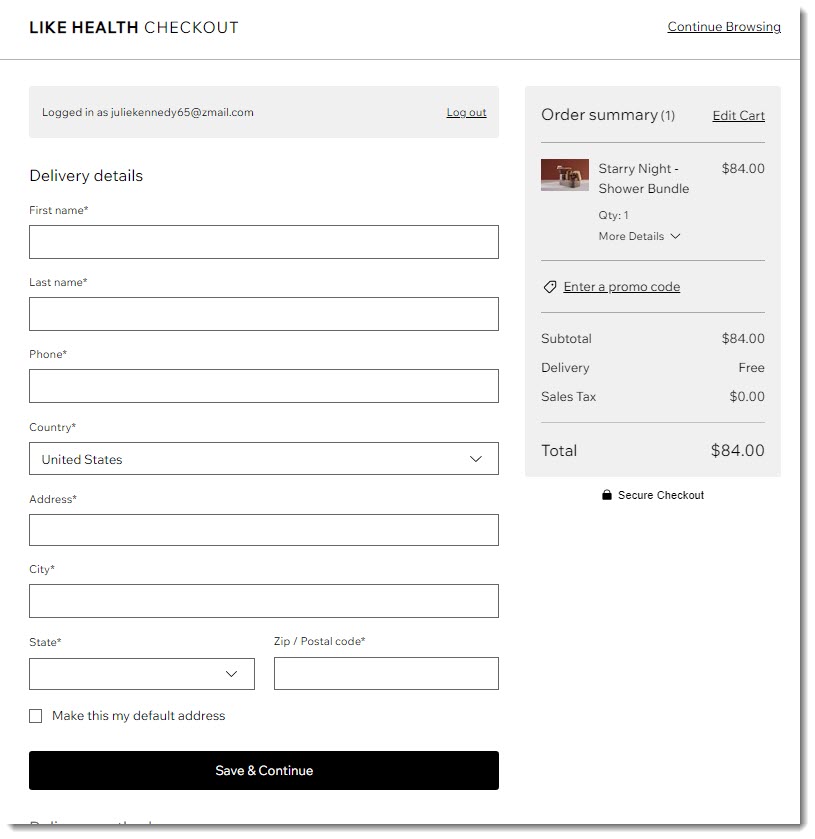
When customers are ready to complete a purchase, they go to the Checkout Page.
You can make changes to this page to suit your business needs. For example, you can display your logo at the top of the page, add store policies, or customize the fields that customers fill out.
Note:
Since the design of the Checkout Page cannot currently be customized, it is not possible to access it in the Editor.
Adding more store elements to your site
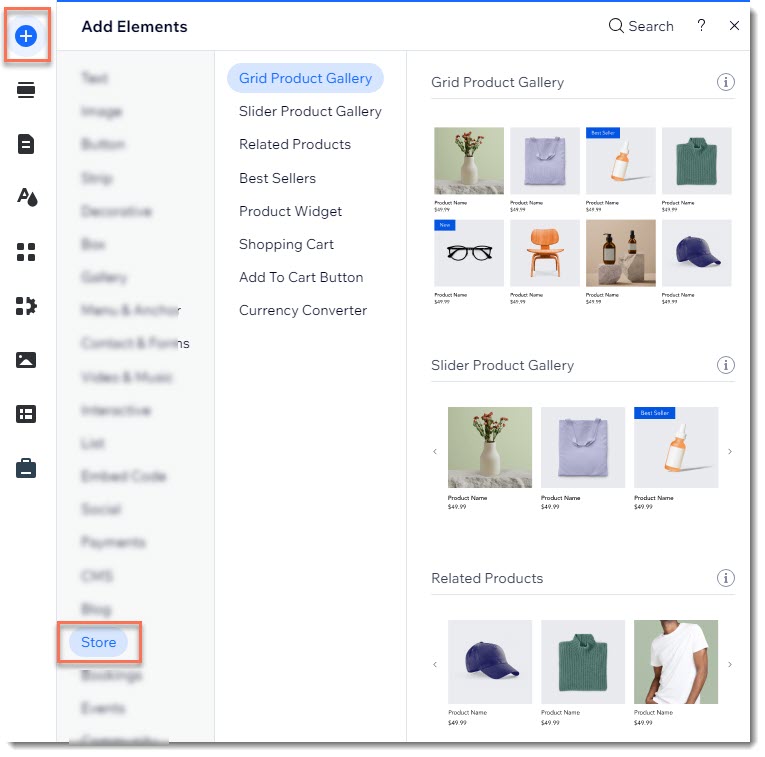
In addition to the store pages, which are an integral part, there are store elements that you can add to any site page. These include the cart icon, and currency converter.
There are elements you can use to display products, like a Slider Product Gallery or a Product Widget, which lets you showcase a single product.
Access and add these elements directly from your Editor, in the Add Elements panel.
Deleting store pages
The Category Page, Product Page, Thank You page and Cart page are essential to the workings of your store and cannot be deleted. You can, however, delete a page with a store element that you previously added (e.g. product gallery).
Tip:
If you do not want to display the Category Page, you can remove it from your menu so customers can't access it.
To delete a site page:
Click Pages
 on the left side of the Editor.
Click Main Pages.
Click the More Actions icon
 next to the page you want to delete.
Select Delete.
Click Delete to confirm.