


Setting up Retail POS hardware
Wix Retail POS: About Your HP Tablet
Important:
This article is about Wix Retail POS tablet for brick & mortar businesses.
For info on using POS on a mobile device, click here.
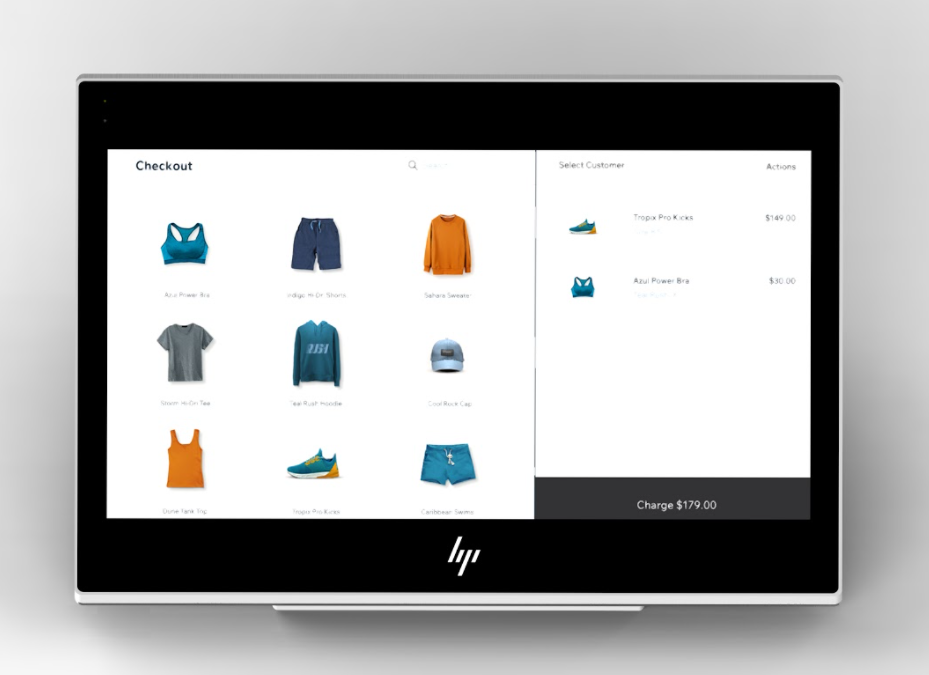
The HP Engage One Prime tablet is where you make sales, manage staff hours, and more.
In this article, learn more about:
Setting up and activating the tablet
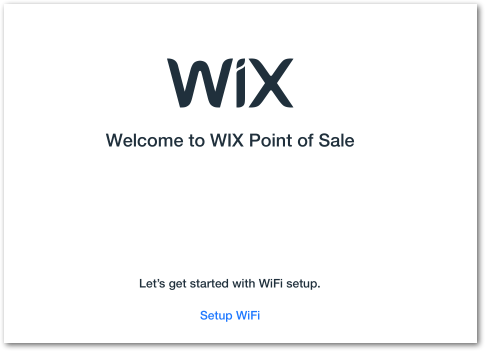
When you turn on the tablet for the first time, you'll see a step-by-step guide that walks you through the setup process. Connect the tablet to your Wi-Fi network, then log in to your Wix account.
To set up the tablet:
Turn on the tablet.
Set up the Wi-Fi connection:Tap Setup Wi-Fi at the bottom of the screen.
Tap the network you want to connect to.
Important: Connect to your own Wi-Fi account, not a public one (e.g. a mall's Wi-Fi)
Enter your Wix account's email and password and tap Log In.
Note: If you have more than one Wix account, make sure to log into the account with the site you want to connect to.Tap Let's Go! at the bottom to get started.
Connect the tablet to the rest of your hardware.
Tip: You can always check the status of your hardware to make sure everything's connected properly.
Navigating the POS app
Your tablet comes with the Wix POS app pre-installed. When you turn the tablet on, this app is the only one that appears.
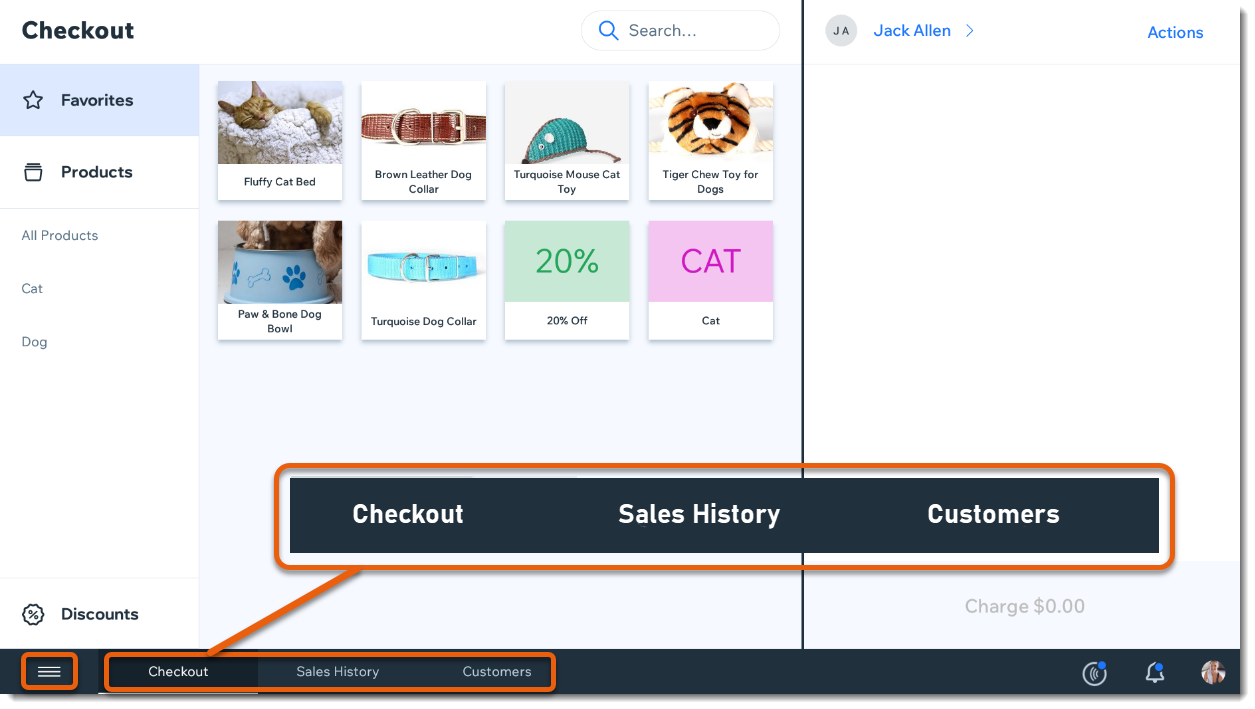
The Wix POS app includes a main menu, always available at the bottom left corner of the screen as well as other links accessible from the bottom bar.
Tell me more
Tap the Menu icon  to access the following:
Reports: View reports about sales, cash, logged work hours, and more.
Catalog: Manage your products, services, categories, and saved discounts.
Cash register: Enable cash register management.
Settings: Access most functions, including setting up tax and receipts, adding new staff, checking your hardware status, and updating the POS tablet.
Help: Access help articles, right in the tablet.
From the bottom bar, you can easily get to the following:
Checkout: Tap to make a sale.
Sales History: View a log of all your sales, both online and via the POS and issue receipts.
Customers: View and manage your list of saved customers.
Syncing the tablet with your site
When you make changes (e.g. add new items to your catalog, make sales) at your point of sale or on your site, the information syncs so it appears after a short time on both platforms. You can also manually sync to speed up the process.
To sync with your site:
Open the POS tablet.
Tap the Menu icon
 at the bottom left.
Tap Settings.
Scroll down and tap App & Tablet.
Tap Re-sync Data.
Tip:
You can also pull down the Products, Services, Catalog, Sales History, or Customers pages to resync them.
Updating the POS software
Check periodically for software updates and install them when available.
To update the software:
Open the POS tablet.
Tap the Menu icon
 at the bottom left.
Tap Settings.
Scroll down and tap App & Tablet.
Tap Check for Updates.
Tap to install available updates.