


Selling event tickets
Wix Events: Designing a Ticket PDF for Your Event
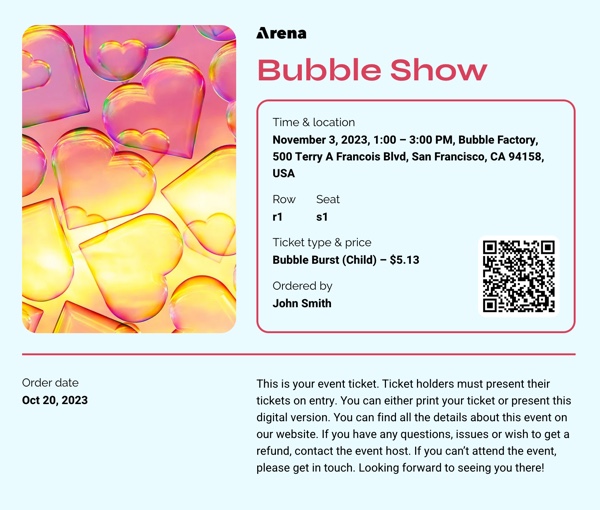
Design a Ticket PDF to match the theme of your event or business. This is a great way to build excitement among guests and help with brand promotion.
You can customize each ticket for easy event organization based on seating, entrance location, or ticket type (e.g. child and adult).
Before you begin:
Before you can design a Ticket PDF, you must create a ticketed event.
Step 1 | Access your ticketed event
To get started, access the relevant ticketed event. You can design a Ticket PDF for new events or update the ticket design for existing events.
Note:
To edit your ticket design, you need to save your changes first.
To access your ticketed event:
Go to Events in your site's dashboard.
Click Manage next to the relevant event.
Click the Tickets and Seating tab.
Click Edit next to the ticket type.
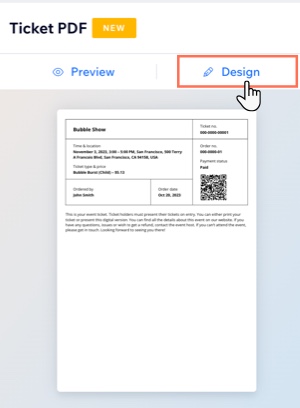
Click Design under Ticket PDF.
Step 2 | Design your Ticket PDF
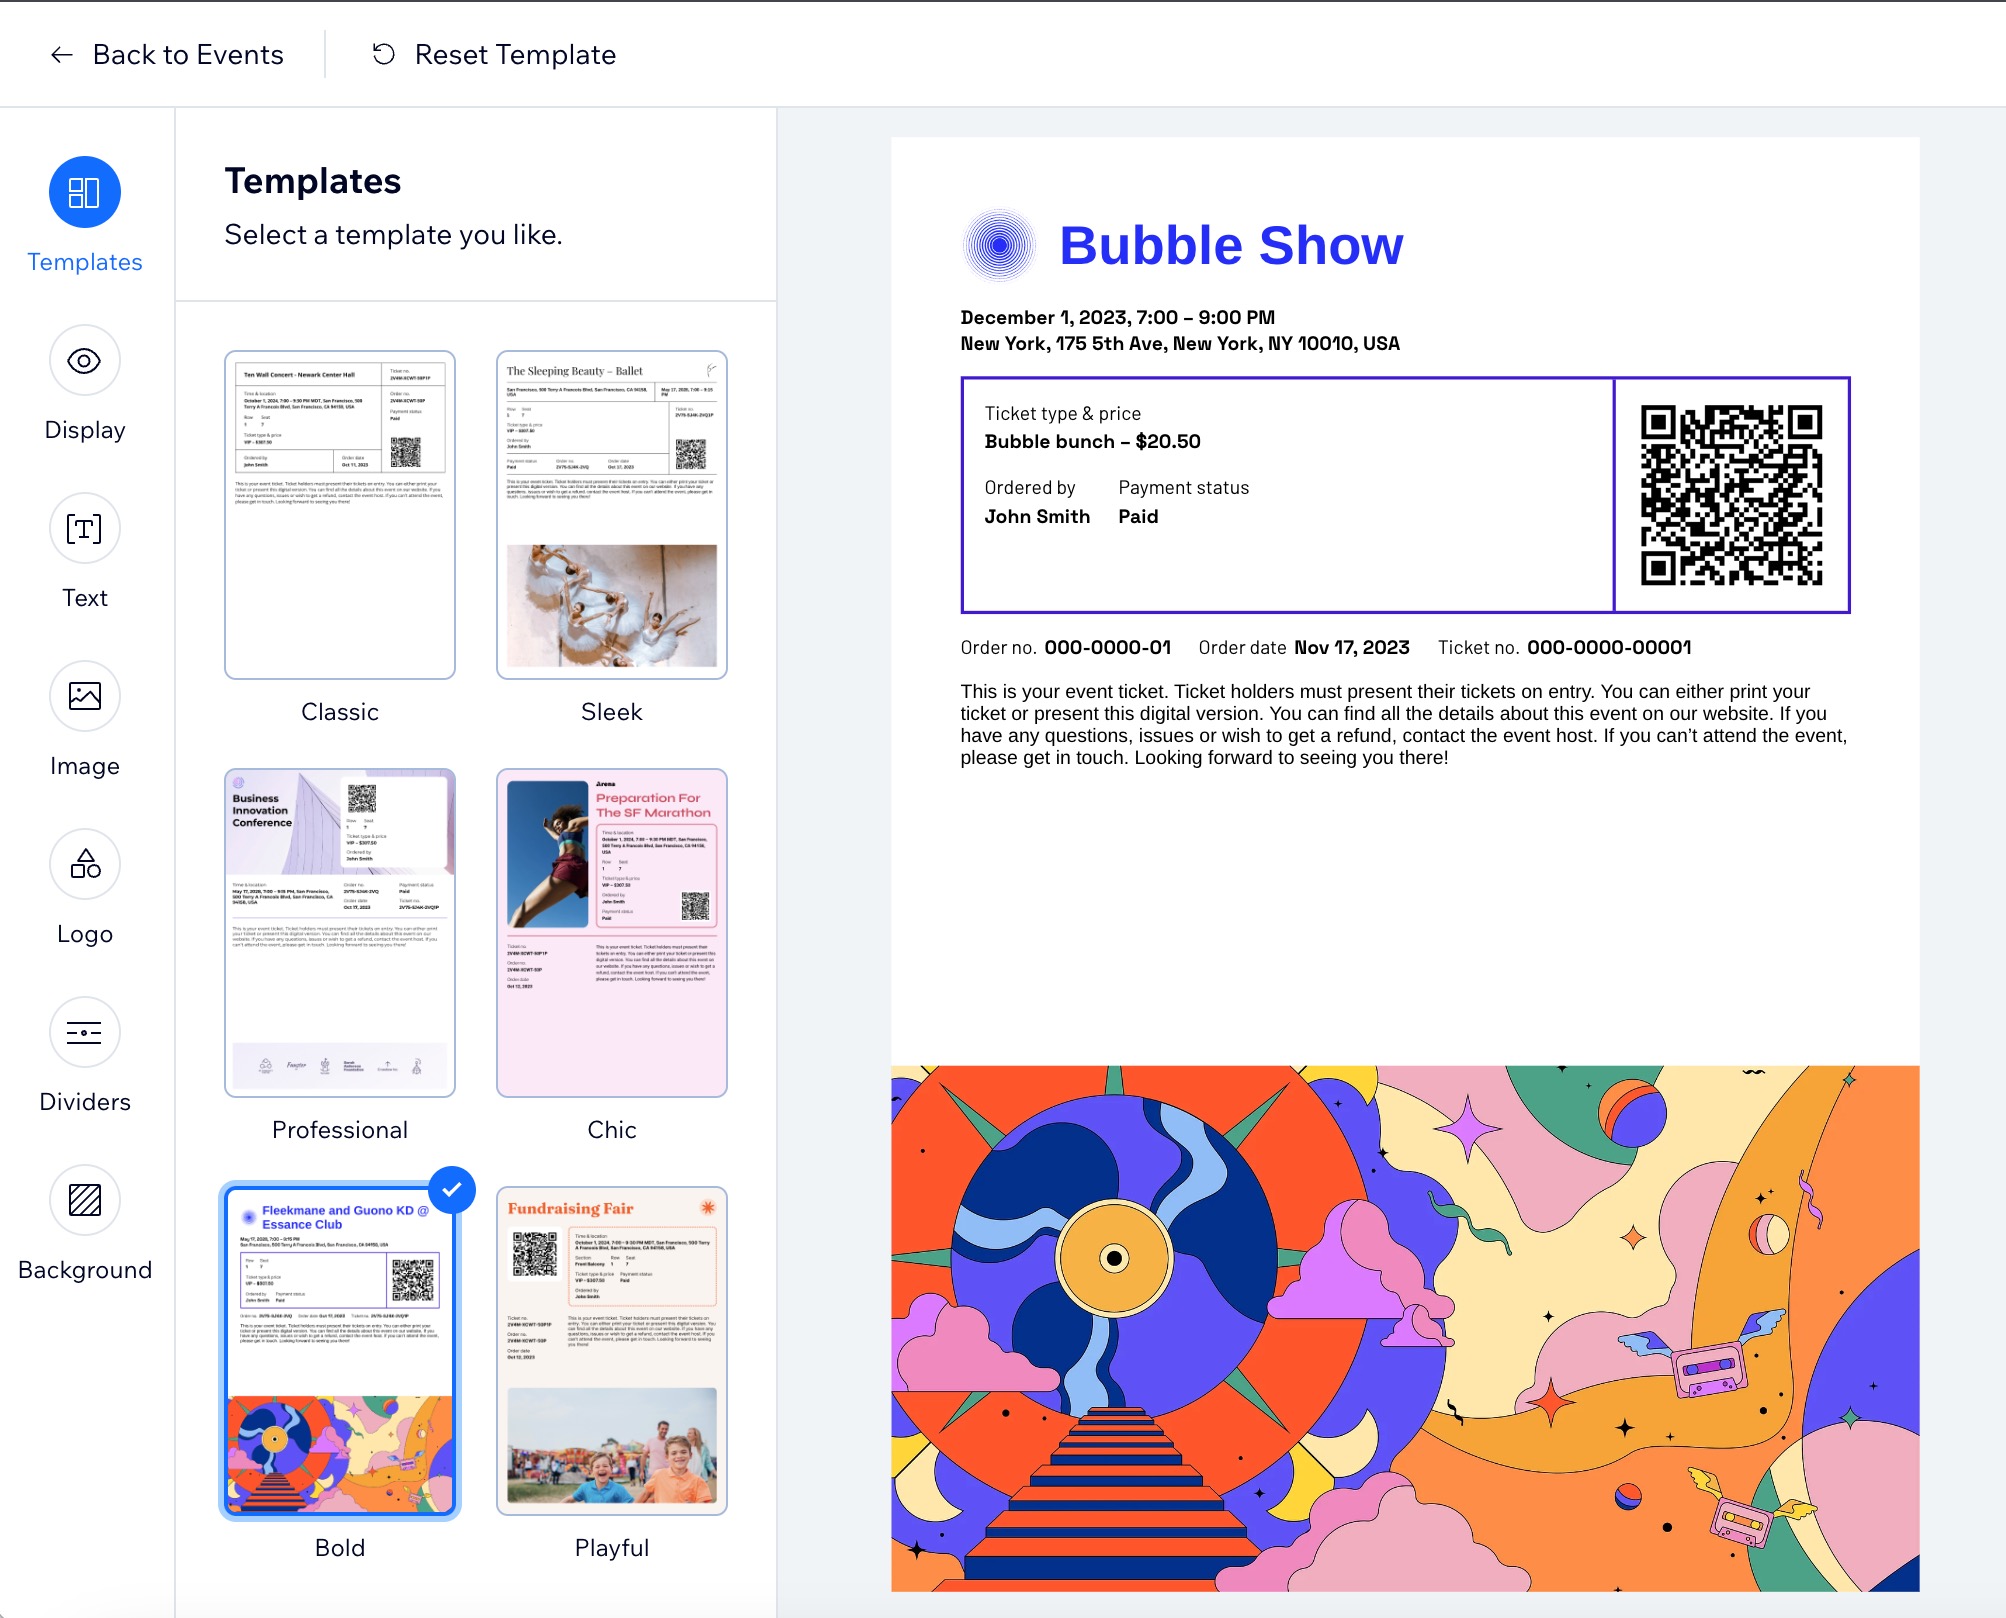
Design a new event ticket or revamp an existing ticket with a fresh look. Start by selecting a template of your choice and choose what event information appears on the ticket. You can also customize the ticket background, style the text, and add your own logo to promote your business.
To design your Ticket PDF:
Click the tabs on the left to customize your Ticket PDF:
Template
Select a design that suits your event.
Click Templates.
Select the desired template.
Display
Choose what information appears on the ticket.
Click Display.
Enable the toggle next to the info you want to show on the Ticket PDF (e.g. order number, QR code, Ticket & price).

Text
Customize the style of your event text in each of the four categories (e.g. event title, ticket details title, ticket details, and ticket policy).
Click Text.
Hover over the relevant text and click Customize.
Choose what you want to customize and format your text (e.g. font, size, color).
Image
Add an image to showcase your event.
Click Image.
Upload your desired image.
(Optional) Edit the image using the Wix Photo Studio.Click Save.
(Optional) Click the relevant option to resize your image
Logo
Promote your brand by adding your own logo.
Click Logo.
Choose what to do next:Replace the existing logo: Hover over the logo and click Replace. You can choose a new file from the Media Manager.
Edit the existing logo: Hover over the logo and click Edit. You can use the Wix Photo Studio to make adjustments.
Create a logo: Use the Wix Logo Maker to design your own logo.
Dividers
Customize the divider style and color.
Click Dividers.
Choose how to customize the divider:Select a different style: Click any divider style to apply it.
Change the color: Click the color box and select the color you want.
Change the size: Set the size of the divider.
Background
Pick a color or upload an image for the background of your ticket.
Click Background.
Choose how to customize the background:Change the color: Click the color box and select the color you want.
Add an image: Click the Add icon below Upload image, then (in the Media Manager) select or upload your image.
Opacity: Drag the slider to change the transparency of the ticket color.
Step 3 | Apply your design to the Ticket PDF
Once you've designed your ticket, click Apply at the top right. Then, click Back to Events at the top left to edit any necessary ticket information.
Note:
For events already live, updated ticket designs apply only to new guests. Tickets issued before the update stay the same.
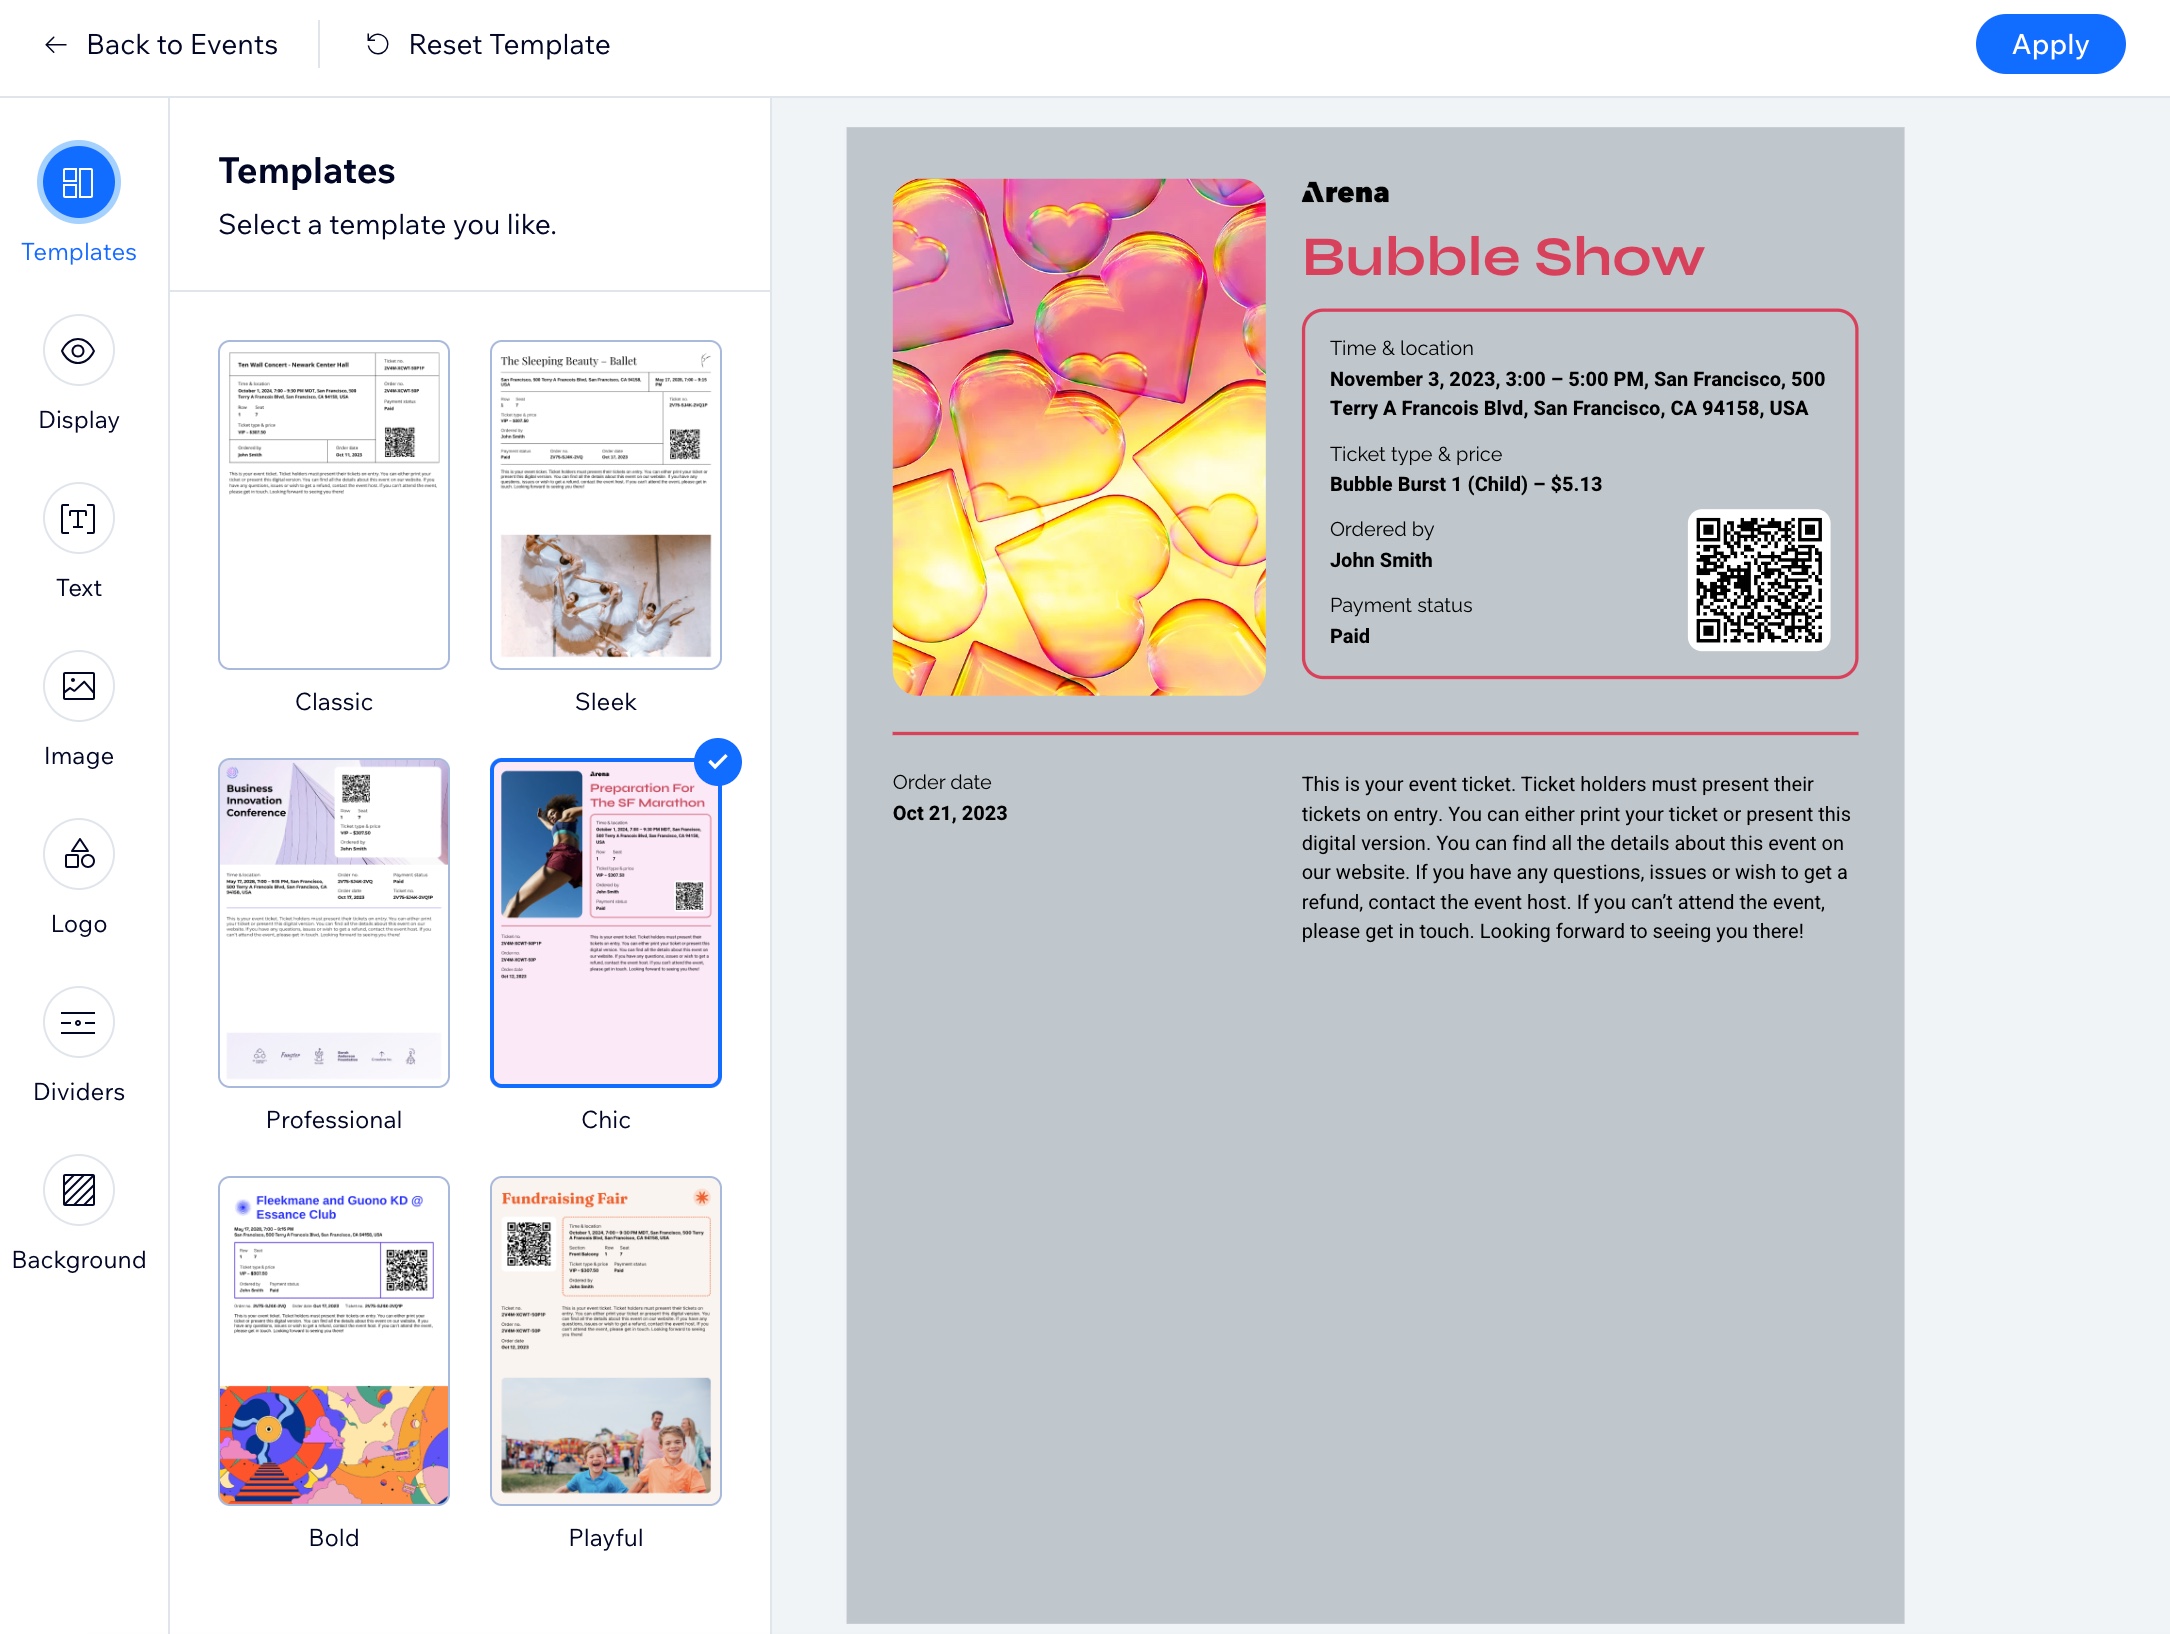
Preview how your ticket looks:
Go to Events in your site's dashboard.
Click Manage next to the relevant event.
Click the Tickets tab.
Click Edit next to the ticket type.
Click Preview under Ticket PDF.
