


Creating your event
Wix Events: Creating and Managing Event Categories
Create categories for your events to keep them organized. This also allows you to display different types of events on different site pages.
In this article, learn more about:
Creating an event category
Start by choosing a name for your category. Then, select the events you want to place in that category.
To create an event category:
Go to Event Categories in your site's dashboard.
Click + New Category.
Enter a category name and click the Checkmark icon
 .
.
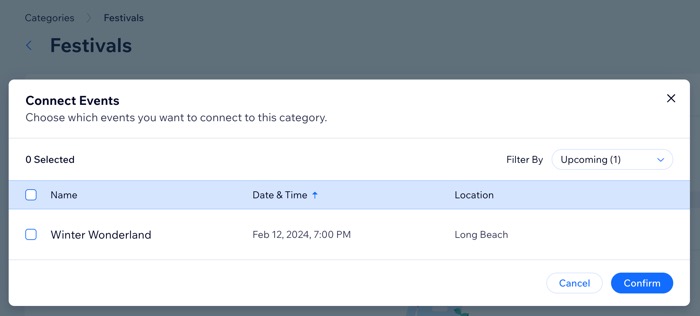
Note: This name doesn't appear on your site. You use it to select a category to display.Click + Connect Events.
Select the checkbox next to the relevant events, or the checkbox at the top to select all events.
Tip: You can adjust the filters at the top right to view specific events.Click Confirm.
Adding or removing an event from a category
When you create a new event or edit an existing one, you can select which categories it belongs to.
To add or remove a category from an event:
Go to Events in your site's dashboard.
Click the relevant event.
Click Edit Details under Event details.
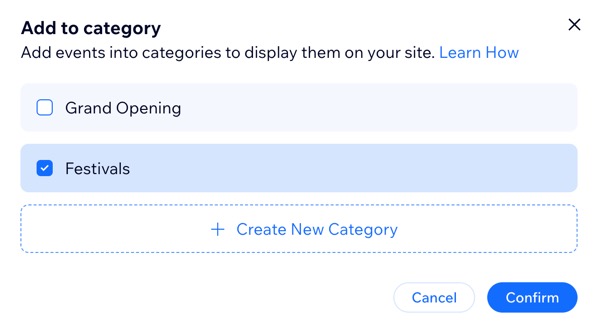
Choose what you want to do:Add the event to a category: Click + Add Category and select the checkbox next to the relevant category.
Remove a category: Deselect the checkbox next to the category you want to remove.
Click Confirm.
Renaming a category
You can give a category a new name at any time. This name is only used for internal purposes, and isn't displayed on your live site.
To rename a category:
Go to Event Categories in your site's dashboard.
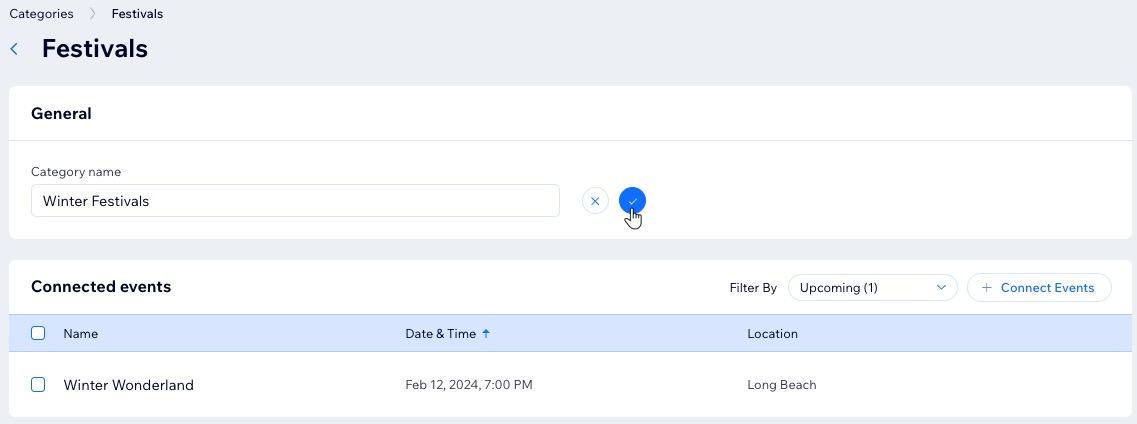
Hover over the relevant category and click Edit.
Edit the category name and click the Checkmark icon
.
Deleting a category
You can always delete a category that you no longer need. When deleting a category, the events connected to the category are not deleted.
Note:
If you delete a category that is displayed on a site page, the page will display all of your events instead. Be sure to make any necessary adjustments in the editor after deleting the category.
To delete a category:
Go to Event Categories in your site's dashboard.
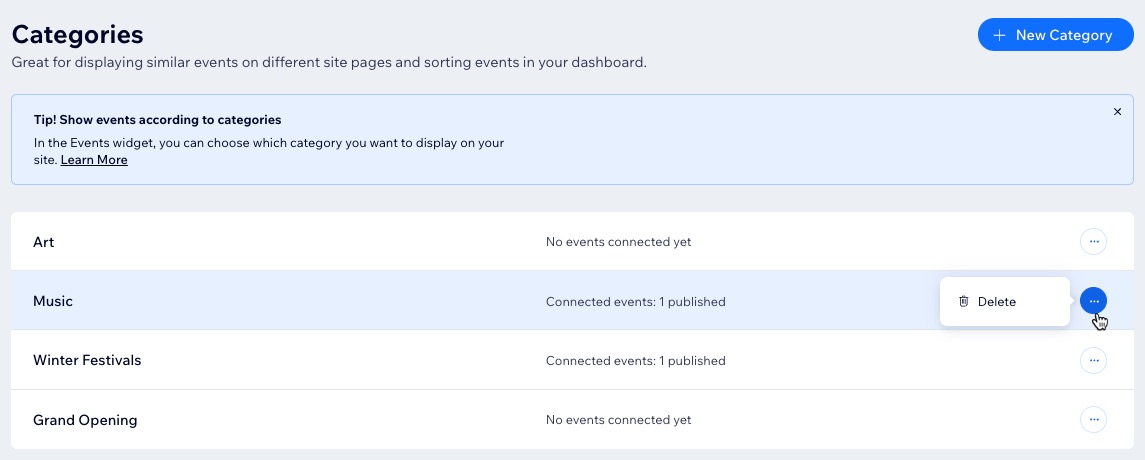
Click the More Actions icon
 next to the relevant category.
Click Delete.
Click Delete to confirm.
FAQs
Click a question to learn more managing event categories.
How can I display my events by category on my site?
Using event categories, you can display any group of events on any page.
For example, you can create separate pages for art, music, and festivals but also pages for different locations. The same art event can be displayed on your art page and also on your downtown location page.
Can I add the same event to more than one category?
Yes. The same event can be added to multiple categories.
Can I remove an event from a category?
Yes. You can also go to the Event Categories tab to add or remove events from a category.