


Using the Wix app for Wix Events
Wix Events: Creating an RSVP Event Using the Wix App
Create events such as parties, seminars, or weddings, where guests RSVP to let you know that they are attending.
In this article, learn more about:
Tip:
You can also create ticketed events and sell tickets. Learn more about the difference between RSVP and ticketed events.
Creating an RSVP event
Enter all the details to create your event. When you're done, you can either save it as a draft to display at a later date, or publish it to your site.
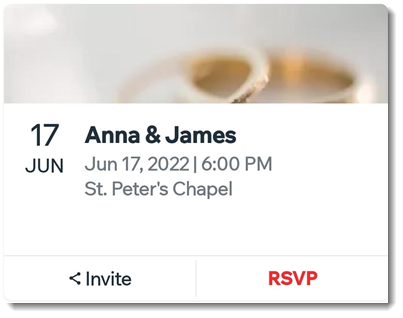
To create an RSVP event:
Go to your site in the Wix app.
Tap Manage
 at the bottom.
Tap Events under Business.
Tap Create Event or Create New Event.
Tap Collect RSVPs.
Tap Add Event Image and take a new photo or upload one and tap Next.
Enter the name of the event.
(Optional) Enter a short teaser to describe the event.
Connect this event to one or more event categories:Tap Add Category.
Tap to select existing categories or enter the name of a new category.
Tap Done.
Tap the Date & Time toggle to show or hide the event's date and time:
Enabled: The date and time appears in the event details. Set up a single or recurring event:Single Events: Enter the start date and time and optionally tap Add End Date and Time to add an end date and time.
Recurring Event: Create an event template used for multiple dates.
Disabled: A TBD message appears in the event details. Edit the text in the TBD Message field (e.g. Event time will be sent soon).
Tap the Location toggle to show or hide the event's location:Enabled: The location appears in the event details. Select whether the location is a physical location or online. Enter the event address or online location title.
Disabled: A TBD Message appears in the event details. Edit the text in the TBD Message field.
Add an "About Your Event" description, which appears on the Events Details page:Tap Add Description.
Enter your text and click Done.
Tap Next at the top right.
Select a save option:Save as draft: The event won't be displayed yet on your site. When you're ready, publish it to display it.
Publish: Your event may be visible on your site depending on your event display settings on your desktop site or in Spaces by Wix.
What's next?
After saving the event, you can add a schedule so your participants know what to expect.
FAQs
Click a question below to learn more about RSVP events.
Can I duplicate an existing event?
Yes. You can save time when creating a new event by duplicating an existing event.
Click the More Actions icon
 next to the event.
Select Duplicate as draft / Duplicate & Publish (recurring events only).

Can I add an event schedule?
Yes. You can add a schedule that outlines where and when different activities take place. This can be very helpful if you're organizing a festival or conference which is made up of separate performances or lectures.
To add a schedule, you need to complete an event and save it. Once it's saved, you can select the event and create a schedule.
How can I open and close registration for my event?
You can close registration at any time if you don't want guests to be able to purchase tickets. When you're ready, you can open registration from the same place in the app.
Select the relevant event.
Scroll down and tap Registration Settings.
Select a registration status.

Can I host an video conferencing event from my phone?
Yes. You can host an online event using your phone. Your guests will connect through your site. Learn how to create a video conferencing event using the Wix app.