


Creating your event
Wix Events: Creating a Single Event
Start by creating and customizing your event draft. When everything is ready, publish the event to share it with the world.
You can create RSVP events such as weddings and birthday parties or ticketed events such as concerts, conferences, or online classes. Learn more about the differences between RSVP and Ticketed events.
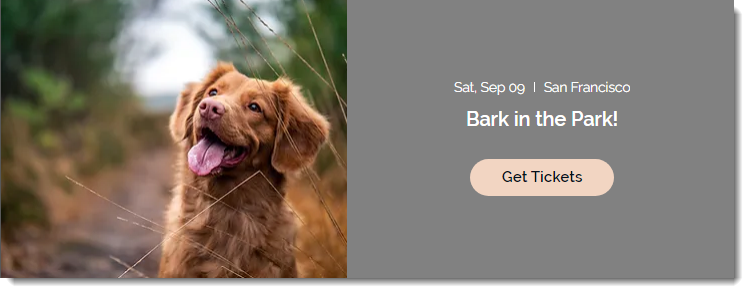
Step 1 | Create an event draft
Start by adding the basic event details and saving your event draft.
Tip:
If you hold the same type of event again and again, save time by creating a recurring event.
To create an event draft:
Go to Events in your site's dashboard.
Click + Add Event.
Select a type of event (this can't be changed after you click Create Draft):Ticketed event: Sell event tickets (can include free tickets).
RSVP event: Guests register for the event.
Add your event details:
General info
Fill in the details of your event to provide key information for potential guests.
Event name: Enter the name of your event.
Short teaser: Describe your event briefly.
Event categories: Select up to 10 categories to organize and highlight your event.
Tip: Learn more about creating and connecting categories.Event image: Choose an image for your event from your media manager.

Date and time
Specify an exact date and time for a single event or mark it as TBD if the details are not yet decided.
Single Event: A one-time event with a specific date and time.Enter the Start / End dates and times for your event.
Click the Timezone drop-down and select a time zone.
(Optional) Select the Show event end date and time / Show timezone checkbox(es) to display this information on your event page for added clarity.
To Be Decided (TBD): Indicate that the details will be determined and updated at a later time.If the event date and time are not finalized, select the TBD option.
(Optional) Edit the Display a message to inform attendees that the event details will be updated, such as "Stay tuned for details."

Location
Specify the event's physical or virtual location.
Physical Location: Enter the address or venue name (e.g., Freemont Hotel).
Online Event: Enter an Online Location Title (e.g. Webinar).Note: You can later integrate the event with Zoom or other platforms.
To Be Decided (TBD): If the event location or time is not yet set, select TBD and display a message like "Stay tuned for details."
"About the event" description
Use the "About" section to add detailed event information. Include galleries, videos, or files to make your Event Details page stand out.
5. When ready, click Create Draft at the top right.
Step 2 | Create tickets (ticketed events only)
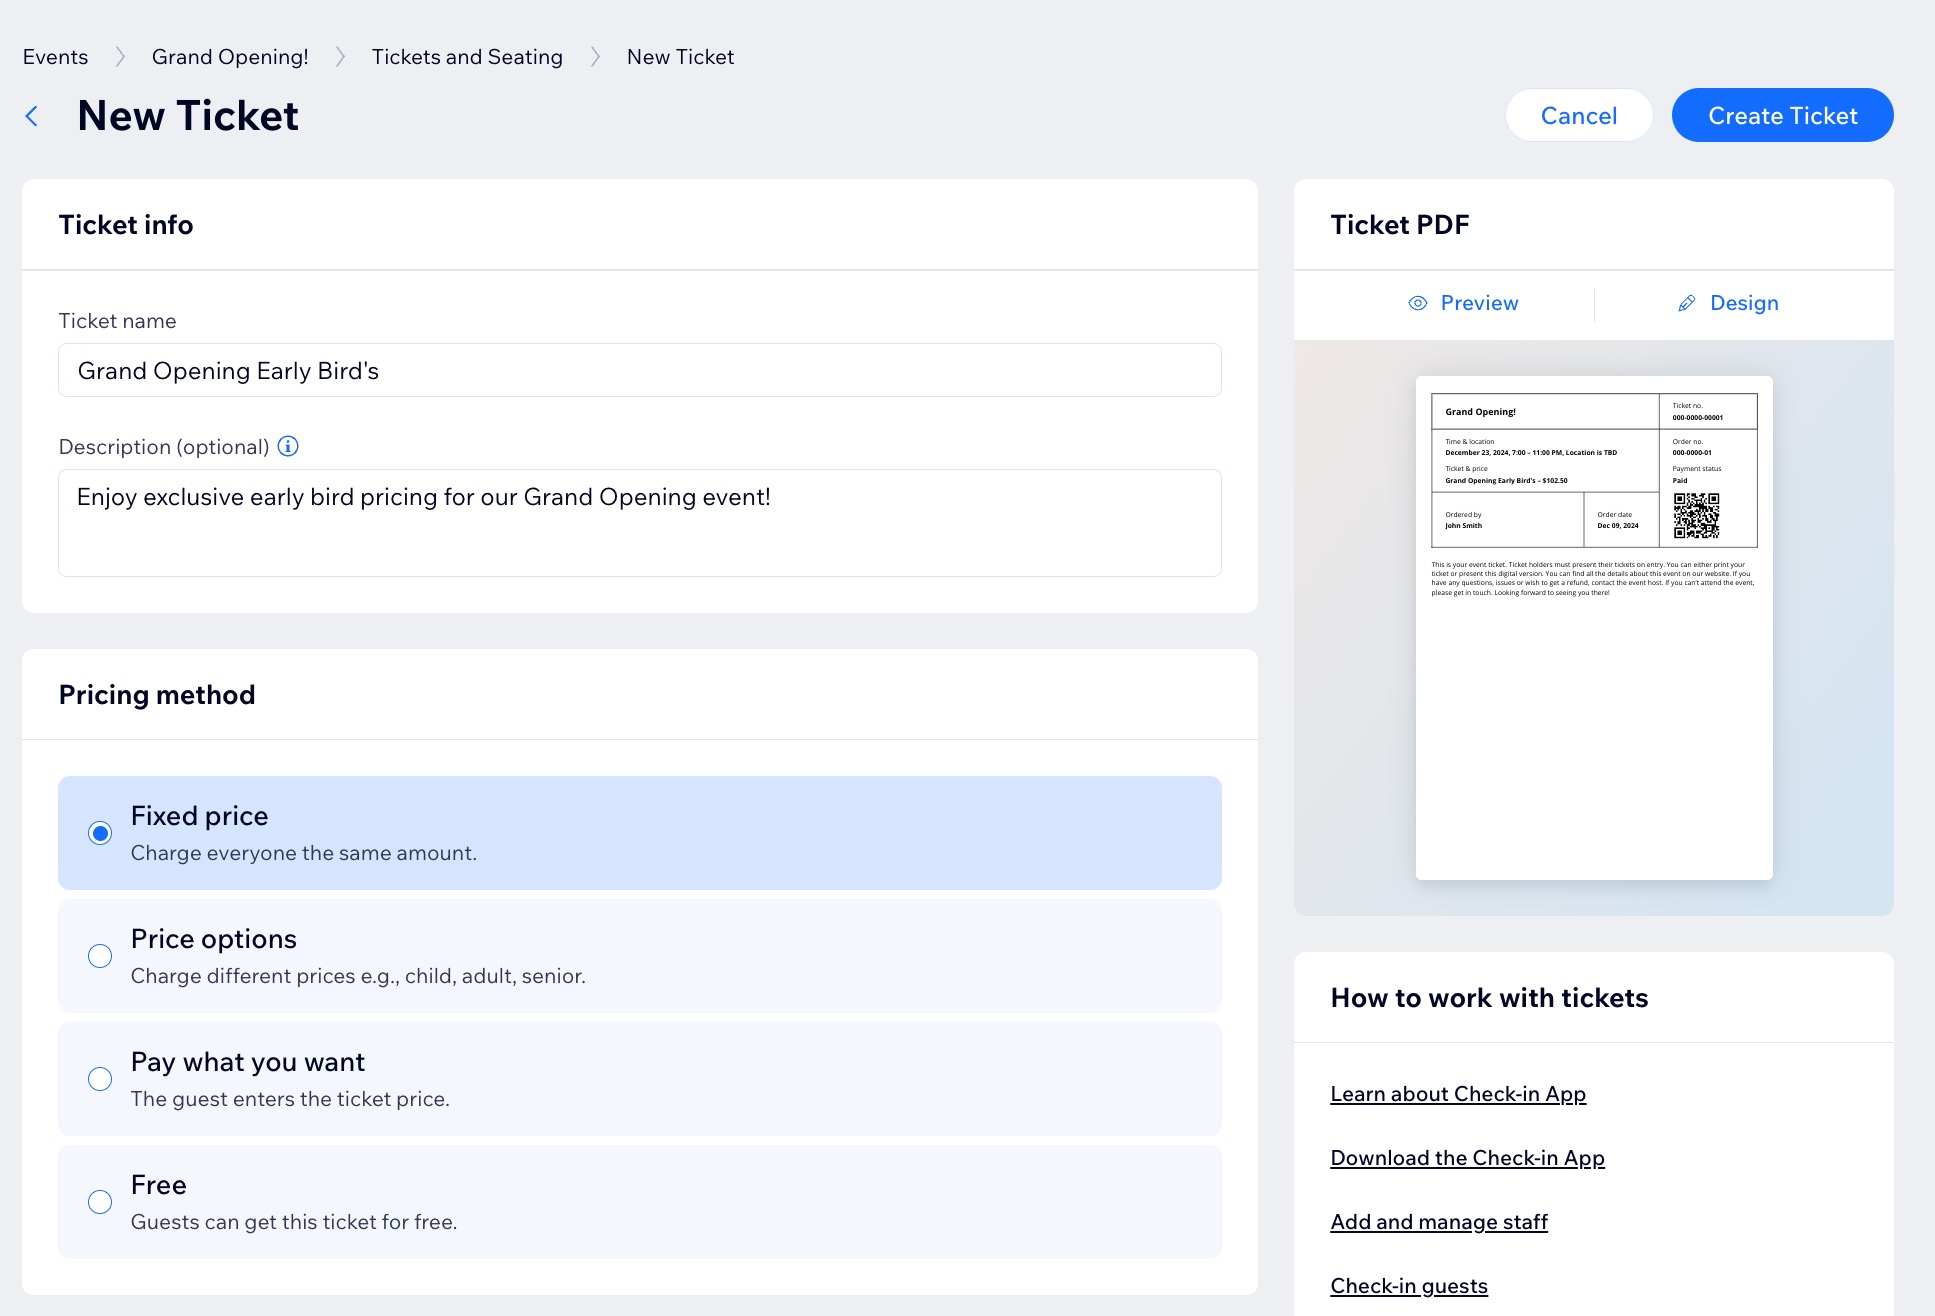
If your event is a ticketed event, you can now go ahead and create one or more ticket types. Select your event in the dashboard, then go to the Tickets and Seating tab to get started.
Step 3 | Customize your settings
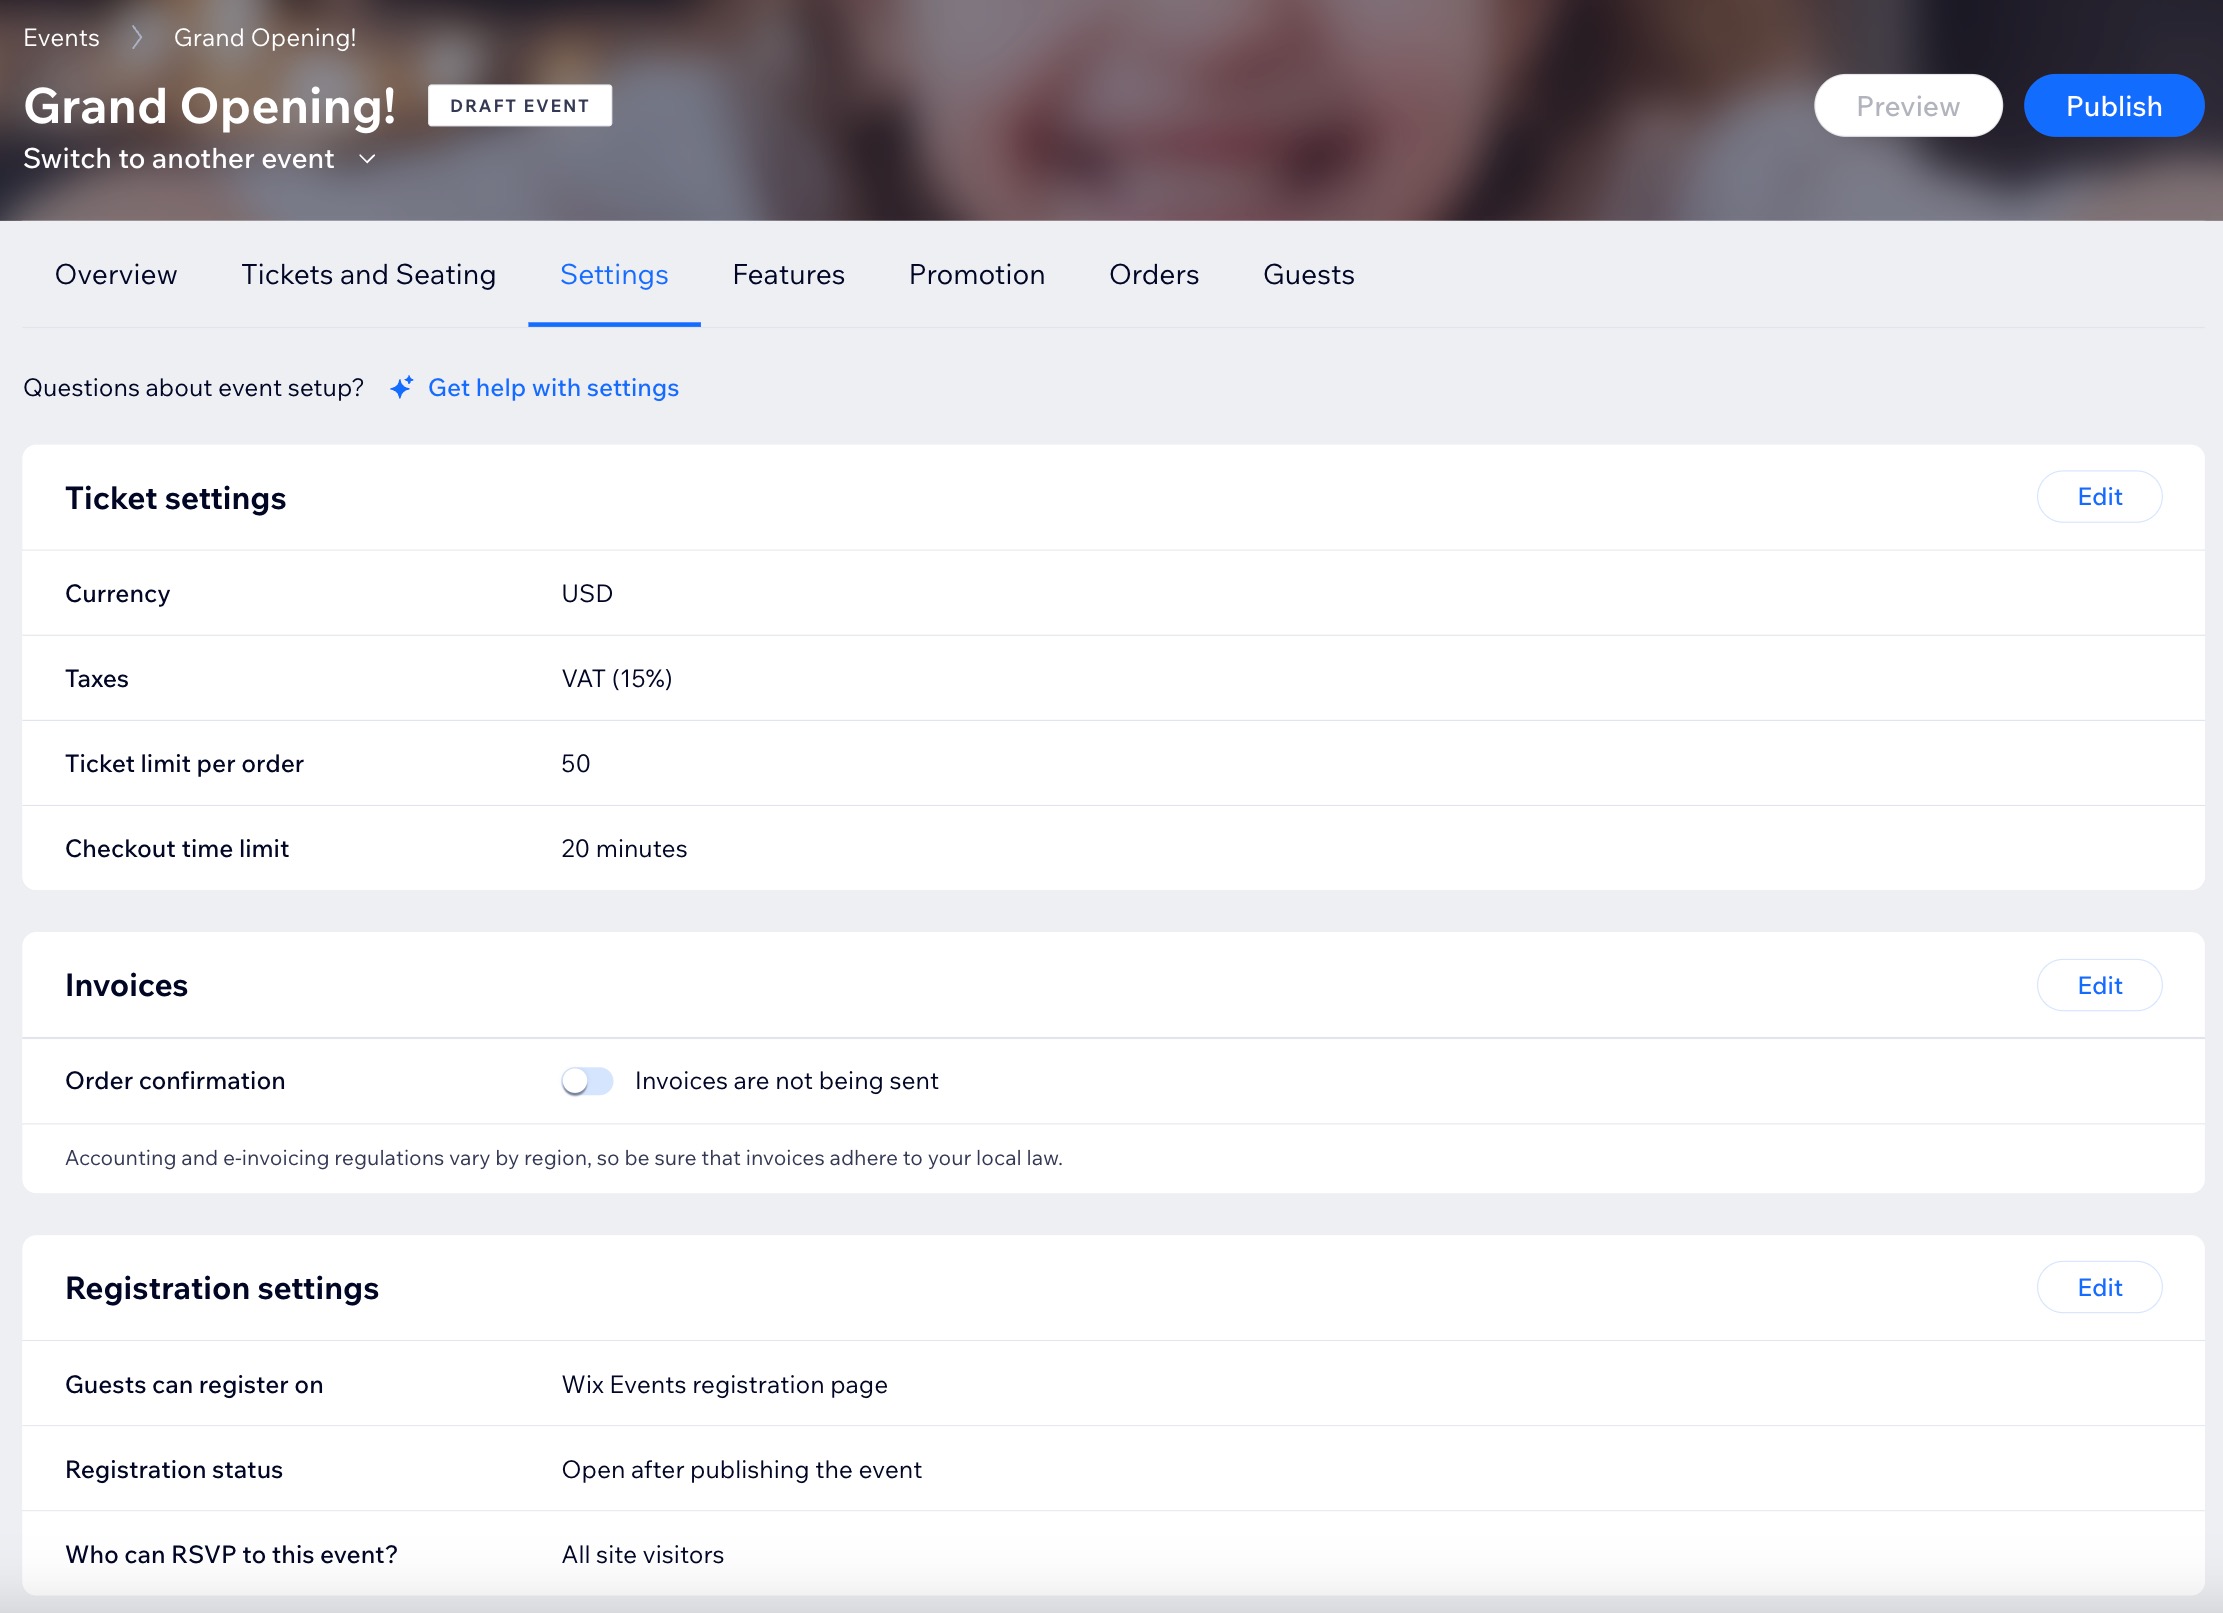
Next, go to the Settings tab of your event in the dashboard. There you can customize any of the following:
Registration settings: Set where, when, and who can register and edit registration messages.
Registration form: Customize the fields that appear on the form:Customize the registration form for RSVP events.
Customize the registration form for ticketed events.
Event policies: Add a policy checkbox that guests can check when they register.
Emails: Manage emails you send and receive.
If you have a ticketed event, you can also customize:
Ticket settings: Set your currency, taxation, and ticket limit per order.
Invoices: Create invoices for ticket purchases.
Step 4 | (Optional) Add features
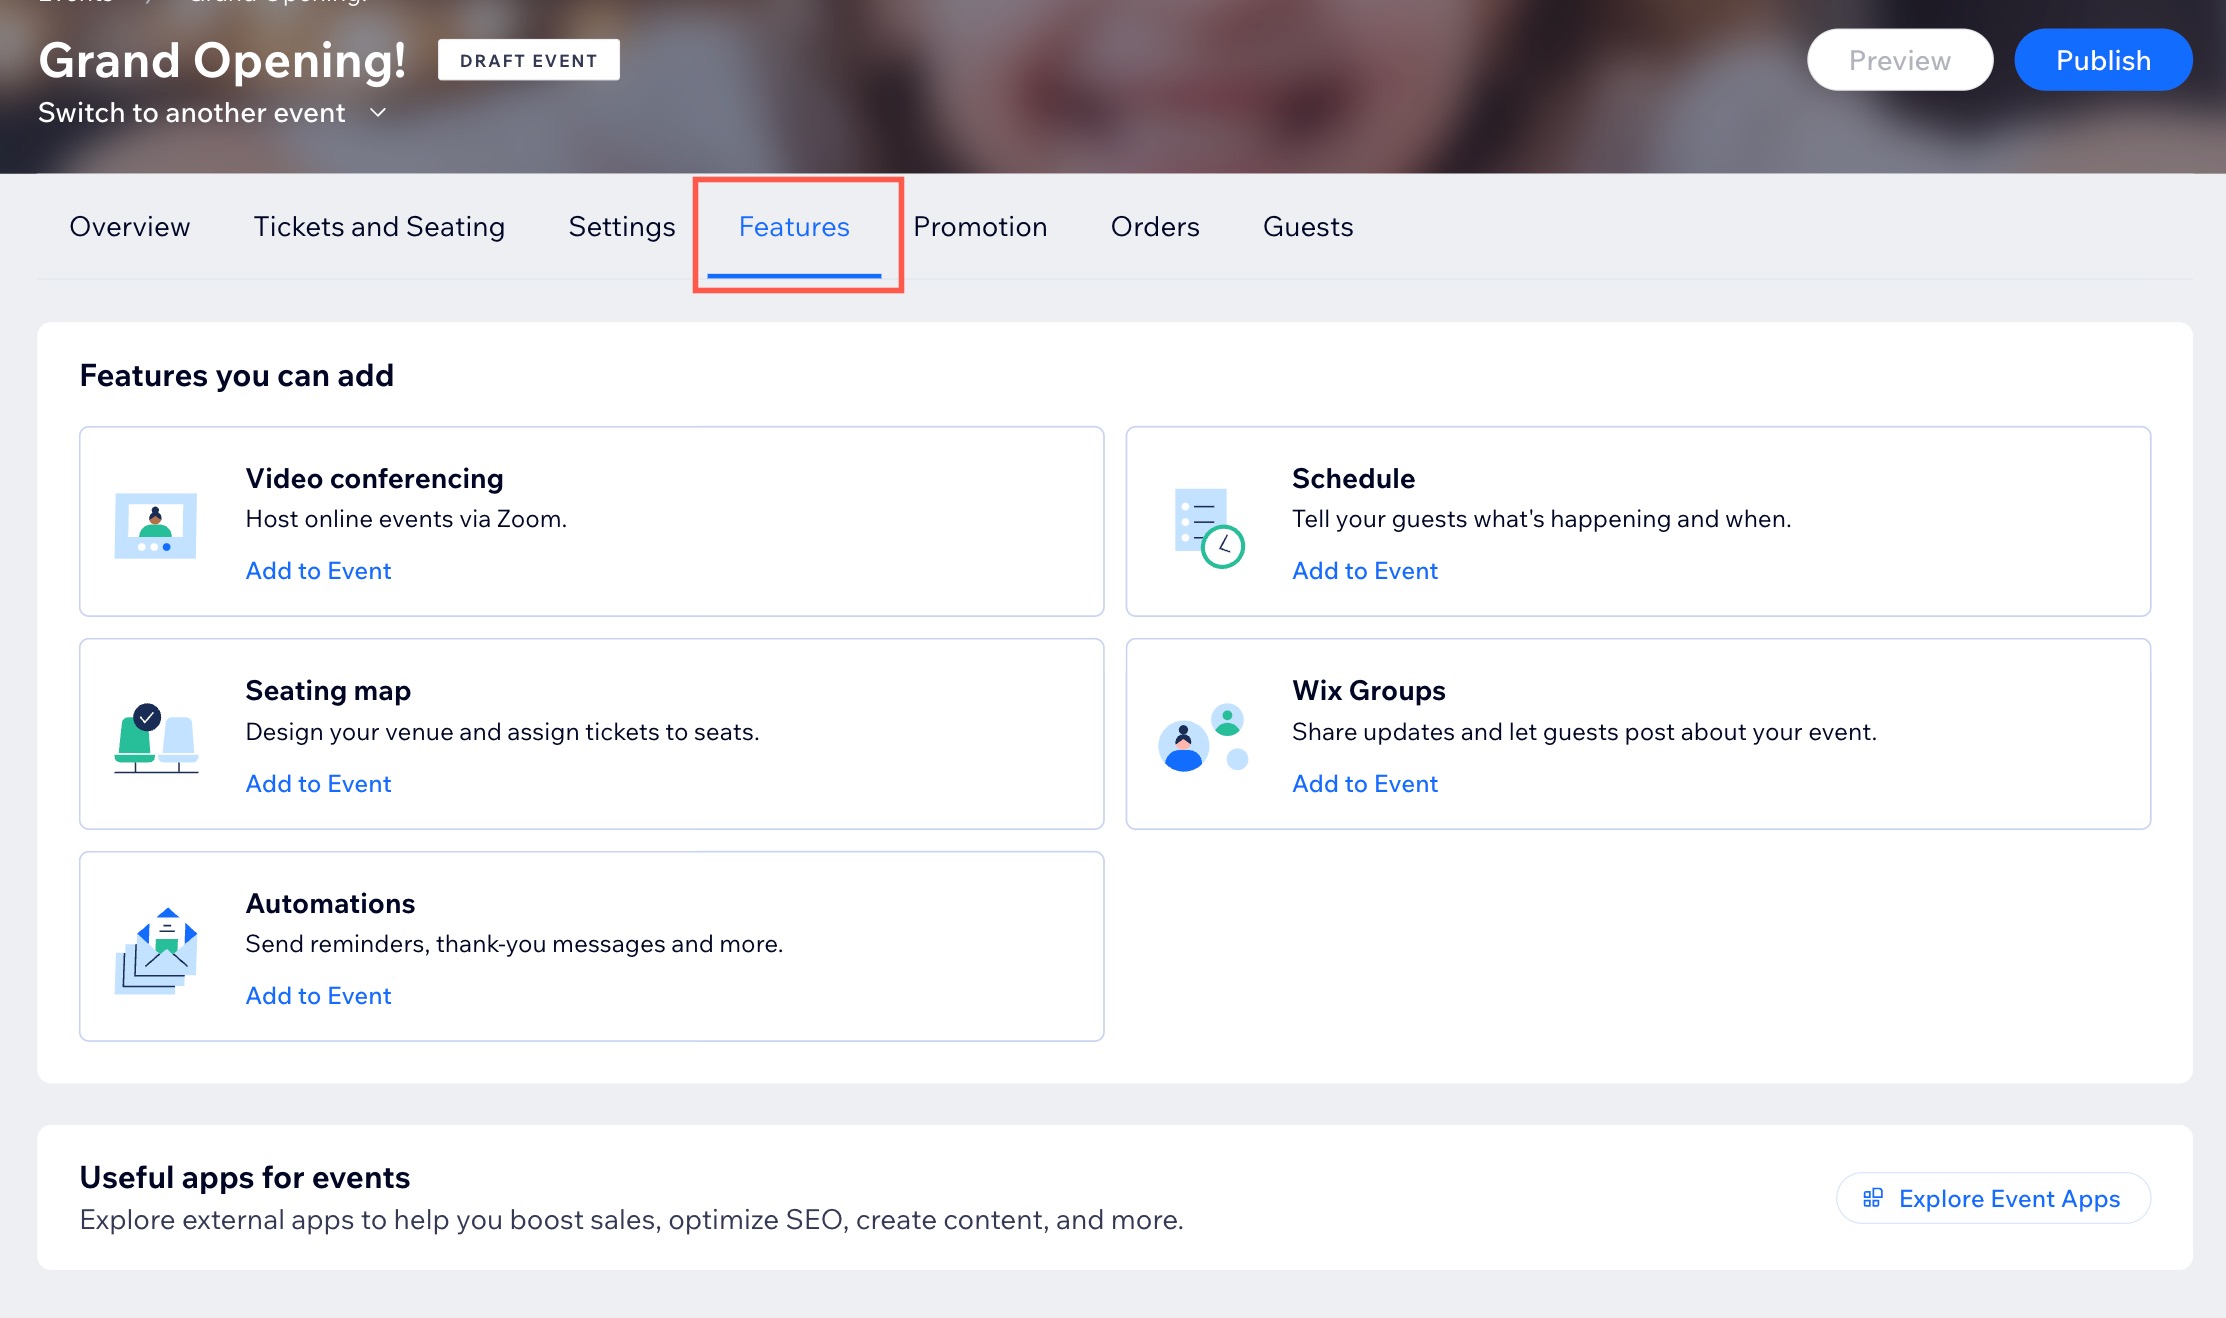
In the Features tab of your event in the dashboard, you can find more features to enhance your events. The available features are:
Video conferencing: Turn your event into an online event using Zoom.
Schedule: Create an event schedule to let guests know what is happening at your event at different times and in different locations.
Seating map (ticketed events only): Let guests select tickets for specific seats by creating a seating map.
Groups: Wix Groups lets you create a place for members to post updates, share images and more. Learn how to connect an event to a group.
Automations: Use Wix Automations to create automated actions triggered by specific actions.
Step 5 | Publish the event
When you're ready, publish your event. It's now available to be displayed on your site.
To publish your event:
Go to Events in your site's dashboard.
Click the Drafts tab.
Select the relevant event.
Click Publish.
Click Publish to confirm.
What's next?
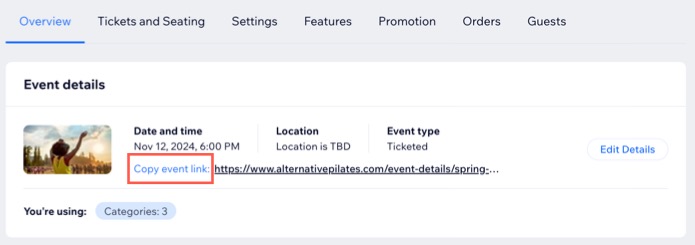
After publishing your event, you can access the event link on the Overview tab of the relevant event.
FAQs
Click a question below to learn more about creating a single event.
Why isn't my event showing up automatically on my site?
The event you publish may not appear automatically on your site due to the settings selected in your editor. For instance, if you chose "Select Manually" under the "Which events are shown?" option, you'll need to manually select the event you just published. Learn about all the ways to choose which events to display on your site.

What location do I chose for a hybrid event (in person and online)?
You can create a hybrid event by selecting a physical location as your location and then adding video conferencing. Learn more about creating hybrid events.
How can I access the drafts I created?
You can access your drafts anytime from the Drafts tab in the dashboard.

Can I change a published event back into a draft?
After you publish your event, you cannot change it back to draft mode. You can, however, hide it from your live site by customizing which events you display.
Can I preview my event before I publish it?
Yes. After creating a draft, click Preview to see what the event will look like on your live site.

What kinds of online events can I create?
Choose the online event option that works for you:
Create online events with Zoom.
Create online events hosted on other platforms.
Create live streaming events using Wix Video.
Create a hybrid event (in person and online).