Managing your calendar & bookings
Wix Bookings: Installing and Setting up the Client Check in App
The Client Check-In app makes it faster and easier for your members to check in to your services. They simply tap their name on the session list on your business tablet or mobile device at reception. This leaves you and your staff free to get everything ready for them.
You can customize what your members see in the app, and manage check-ins for several appointments, classes, or courses at the same time.
Important:
The Client Check-In app automatically syncs with Wix Bookings. You do not need to manually add your services to the app.
The Client Check-In app allows your members to check themselves in when they arrive for a service. You can still check your members in on your mobile device (via the Wix app) if they forget.
Step 1 | Adding the Client Check-In app
First, install and set up the app on your site.
To add the Client Check-In app:
Go to the Wix App Market.
Search for the Client Check-In app.
Click Add to Site.
The Client Check-In app now appears in the Apps section of your dashboard. Scan the QR code in the dashboard using your device's camera to open the app in your browser. You can also send the unique link to your mobile device to open the tab.

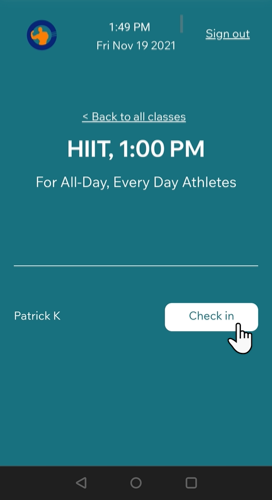
Your members then find their name, initials, or the service list on your device and tap Check in when they arrive.
Note:
If you already installed the app, make sure to update to the latest version:
Go to Manage Apps in your dashboard.
Click Update App next to Client Check-In.

Step 2 | Customizing the Client Check-In app to suit your business
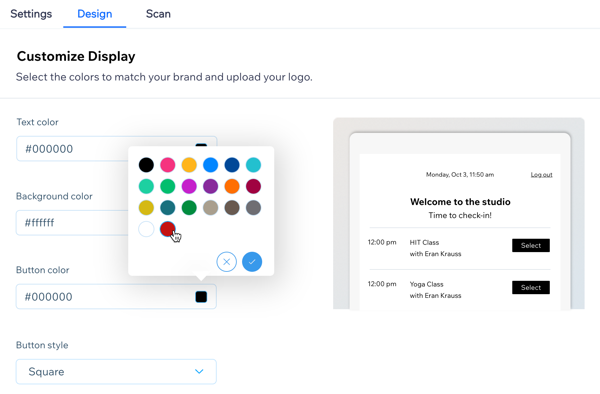
Customize the look and feel of the Client Check-In app to suit your business and branding. Adjust the color scheme and the text, and add your logo to make the app suit your brand.
To customize your Client Check-In app:
Go to Manage Apps in your dashboard.
Select the Client Check-In app.
Click the Design tab, and customize the following elements:Text color: Choose an appropriate color so the text stands out against the background.
Background color: Choose a suitable background color that matches your branding.
Button color: Select the color for the check in buttons to make sure your members don't miss them.
Button style: Choose from square, rounded corners and round button options.
Click the Add Image icon
 to upload your logo.
Enter your Class list page title.
(Optional) Enter your Subtitle.
Step 3 | Adjusting the Client Check-In app settings
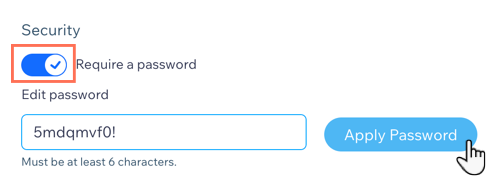
Add a unique password to the Client Check-In app to keep your class and client data secure. After a member checks in, you can choose whether the app displays a list of all upcoming classes or the class list for the session about to take place.
To adjust your Client Check-In app settings:
Go to Manage Apps in your dashboard.
Select the Client Check-In app.
Click the Settings tab, and choose from the following options:Set the time period for member check in for services. Set how many minutes before and after a session starts that members can check in.
Which types of services should clients be able to check into?: Select the checkboxes next to the relevant service types.
Note: Each session of a course is independent, and your members check themselves in for every one they attend. You can tap each session of a course in the Booking Calendar on the Wix app to view which members have checked themselves in.
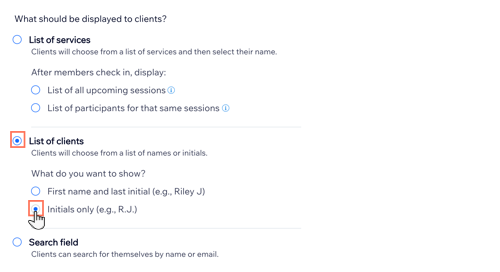
What should be displayed to clients?: Choose what you want to appear on Client Check-In app:List of services: Choose whether to show the List of all upcoming sessions (better for classes) or the List of participants for that same session (better for appointments).
List of clients: Choose whether to show First name and last initial or Initials only.
Search field: Allow clients to search for themselves by name or email.
(Optional) Add a password:Enable the Require a password toggle.
Edit the password.
Click Apply Password.