


Managing your calendar & bookings
Wix Bookings: Editing an Existing Order
Important:
This feature is not available to everyone yet.
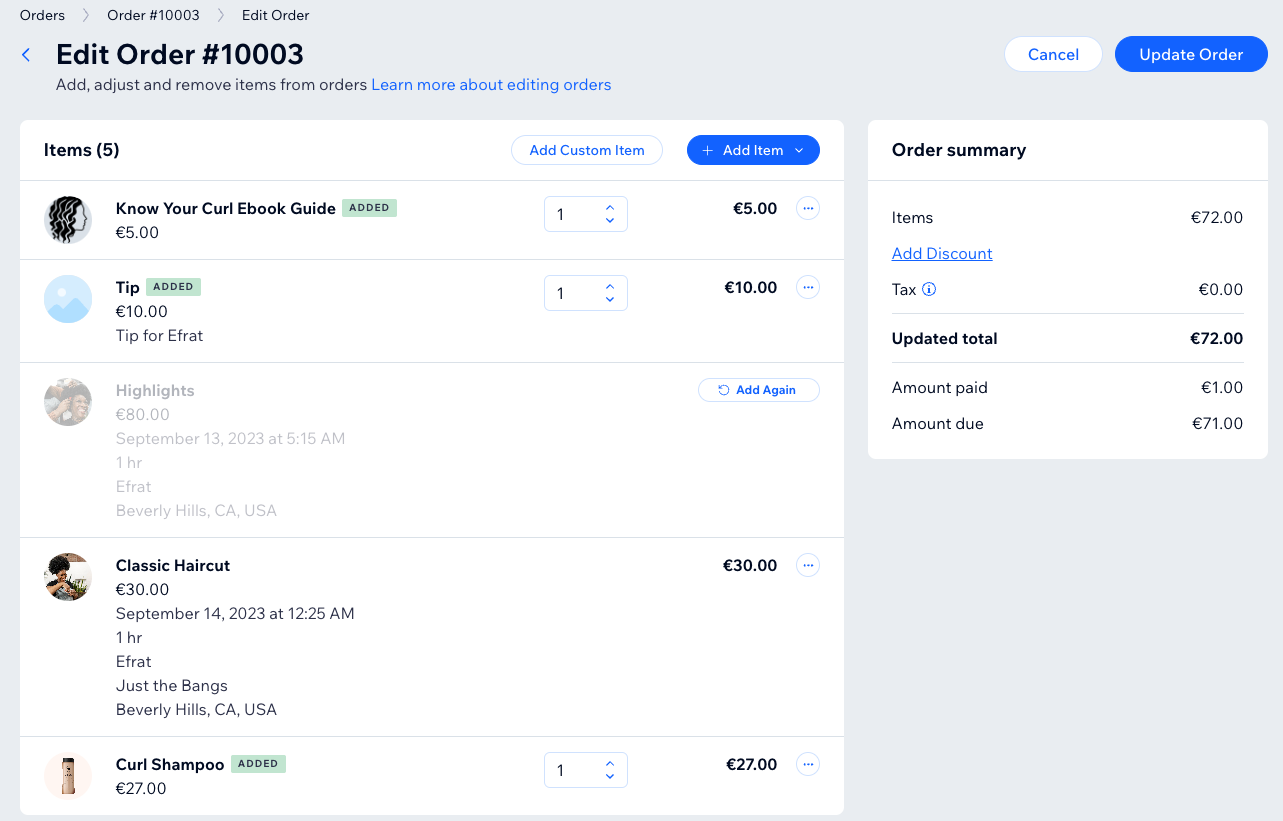
Edit an existing order for an appointment or product at any time. This allows you to collect updated payments, set custom prices, issue refunds, and more. You can also add or remove products and services, or include tips in the order.
In this article, learn more about:
Adding services and products to an existing order
You can include extra services and products along with the original order at any point—before, during, or after the appointment—based on the actual services and products offered.
Note:
This option only applies to appointments.
To change the quantity of items in an existing order, edit the quantity next to the relevant item(s).
To add services and products to an existing order:
Go to Orders in your site's dashboard.
Click the relevant order.
Click More Actions at the top right and select Edit order.
Click Add Item and select Service, Product, or + Add Custom Item.
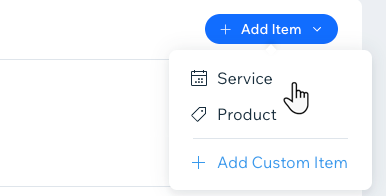
Choose from the following options:Products and Services: Select the service or product you want to add and click Add to Order.
Custom Item: Enter the Title, Item info and price for your custom Item and click Add to Order.
Finalize the order updates:(Optional) Enter a Reason for editing.
Click Update Order at the top right.
(Optional) Select the checkbox if you want to email the customer about changes made to this order.
Click Update Order to confirm.
Adding a tip or fee to an existing order
Add a tip or an additional fee by editing an existing order. You can include a note to provide a description for the new item.
To add tips or fees to an existing order:
Go to Orders in your site's dashboard.
Select the relevant order.
Click More Actions at the top right and then Edit Order.
Click Add fees & Tips in the Order summary.
Enter a name for the fee or tip.
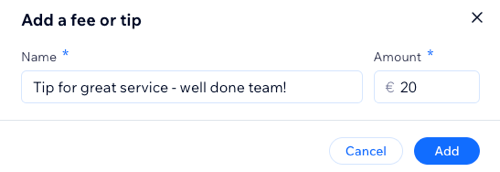
Enter the Amount.
Click Add.
Finalize the order updates:(Optional) Enter a Reason for editing.
Click Update Order at the top right.
(Optional) Select the checkbox if you want to email the customer about changes made to this order.
Click Update Order to confirm.
Setting a custom price for an existing order item
You can adapt the pricing of items in an existing order to meet your client's specific needs by setting a custom price.
To set a custom price in an existing order:
Go to Orders in your site's dashboard.
Click to select the relevant order.
Click More Actions at the top right and then Edit Order.
Click the More Actions icon
 next to item price and select Edit price.
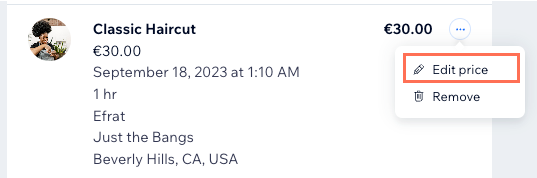
Enter the new price and click Apply.
Finalize the order updates:(Optional) Enter a Reason for editing.
Click Update Order at the top right.
(Optional) Select the checkbox if you want to email the customer about changes made to this order.
Click Update Order to confirm.
Removing an item from an existing order
You can modify an existing order by removing items to adjust the final price. If the order has been partially or fully paid, you can also issue a refund as needed.
To remove an item from an existing order:
Go to Orders in your site's dashboard.
Click to select the relevant order.
Click More Actions at the top right and then Edit Order.
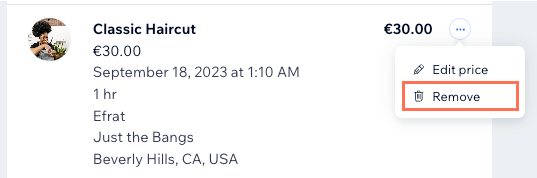
Click the More Actions icon
next to item price and select Remove.
Note: To change the quantity of items in an existing order, you can also edit the quantity next to the relevant item(s). To remove an item, change the quantity to 0.
5. Finalize the order updates:
(Optional) Enter a Reason for editing.
Click Update Order at the top right.
(Optional) Select the checkbox if you want to email the customer about changes made to this order.
Click Update Order to confirm.
What's next?
Once you update an order, you're re-directed to see its overview. At this point, you can also choose to collect payment from your client and see the order change timeline below the order.
FAQs
Click the questions below for answers to common questions about editing existing orders.
Do third parties, such as shipping apps or drop shippers, get notified about changes?
Third-party apps won't necessarily get updated when you make a change. Go to the relevant third party's dashboard directly to check if they were updated and, if needed, make changes.
Why am I having trouble editing a particular order?
You cannot edit an order in these cases:
The order wasn't paid for in your business' main currency
The order includes a subscription
The order was canceled
The order was archived
The order was partially or fully refunded
What happens if I add or delete services from an order, do I need to manually update my Booking calendar?
You do not need to manually update your Booking calendar when you edit an order. When you add a service to an order, the session appears on the Booking calendar. If you delete a service from the order, the session disappears from the calendar.
Will my 3rd-party invoicing app send a new invoice after I edit an order?
Whether a new invoice is created depends on which app you use. We suggest you create a test order and edit it to see if a new invoice is created.