


Customizing Wix Bookings pages
Wix Bookings: About Bookings Pages
Once you add Wix Bookings, certain pages are automatically added to your site. You use these pages to run all aspects of your Booking business; from creating services to managing your schedule each week. You can also customize each of the pages to suit your business and brand.
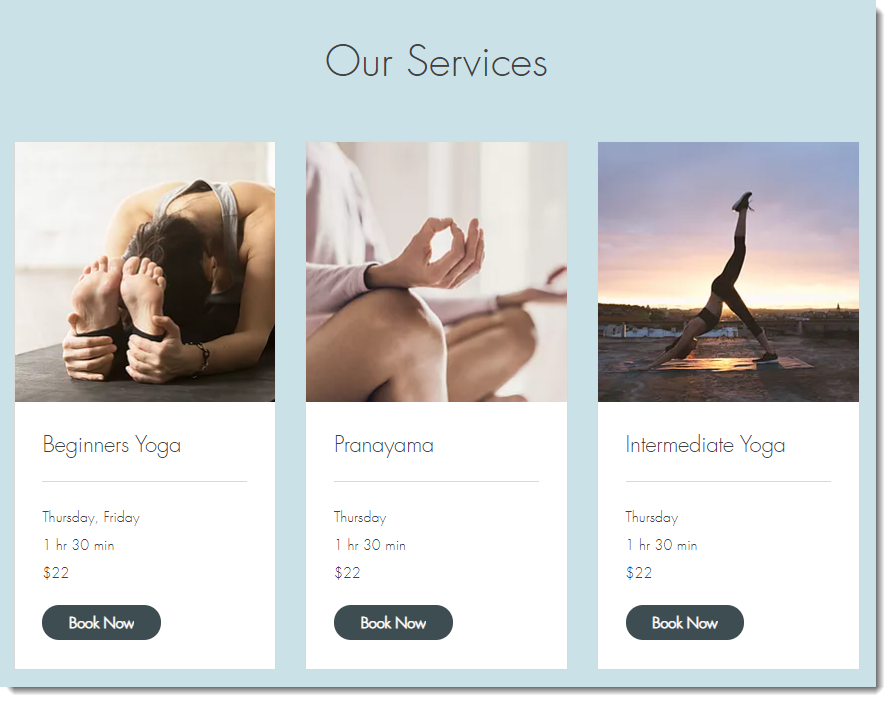
Showcase your services using the Service List
The service list is where you display the services you offer. Choose whether to display all your services on one page, in different service categories on different pages, or even display a single service on a page.
The service list page displays details of your appointments, classes and courses. This includes the service name, price, and duration. Make sure your service list attracts potential clients by customizing the design to suit your business and brand.
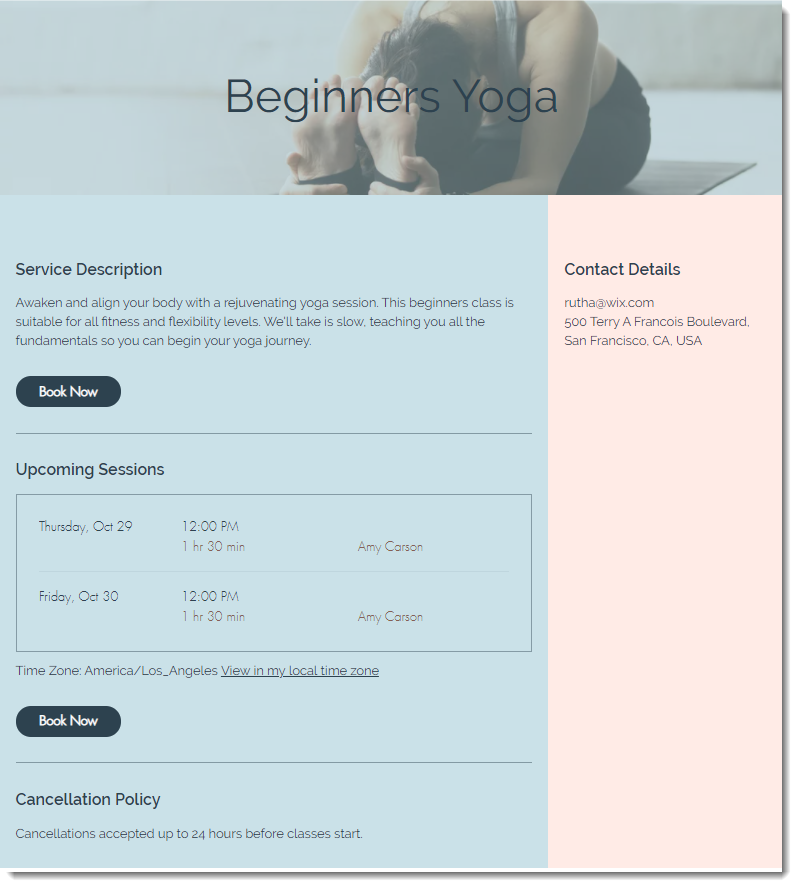
Share more details about a service using the Service Page
Service pages provide clients with more in-depth information they need before they book one of your appointments, classes or courses.
Decide what information you want to display and how you want to the page to look.
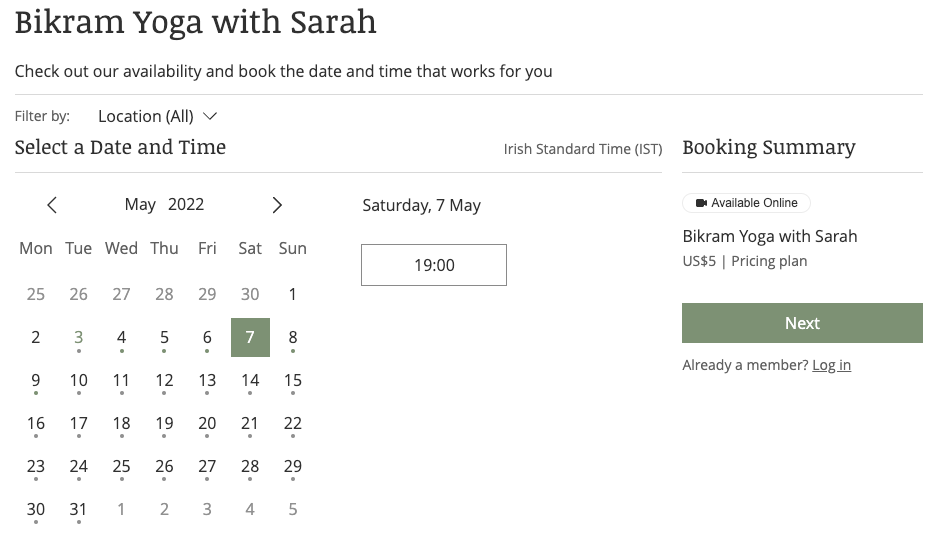
Display your service times on the Calendar Page
The Calendar Page is where clients view the availability of your services and select the time slots they want to book. Ensure the information is as clear as possible to make it easy for your clients to book sessions with you.
You can customize the design and edit the text for your calendar page in the Editor.
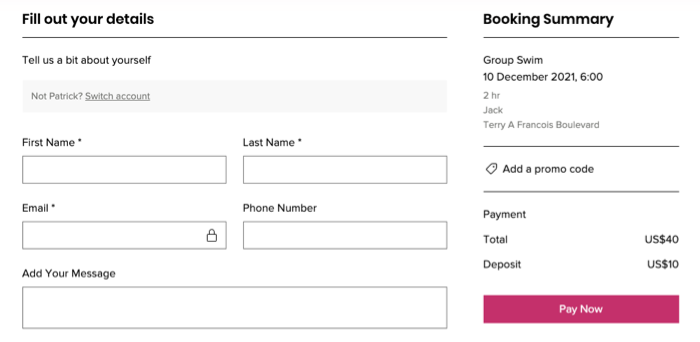
Get details you need from clients with the Booking Form
The Booking Form is where clients fill out the information you require before they can book your services.
You can customize this form and add extra fields or create different booking forms for different services. This allows you to collect the information you need to provide the best service possible for your clients.
You can also personalize the design of the Booking Form to match your site's design.
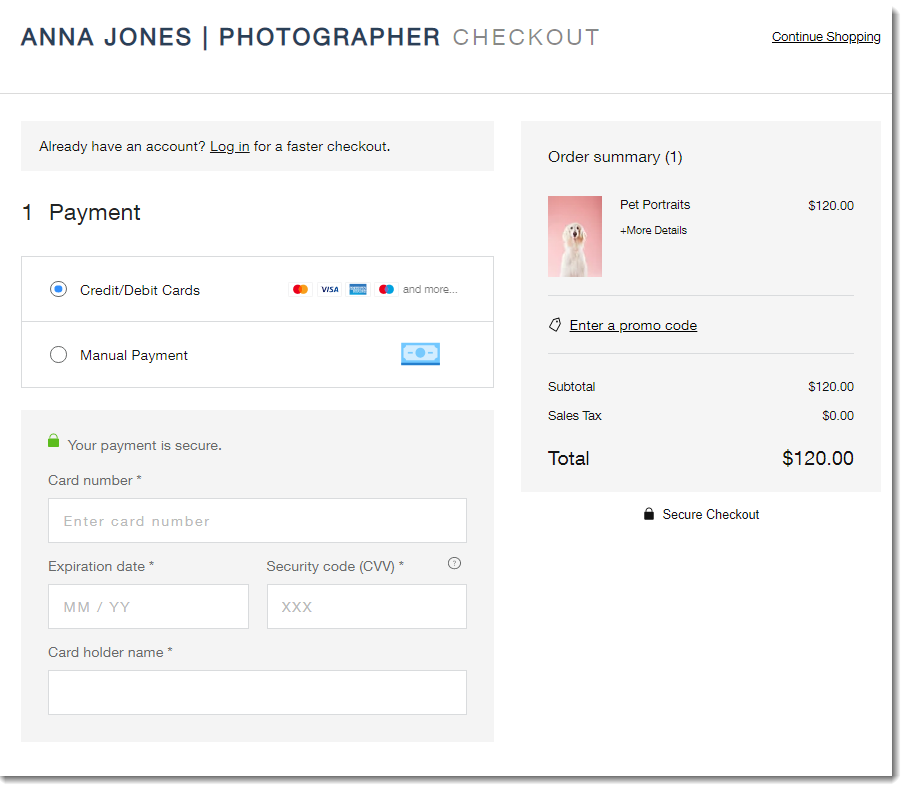
Offer different payment options on the Checkout Page
The Checkout Page is where clients choose how they want to pay for the services (if you enable more than one option) and where they provide their payment details.
You can edit the Checkout Page settings in the dashboard.
Important:
The checkout page only displays for paid services. If your service is free, your clients go straight to the Thank You page from the Booking Form.
However, if you have any coupons on your site, clients go to the Checkout page, even for free services or services with offline payments. This is to ensure that clients complete their booking through the Checkout page to enter any available coupons.
Allow clients to review orders with the Thank You Page
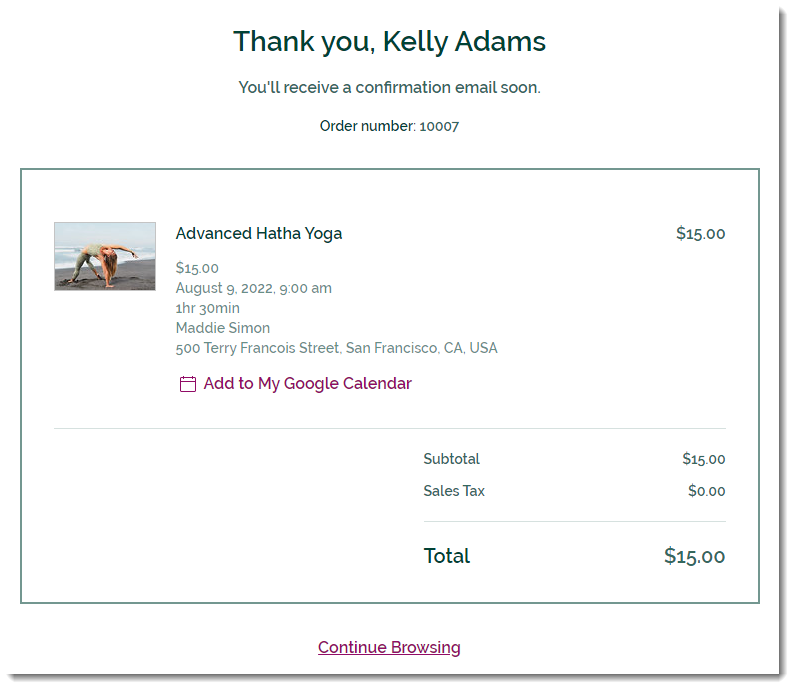
The Thank You Page is where clients review their order after they complete a booking.
You can edit the text and design of the Thank You Page in the Editor.
Important:
We're in the process of releasing a new version of the Thank You Page (Confirmation page). If your Thank You Page does not look like the one in the image above, click here.