


Additional Wix Apps
Wix Apps: Adding and Setting Up the Wix Tips App
Important:
Make sure to update to the latest version of the Wix Tips app to access the latest features, including:
Allowing staff members to add tips when collecting payment.
Tracking tips with a detailed report.
Automatically distributing tips to staff based on the service. For example, when a client books a service, the tip goes to the staff member who provided it.
Manually assigning tips to staff members and site collaborators.
We highly recommend uninstalling the old Wix Tips app to avoid confusion with the new one. If you used custom tip options, copy them to the new app manually. Read more about the new Wix Tips app.
With Tips by Wix, it's now easier than ever for customers to show their appreciation for your service. Whether you're a store owner, restaurant business, trainer, or promoter, you can reap the rewards of great customer service by accepting tips from your customers.
Step 1 | Add Wix Tips to your site
You can add Wix Tips to your site directly from the Wix App Market. This app only works with e-commerce apps such as, Wix Stores, Wix Bookings and Wix Restaurant Orders.
To add Wix Tips to your site:
Type "Wix Tips" in the search bar and select Wix Tips from the drop-down menu.
Click Add to Site.
Click OK.
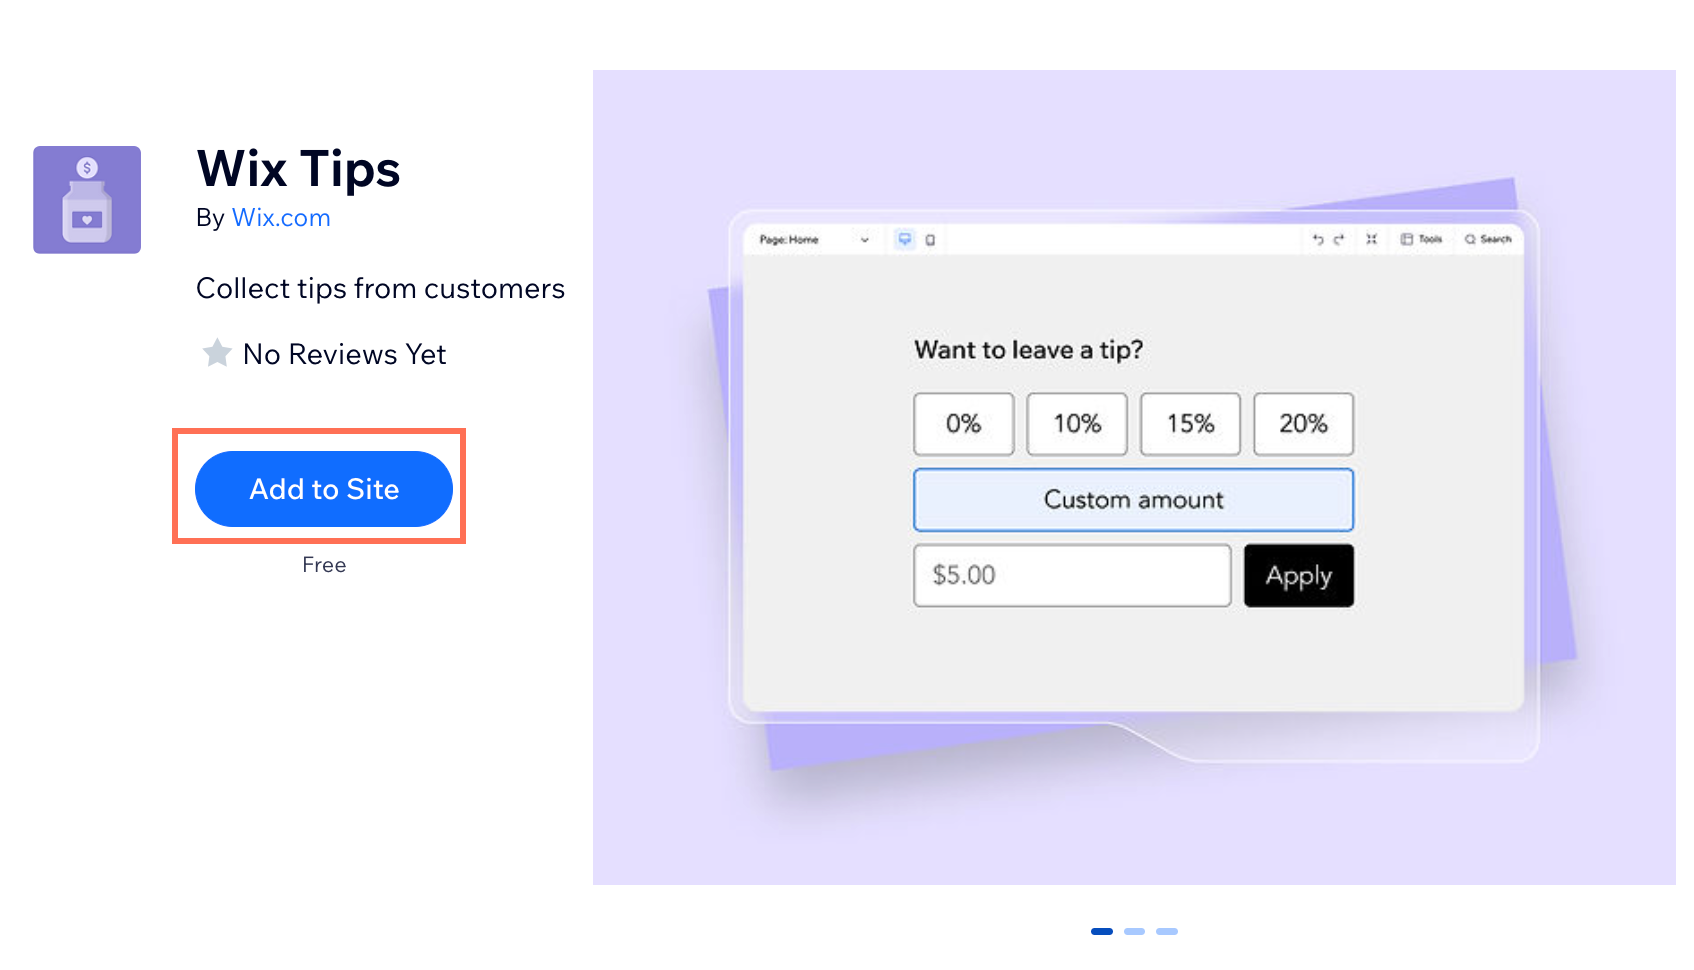
Wix Tips is already installed on your site if you have Wix Restaurant Orders.
Step 2 | Activate the app and customize the settings
In order to start accepting tips, you need to activate the app in your dashboard and customize the settings. You can customize the tip options according to your needs by charging tips based on percentages or amounts.
To activate the app and customize the settings:
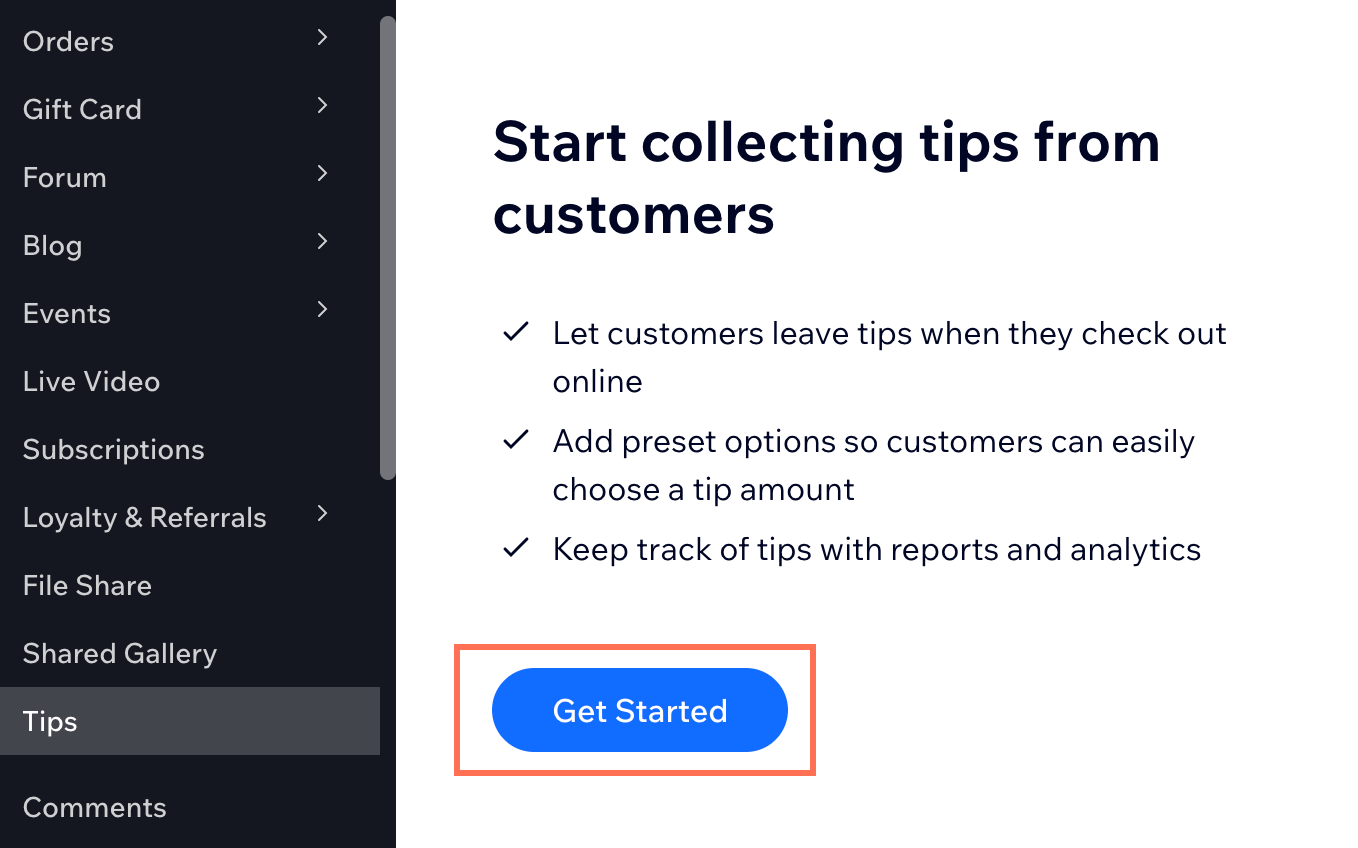
Click Get Started.
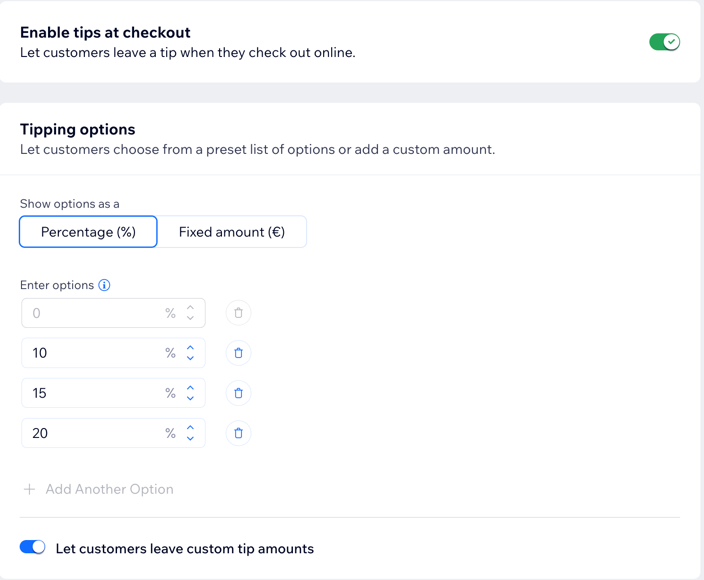
Click the Enable tips at checkout toggle.
Choose how you want to accept tips:Percentage: Set your tips to be a percentage of the total order amount.
Fixed amount: Offer fixed amount tips, e.g. $2.00 or $5.00.
Click the Let customers leave custom tip amounts toggle:Enabled: Customers can enter their own tip amount.
Disabled: Customers do not have the option to enter their own tip amount.
Click Save.
Click Add to activate Wix Tips on your site.
Step 3 | Track your tip analytics
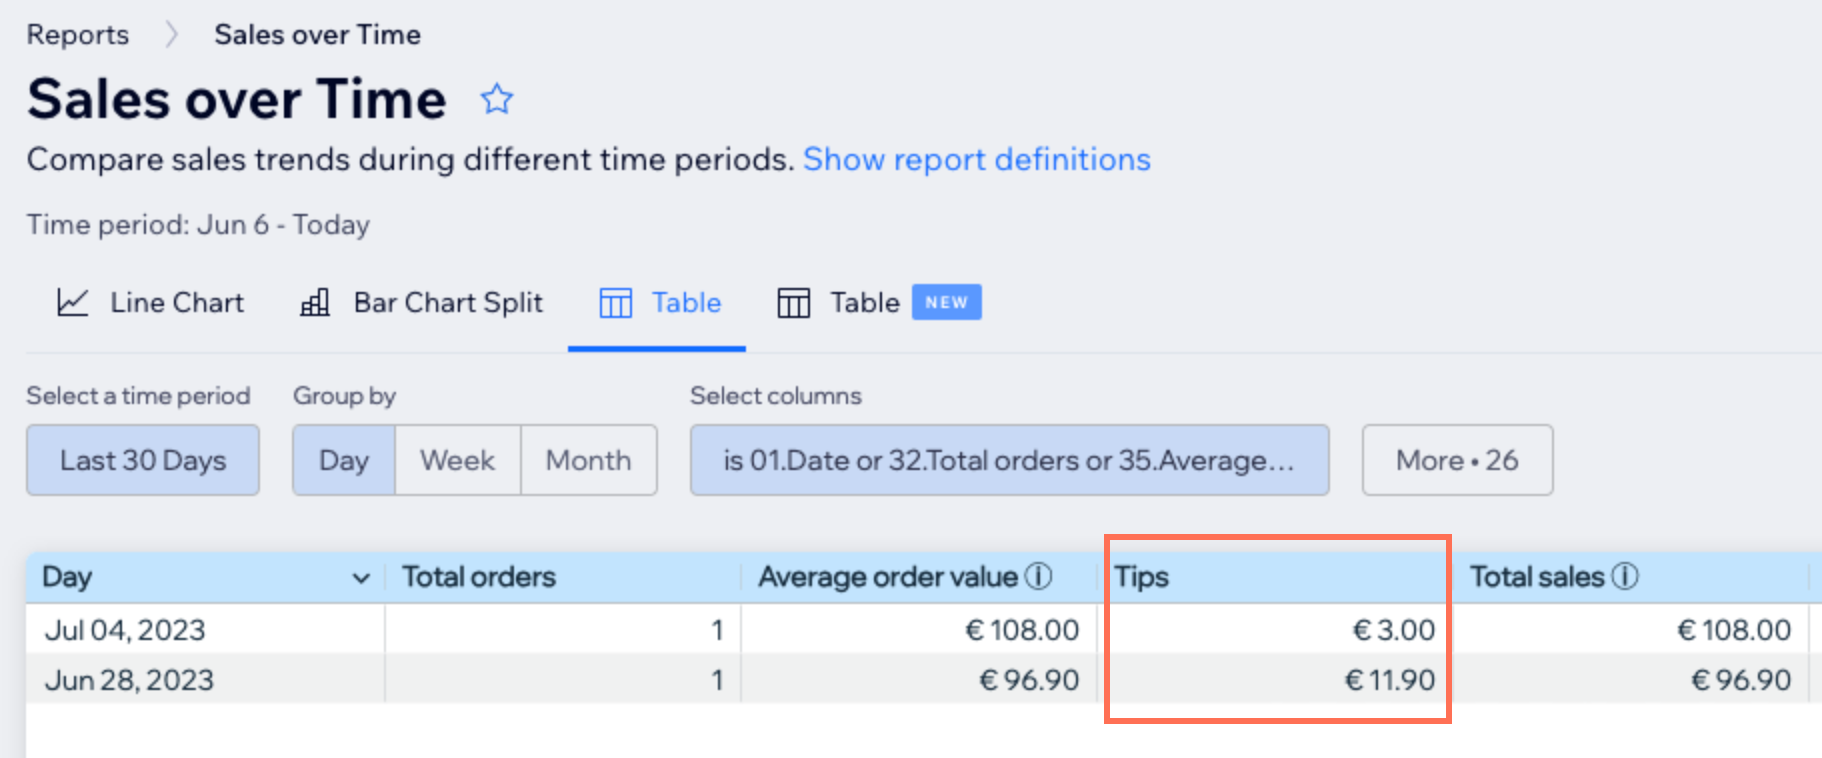
Once you have the app installed on your site, it automatically syncs with the "Sales over Time" report so that you can track and monitor the tips given by your customers.
From the column labeled “Tips”, you can record and analyze the tips received during specific time periods.
To track analytics for your tips:
Go to Analytics and Reports in your site's dashboard.
Click Reports.
Click Sales over Time.
Frequently asked questions
Click a question below to learn more about Wix Tips.
How do refunds work?
It is not possible to refund a customer for just the tip amount. When choosing to refund customers, you have 2 options:
Refund the entire order.
Refund by custom amount.
Note: If you choose this option, the refund cannot be reflected in your analytics and reports.
Can I add more presets?
Yes, you have the flexibility to add and adjust up to 3 different presets, excluding the custom tip.
Can I add the option to tip anywhere on my site?
No, the tip widget only appears on your Checkout Page. Once you have configured the presets and activated your app, you will be able to locate the tip widget conveniently on your Checkout Page.
How does the tax on percentage tips work?
Tip percentages include tax when it’s part of the item price, but not when tax is added at checkout.