


Wix Site Search
Understanding & Customizing Your Search Results Page
When your visitors search your site using Wix Site Search, the results of the search are displayed clearly in a list on a Search Results page.
You can change the layout and design of the Search Results page, including the fonts, background, and border.
In this article, learn more about:
Understanding the Search Results page
When you add Wix Site Search, a new hidden page called Search Results is also added to your site. Your visitors can only see this page when they search for a term in your Search Bar.
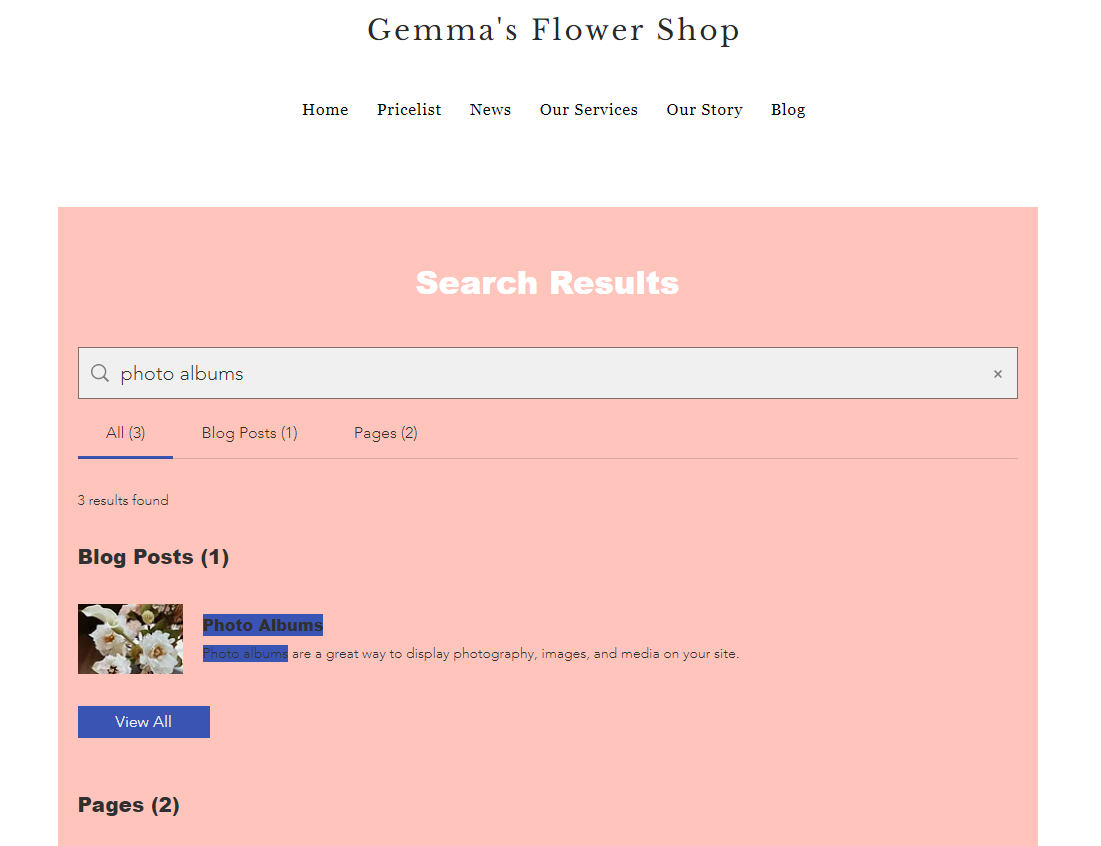
The Search Results page includes 3 elements:
Search bar: This field allows visitors to easily search your site again from the Search Results page, without having to scroll to the other search bar.
Results menu: This menu categorizes the search results based on where the results are located (e.g. site pages, blog posts, stores).
Search results: These are the results for your visitor's search phrase. If no results are found, a "No Results" message displays.
Customizing your page display
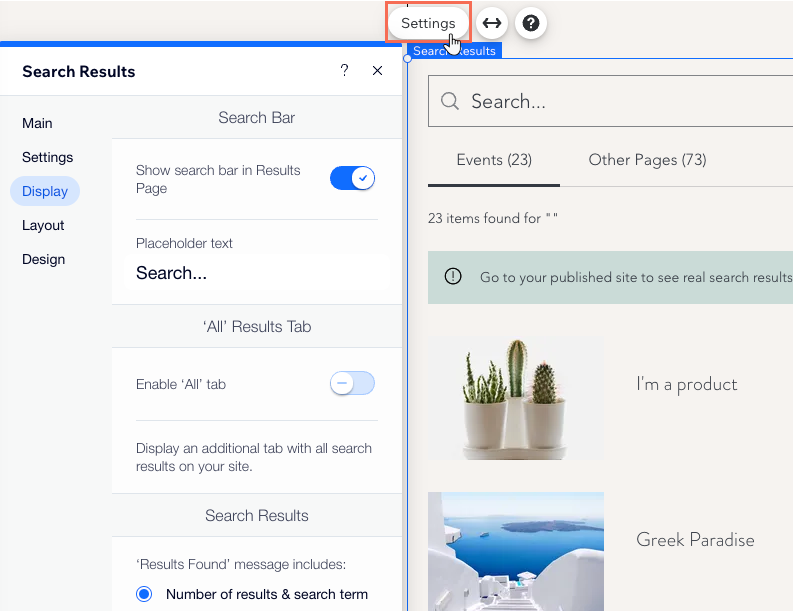
Decide what options are available for visitors browsing the Search Results page. You can show a search bar on the page, enable an 'All' tab to show results from all categories and customize the 'Results Found' message.
Wix Editor
Studio Editor
Click Pages
 on the left side of the editor.
Click the Search Results page.
Click the Search Results element on the page.
Click Settings.
Click the Display tab.
Choose what to do next:Enable the Show search bar in Results Page toggle to add a search bar. Enter the placeholder text that should appear on the search bar.
Click the Enable 'All' Tab toggle to show an additional tab that centralizes results from all categories.
Decide what the 'Results Found' message includes: The number of results, the visitor's search term or both (e.g. "23 items found for 'T-shirt'").
Managing the tabs on the page
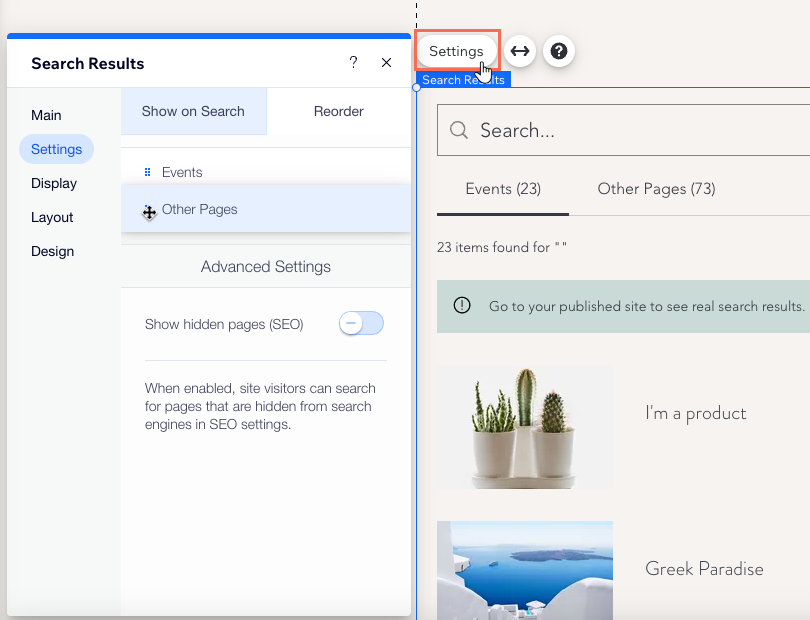
The Search Results page organizes the results into tabs. You can decide on the order of the tabs based on what you want to promote. You can also rename the tabs and hide those you don't want to show.
Wix Editor
Studio Editor
Click Pages
on the left side of the editor.Click the Search Results page.
Click the Search Results element on the page.
Click Settings.
Click the Settings tab.
Choose what to do next:
Reorder the tabs
Rename the tabs
Hide or show a tab
Adjusting the layout of your search results page
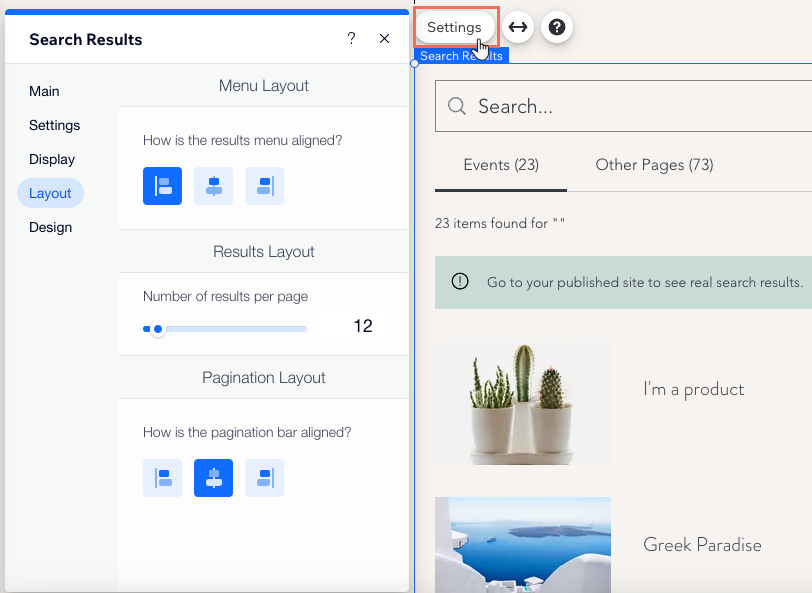
Customize the layout by choosing the alignment of the menu and pagination bar. You can also choose the number of results displayed on each page.
Wix Editor
Studio Editor
Click Pages
on the left side of the editor.Click the Search Results page.
Click the Search Results element on the page.
Click Settings.
Click the Layout tab.
Set up the layout of the page:How is the results menu aligned?: Select whether the results menu is aligned to the left, center, or right.
Number of results per page: Drag the slider to increase or decrease the number.
How is the pagination bar aligned?: Select whether the pagination bar is aligned to the left, center, or right.
Customizing the design of your Search Results page
You can customize the font and color design of all aspects of your Search Results page to match your site. This includes the search bar, results menu and search results list.
Wix Editor
Studio Editor
Click Pages
on the left side of the editor.Click the Search Results page.
Click the Search Results element on the page.
Click Settings.
Click the Design tab.
Choose what you want to customize:
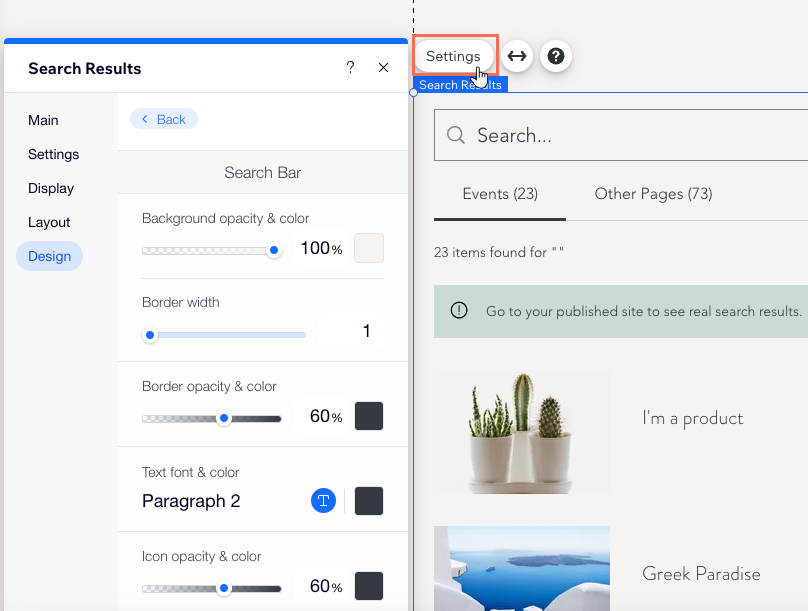
Search bar
Customize the search bar on the results page. The search bar allows visitors to quickly search for something else without having to scroll through the page.
Select Search Bar, and customize the below options:
Background opacity & color: Click the color box to select the background color of the search bar, and drag the slider to increase or decrease the opacity.
Border width: Drag the slider to adjust the thickness of the border.
Border opacity & color: Click the color box to select the color of the search bar's border, and drag the slider to increase or decrease the opacity.
Text font & color: Click the color box to select the text color, and click the text field to adjust the font, size, and formatting.
Icon opacity & color: Click the color box to select the icon color, and drag the slider to increase or decrease its opacity.
Results menu
Customize the results menu, which shows where the search term was found on your site (e.g. pages, store).
Click Results Menu and customize using the below options:
Text font & color: Click the color box to select the text color, and click the text field to adjust the font, size, and formatting.
Border opacity & color: Click the color box to select the border color, and drag the slider to adjust its opacity.
Selected border color: Click the color box to select the border color of a menu item when it is selected.
Search results
Customize the list of search results section of the page.
Select Search Results to customize the options below:
Search Results: Click the color boxes next to the relevant text to select the color, and click the text field to adjust its font, size, and formatting.
Pagination: Customize the pagination bar at the bottom of the search results page with the below options:Text font & color: Click the color boxes next to the relevant text to select the color, and click the text field to adjust its font, size, and formatting.
Selected text color: Click the color box to select the text color of the selected page in the pagination bar.
Text Highlight: Adjust how highlighted text looks on the results page using the below options:Background color: Click the color picker to choose a background color, and drag the slider to adjust its opacity.
Font color & style: Click the color picker to choose a font color, and add bold, italics, or underline to the text.
Buttons
Customize the buttons that appear in the search results section of the page.
Select Buttons to customize the View All Button and the Add To Cart Button:
Text font & color: Click the color box to select the text color, and click the text field to adjust its font, size, and formatting.
Fill color & opacity: Click the color box to select the button color, and drag the slider to adjust its opacity.
Adjusting the images in the Search Results page
Thumbnail images for search results are taken from different places, depending on the result type. You can adjust these images by customizing the page settings.
Click an option below to learn more about adjusting the images for different page types:
Static page images
Your static pages can be found in the Pages tab on your live site's search results page.
The image for static pages is pulled from the image that you've set in the Social Share tab.
Learn more about changing a page's social share settings:

Other tabs work differently, depending on the search result type. For example, the Product tab displays the cover images of each individual product, and the Blog tab displays the post's cover image.
Dynamic pages
The thumbnail images for your dynamic pages are taken from the image field within the SEO settings of the page. You can set a thumbnail image by clicking Add Field.
