Setting up Online Programs
Online Programs: Creating a Certificate for Your Program
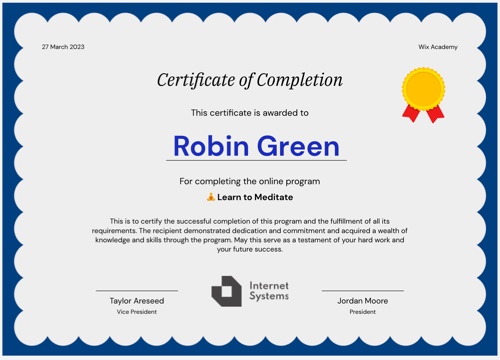
Create a certificate of completion for participants who finish your program. You can design the certificate to match your look, and even add your own signatures and logo. This is a great way to motivate people and reward them with a certificate they can proud of.
Step 1 | Create a certificate
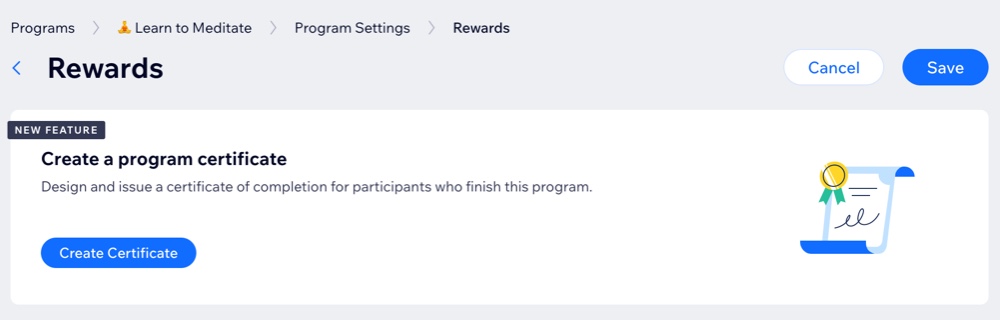
To get started, choose the relevant program. From your program's settings page, you can create a certificate of completion for your participants.
To create a certificate:
Go to Online Programs in your site's dashboard.
Click the More Actions icon
 next to the relevant program.
Select Edit Settings.
Click Rewards.
Click Create Certificate.
Step 2 | Design your certificate
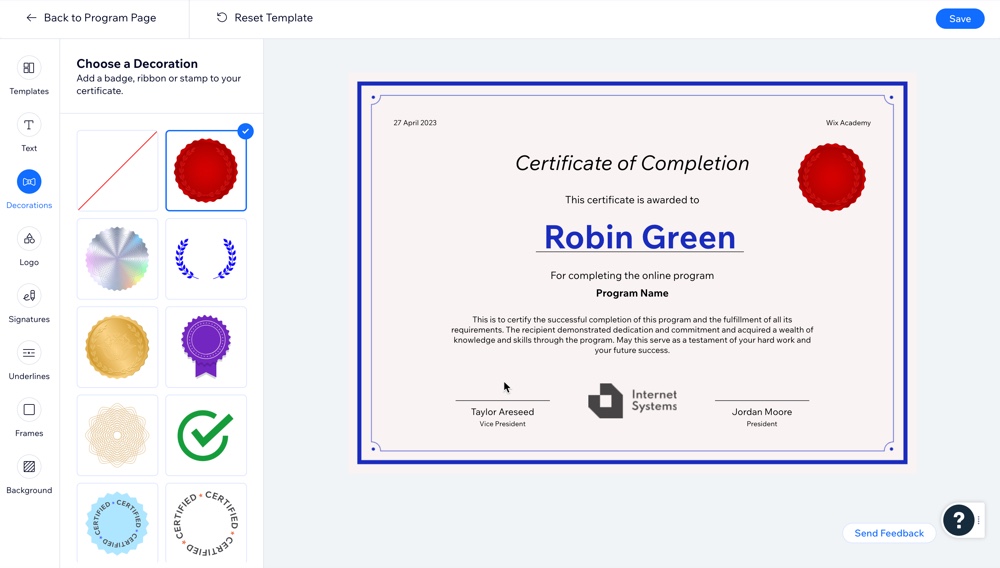
Now it's time to design your certificate. Choose a template you like, then customize it to suit your program's needs. You can edit the text, select a background, add your own logo and signatures, and much more.
To design your certificate:
Click the tabs on the left to customize your certificate:
Template
Select a design that suits your program.
Click Templates.
Select the desired template.
Text
Select the text elements you want to edit or remove.
Click Text.
Hover over the relevant text and click Customize.
Choose what you want to customize:Show / hide the text: Click the Content tab and enable or disable the toggle.
Edit the text: Click the Content tab and write new text using the available options.
Style the text: Click the Design tab and format your text the way you want.
Decorations
Add a badge, ribbon or stamp to your certificate.
Click Decorations.
Choose the desired decoration.
Logo
Promote your brand by adding your own logo.
Click Logo.
Choose what to do next:Replace the existing logo: Hover over the logo and click Replace. You can choose a new file from the Media Manager.
Edit the existing logo: Hover over the logo and click Edit. You can use the Wix Photo Studio to make adjustments.
Create a logo: Use the Wix Logo Maker to create your own logo.
Signatures
Upload one or two signatures to give your certificate a professional look.
Click Signatures.
Click the Add icon
 below the relevant signature.
(In the Media Manager) Select or upload your signature.
Click Add to Page.
Underlines
Choose the color and style for all the lines that appear on your certificate.
Click Underlines.
Choose how to customize the underlines:Change the color: Click the color box and select the color you want.
Select a different style: Click any underline style to apply it.
Frames
Wrap your certificate in a frame to give it clear structure and boundaries.
Click Frames.
Choose the desired frame for your certificate.
Background
Pick a color or upload an image for your certificate's background.
Click Background.
Choose how to customize the background:Change the color: Click the color box and select the color you want.
Opacity: Drag the slider to change the transparency of the certificate's color.
Add an image: Click the Add icon below Upload image, then (In the Media Manager) select or upload your image.
2. Click Save.
3. Click Back to Program Page at the top left.
Step 3 | Preview and save the certificate
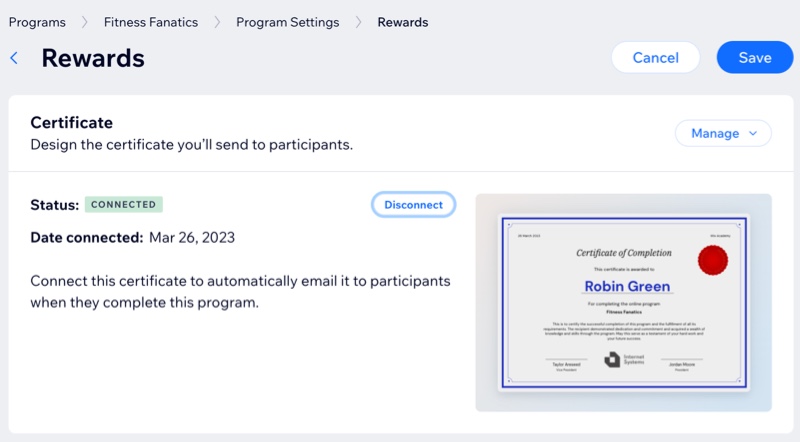
Once you've designed the way your certificate looks, click Save at the top right. This connects the certificate to your program, so it's automatically emailed to participants when they complete the program.
FAQs
Click a question to learn more about the available features for certificates.
Can I resend a certificate to a participant?
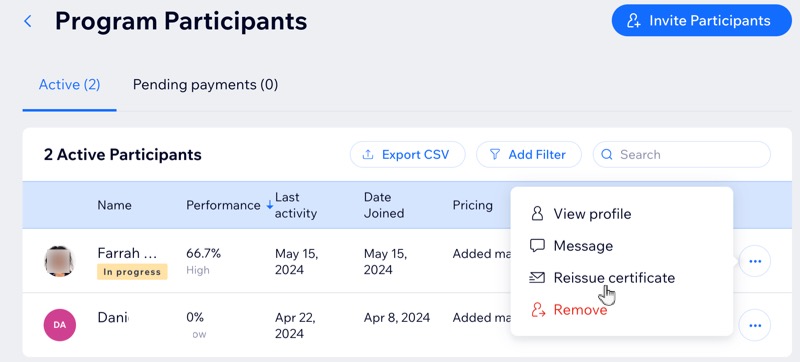
Yes. You can resend a certificate to a participant.
Go to Online Programs in your site's dashboard.
Click the relevant program.
Click Manage next to Participants.
Click the More Actions icon
next to the relevant participant.Click Reissue certificate.
How can I preview what a program's certificate looks like?
Go to Online Programs in your site's dashboard.
Click the More Actions icon
next to the relevant program.Select Edit Settings.
Click Rewards.
Click the Manage drop-down next to Certificate.
Select View.
(Optional) Click Edit to make any changes.

Can I disconnect a certificate from a program?
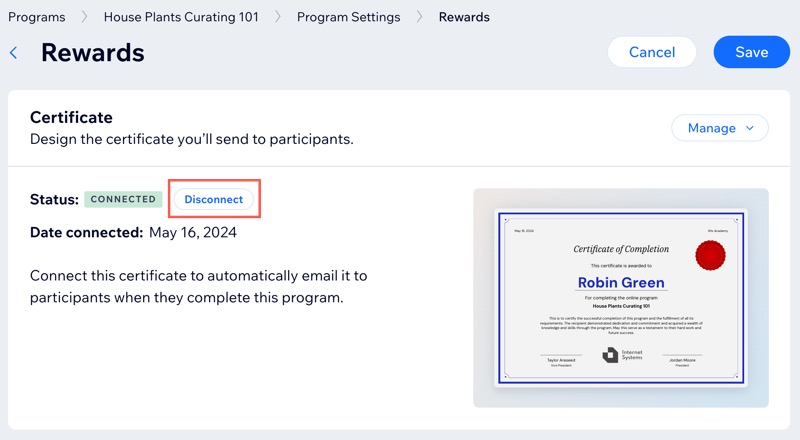
Yes. You can disconnect a certificate from a program by clicking Disconnect next to the certificate, so it's no longer sent to your participants.