Additional Wix Apps
Adding and Setting Up the Bulk Coupon Creator App
Save time and limit coupon misuse by generating sets of unique coupon codes. Bulk coupons are duplicates of a single coupon, but with unique coupon codes.
The Bulk Coupon Creator app works with Wix Stores, Bookings and Events. Using them together is a great way to promote discounts for products, classes, and big events. You can add the discount codes to banners on your site or to email campaigns, so your subscribers are rewarded.
Notes:
To use this app, make sure you've added Wix Stores, Wix Bookings, or Wix Events to your site.
This Bulk Coupon Creator app is available in English only.
It's not possible to delete multiple codes at the same time.
Step 1 | Add the Bulk Coupon Creator app
To create bulk coupons, you need to add the Bulk Coupon Creator app to your site.
To add the app:
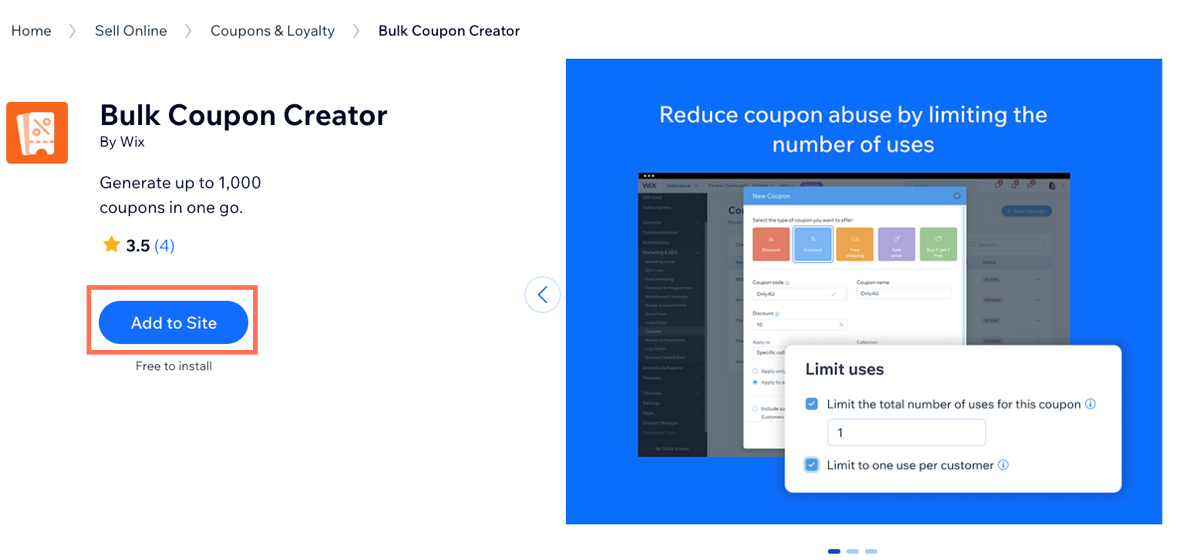
Type "Bulk Coupon Creator" in the search bar and select it from the results.
Click Add to Site.
(If you have more than 1 site) Select the site you want to add the app to.
Click Agree & Add.
Step 2 | Create a single coupon
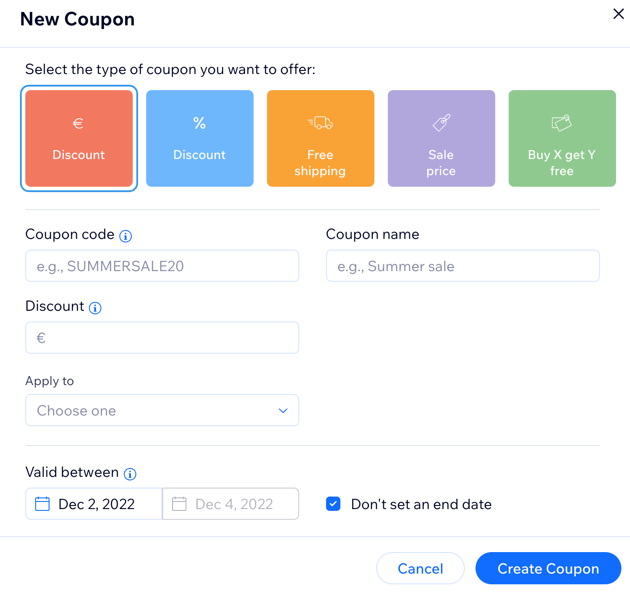
Before you can create coupons in bulk, you need to create a single coupon first. This is your original coupon. You can customize this coupon by adding a coupon code and selecting what it applies to when it's valid (e.g. 20% off gifts).
To create a coupon:
Go to Coupons in your site's dashboard.
Click + New Coupon.
Select the type of coupon you want to offer (e.g. free shipping).
Enter the coupon code and name in the available fields.
Tip: Remember the coupon name, so you can select it in step 3 below.Add the discount amount, sale price, or offer details in the relevant field.
Click the Apply to drop-down to select what the coupon applies to.
(Optional) Set the coupon limits (e.g. Limit to one use per customer).
Click Create Coupon.
Step 3 | Create bulk coupons
Now you can go to the Bulk Coupon Creator app and create up to 1000 coupons with unique codes.
To create bulk coupons:
Go to Bulk Coupon Creator in your site's dashboard.
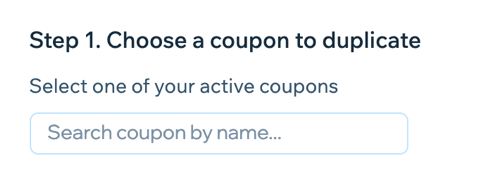
Under Choose a coupon to duplicate, enter the name of the coupon you created and select it.
Choose an option for creating a CSV file with a list of codes:
Use Wix's blank CSV template
Click Wix’s blank CSV template to download the template file.

Open the file.
Replace the sample coupon codes in column A with the codes you want to use.
Save or download the file as a CSV file.
Upload the CSV file:Click +Upload CSV File.
Select the file from your computer and click Open.
Click Create Coupon.
Click Got It once the coupons are created.
Use Wix's code generator tool
Click Code generator tool.

Enter the number of codes you want to create (up to 1000).
Enter the number of characters in your code (up to 20).
Note: This does not include the characters in the prefix.(Optional) Enter a prefix to your codes (e.g. Summer Sale).
Click Generate.
Click Download CSV.
Note: This automatically uploads the generated codes.Click Create Coupon.
Click Got It once the coupons are created.
Step 4 | View the codes you created
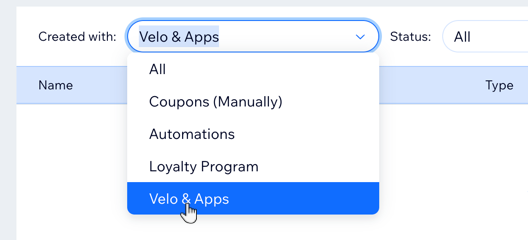
The coupon codes you created are now in the Coupons tab in your site's dashboard. You need to filter the coupons by Velo & Apps to view them.
To view bulk coupons:
Go to Coupons in your site's dashboard.
Select Velo & Apps from the Created with drop-down.