


Managing the Members Area
Wix Stores: Creating Exclusive Store Pages for Site Members
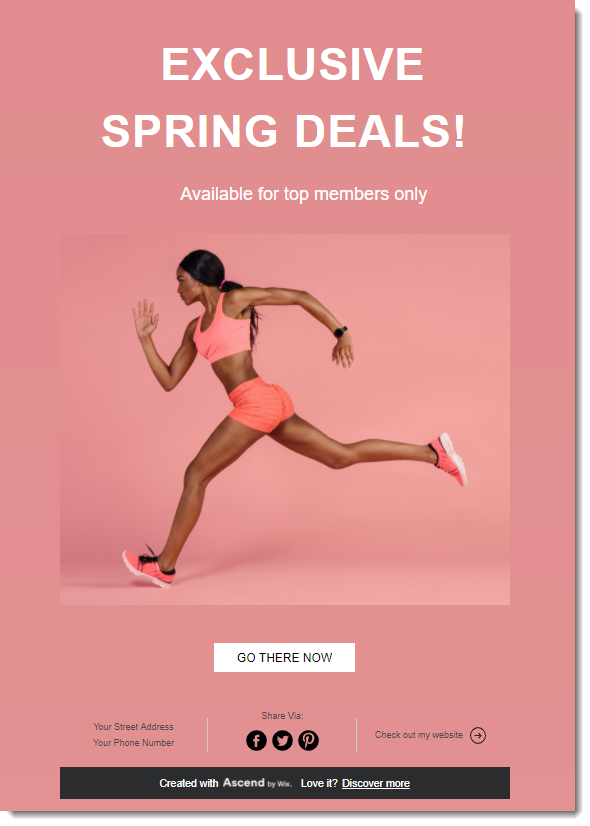
Reward your site members by offering exclusive deals just for them. You can allow access to all site members or only to those who know the page's password.
Step 1 | Add a Members Area to your site
The Wix Members Area allows customers to sign up and log in to your site.
Having a Members Area means customers can view past purchases, access information about present orders, save their details for a faster checkout next time, and more.
When you add Wix Stores to your site, it comes with a Members Area. If you deleted it, you can re-add the Members Area.
Step 2 | Add a private page to your site
When site visitors click to access a private page that's restricted to site members, they are prompted to sign up and log in. If you restricted the page to password holders, they are prompted to enter the password.
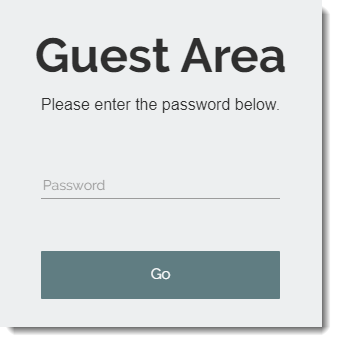
Learn how to add a private page to your site.
Step 3 | Add products to the new page
Now add a store element, such as a Product Gallery or Slider Gallery to the new page and create a special category with the products you want to display there.
Tip:
If you want to sell the same products you sell on public pages - but at different prices - you can duplicate your existing products and save them with a different name and price. When the products are ready, add them to a category and display that category on you exclusive page.
Step 4 | (Optional) Hide the page from your site menu
If you don't want site visitors to see that there is a page they can't access, you can hide it from your site menu.
Learn how to hide pages from your site menu in the Wix Editor and in the Studio Editor.
After creating restricted pages, you can:
Create an email marketing campaign and send it to selected customers.
Create coupons and discounts and send them to customers who have access to exclusive store pages.
Create a link on another site page that leads to the restricted page.