


Setting up Photo Albums
Wix Photo Albums: Communicating With Clients Using Your Favorites List
Use Wix Photo Album's proofing feature to let your clients and album visitors communicate with you about your photos. They can create lists of their favorite photos, write comments on their list and on individual photos, and specify any special instructions they have.
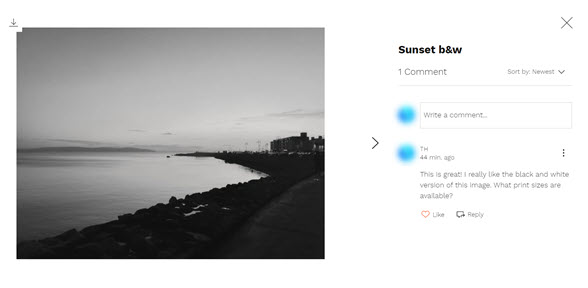
For example, your client can leave a comment to let you know how many copies of a photo they want, or to ask if a particular photo is available in black and white.
In this article, learn more about:
Sending your favorites list to clients
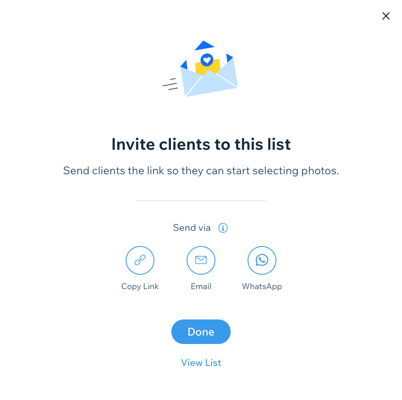
After you've created your favorites list, you can send it to your clients by sharing a link to it, sending it by email, or sending it through WhatsApp.
To send a list:
Go to Photo Albums in your dashboard.
Click Manage beside the album you want to use.
Click Manage Lists under Favorites lists.
4. Click on the list you want to share.
5. Click Share list.
Choose how you want to share the link, or tap View List to see what it looks like.Copy link: Copy the link and send it to your client.
Email: Send the link via email.
WhatsApp: Send the link via WhatsApp.
Allowing your clients to proof photos
After you send your favorites list to your clients, they can add comments to the list, save the photos they like in their own list, or leave comments on individual photos. This lets your clients communicate with you about any questions they have, and lets you respond directly to them.
Note:
Your clients need to sign up as a member or log in to be able to create lists or add comments.
Viewing a client's list and comments
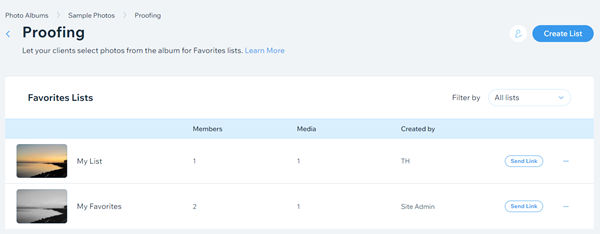
You can view lists that your clients create in your site's dashboard. You can also view and respond to comments, view and download the photos they saved to their list, and view the members of the list.
Note:
If a client of yours creates a List and makes it Secret, it will not be viewable to you, as the site owner in your dashboard, nor will you be able to manage it.
To view and manage a client's list:
Go to Photo Albums in your dashboard.
Click Manage beside the album you want to edit.
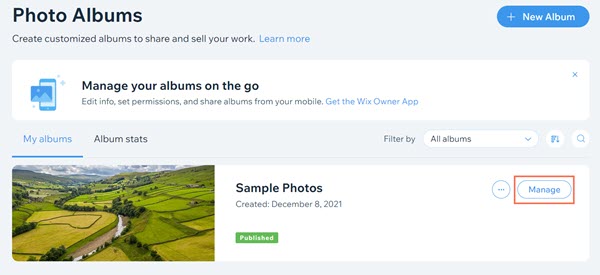
Click Manage Lists under Favorites lists on the right side of the dashboard.
Click the More Actions icon
 next to the client list that you want to view.
Select Manage list.
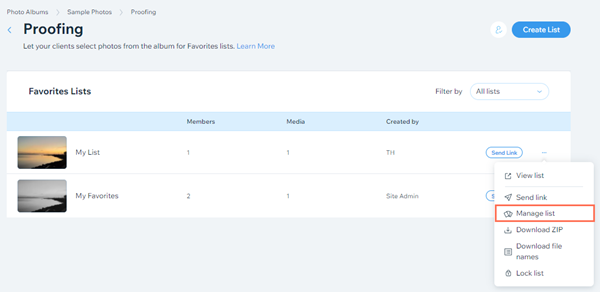
Click the More Actions icon
 in the top right to access options to manage your list:Click View list to view your list on your site.
Click Send link to access to sharing options for your list.
Tip: You can also access these sharing options by clicking Share list in the top right.
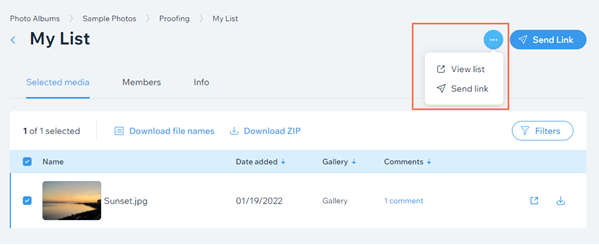
View and download the media in the client's list on the Selected media tab.Click Download file names to download a list of the file as a CSV file.
Click Download ZIP to download the media as a zip file.
Click Filters to filter the images in the list. For example, you can select to view only images that have new comments.
Click the View icon next to an image to view it on your site.
Click the Download icon next to an image to download a file of it.
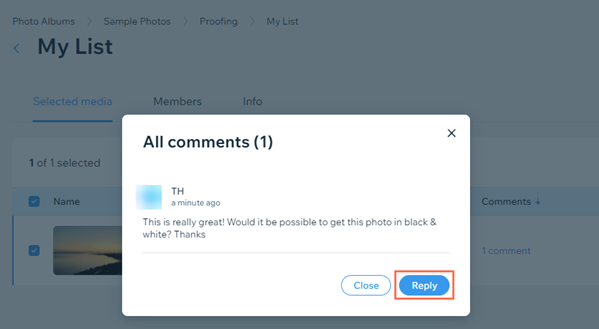
Click on a comment beside an image to view the comment in a pop-up.
Click Reply on the pop-up to view the comment on your live site and reply to it.
View the list's members in the Members tab.
View the list's name, description, and visibility on the Info tab.