Memberships, packages & payments
Wix Bookings: Sending Payment Requests to Clients Using Automations
Send payment requests (invoices) to clients when they complete a specific action on your site, using automations.
You can also choose to send invoices automatically when a session starts or ends. If clients book multiple sessions at once, they receive one invoice for the entire order.
Show me different ways I can use automated payment requests
1. When clients book deposit-only services, you can automatically request the remaining amount for the service.
2. When clients "Request to book" an appointment, they don't need to pay when you accept the booking request. You can set an automation with the trigger "When session is booked". The payment request then sends automatically when you accept the appointment booking.
3. You can automatically send individual payment requests to all the participants of a class, before it starts or when it ends. This means you don't need to send the payment requests to each participant one by one.
Tip:
You can also automatically generate an invoice for every fully paid order, by following these steps.
To send payment requests to clients using Automations:
Go to Automations in your site's dashboard.
Click + New Automation.
Click + Start from Scratch.
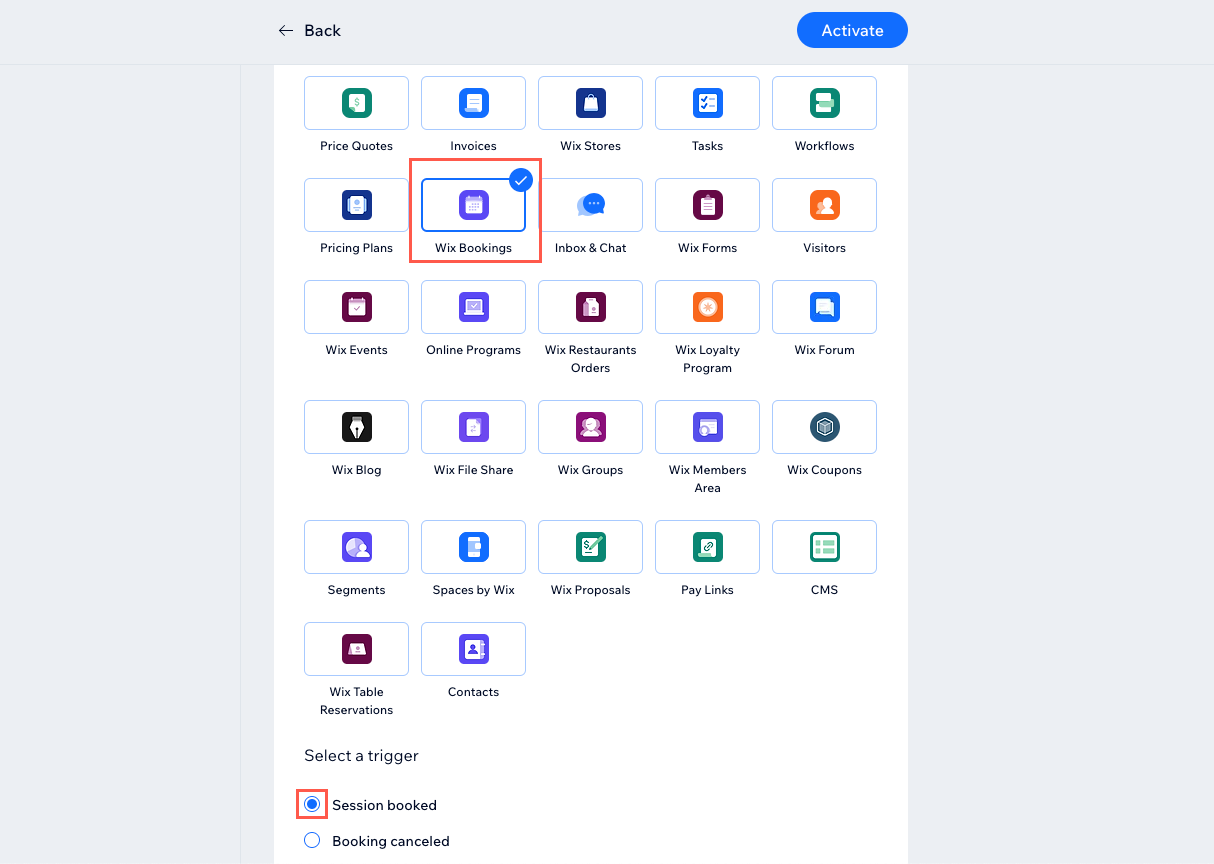
Click Wix Bookings in the Trigger section.
Click to select the relevant trigger. Below are some examples:Session booked: Choose this option if you want to send your invoice immediately after a client makes a booking. This is useful for services where clients don't have to pay the entire fee up front.
Session starts/ends: This is useful for classes, as you can send an invoice to all participants separately using the automation.
Click the Select which services trigger this automation drop-down and select the relevant option: Any or Specific.
Note: If you select Specific services, click the Select a service drop-down, select the relevant services and click Apply.Choose the relevant option from the Limit frequency to drop-down. This can help prevent you from overloading your clients with emails if they book multiple sessions in a 24 hour period, for example.
Select Request payment under Action 1.
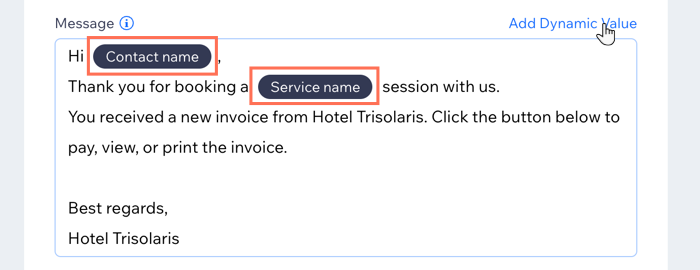
Click to edit the text of the invoice Email subject and Message.
(Optional) Add dynamic values to personalize the message with details such as the Contact name, Service name, or Service start/end date:Highlight the text you want to replace with dynamic values.
Click Add Dynamic Value.
Click the Variable name drop-down and choose the value you want to be inserted.
(Optional) Click the Fallback value field and enter the text you want to insert if the dynamic value is not known.
Click Add.
Click Activate.