


Creating Your Services
Wix Bookings: Requiring Approval for Appointment Bookings
Requiring approval for appointment bookings allows you to review and confirm each appointment before it's finalized. This helps you manage your schedule more effectively and ensures you are prepared for each client. When a client wants to book an appointment, you receive a notification. You can then choose to accept or decline the request or suggest a different time. The client will be notified of your response.
Important:
Clients can only request to book appointments, not classes or courses.
In this article, learn more about:
Requiring approval for appointment bookings
Keep control of your schedule each day by requiring approval for your appointments. This way you can take on as many clients as you can manage in a given day.
Important:
Clients cannot pay online for appointments which require your approval.
This option is available only if the service is not connected to a membership plan or a package.
To require approval for appointments:
Go to Booking Services in your site's dashboard.
Select an existing appointment or click Add a New Service to create a new one.
Scroll down and click to expand the Booking preferences section.
Enable the Online bookings toggle.
(Optional) Edit your booking form or add a new custom booking form.
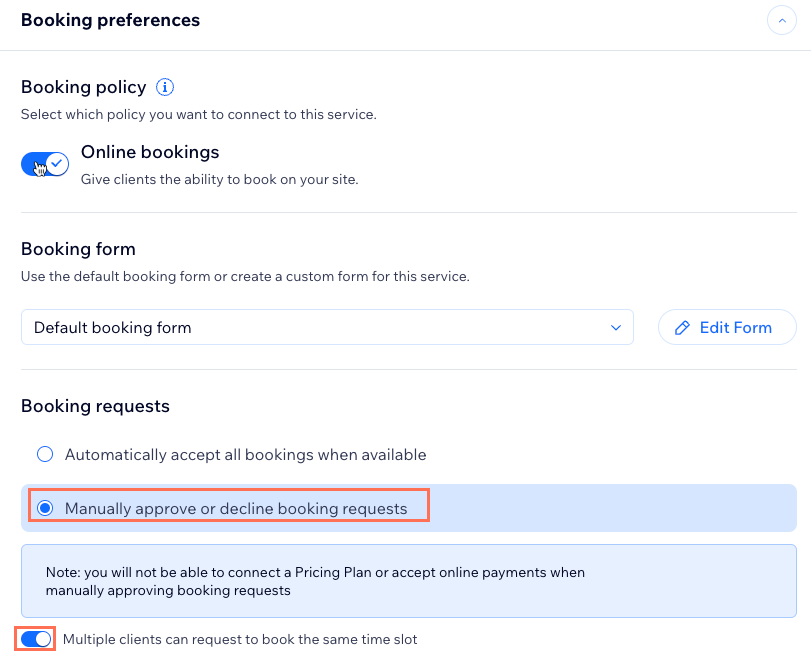
Under Booking requests, select Manually approve or decline booking requests.
Note: This option is only available if the appointment is not connected to a membership plan or a package.Click the Multiple clients can request the same time slot toggle to choose what happens when a client sends a booking request for a certain time day and time:Enabled: The time slot remains available until you approve the booking.
Disabled: The time slot becomes unavailable.
Click Save at the top to update your appointment preferences.
How clients make a booking request
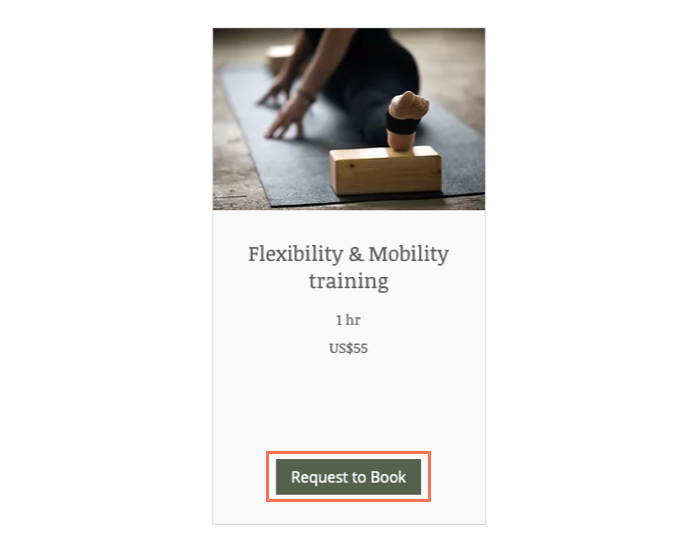
When clients view an appointment service, they see a 'Request to Book' button instead of a 'Book Now' button.
After selecting a date and time and completing the booking form, your client confirms their request to book. They then receive an email that their request was submitted.
Note:
Clients cannot pay online for appointments that require approval.
Responding to requests
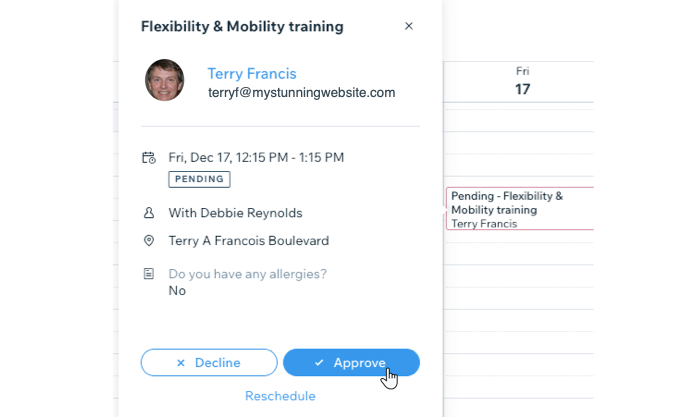
When you receive an appointment request, you get notified via email and in your dashboard. The pending appointment also appears in your booking calendar so you can see if it works with the rest of your schedule.
You can reschedule or decline the request, and let your clients know via email. Pending appointments won't receive customized emails, but you can add a personal note to emails when declining or rescheduling the session. If you'd like to see this in the future, you can vote for this feature.
To respond to a request:
Go to Booking Calendar in your site's dashboard.
Click Activity on the right panel of your dashboard.
Scroll down to Pending Booking Requests.
Click on the relevant appointment and select an option:To approve the request: Click Approve.
To make changes before approving:Click Reschedule.
Change the staff member, date, or time of the appointment.
(Optional) Enter a note to yourself (not visible to the client).
(Optional) Select the Notify client via SMS to send an SMS notification.
(Optional) Select the Notify client via email checkbox and add a message to explain the appointment changes to your client.
Click Save Changes.
To decline the request:Click the Decline button.
(Optional) Select the Notify client with an email checkbox and add a message to explain why the booking was declined.
Click Yes, Decline Session.
What's next?
As soon as you approve or decline an appointment booking request, your client receives an email informing them about the status of the booking.