


Desktop POS Solutions
Desktop POS Solutions: An Overview
Using a card reader, you can collect payment using either of our Desktop POS Solutions:
First, connect to Wix Payments and purchase the BBPOS WisePOS E card reader. Then, follow the steps below to set the reader up and start collecting payment using your computer.
Step 1 | Connect to Wix Payments
Wix Dashboard Card Reader works with the Wix Payments payment provider. Start by connecting to Wix Payments.
Step 2 | Get the card reader
Once your Wix Payments account is set up, you can order the card reader. This solution works with the BBPOS WisePOS E card reader which you can purchase anywhere these readers are sold or from the Wix POS shop.
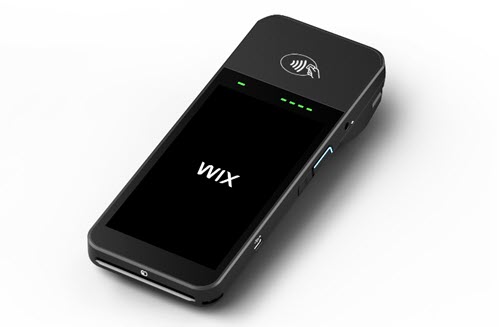
Step 3 | Unbox and charge your card reader
Now that you have the card reader, you can unbox your reader and charge it.
To start setting up your reader:
Unbox your card reader.
Insert the battery.
Press the power button to turn the reader on.
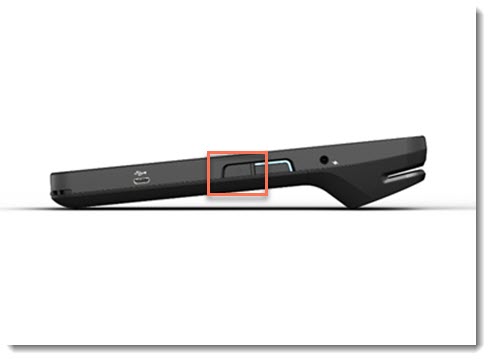
If required, charge your reader.
Step 4 | Connect your first card reader to WiFi
Next, connect your first card reader to WiFi. To do so, you need to go to the POS Checkout tab and start processing a sale. When you select the Card option, you'll be prompted to set up your card reader.
Note that after the dashboard reader is set up, you'll need to complete the sale.
Important:
To use the reader with your dashboard, your computer and reader need to be connected to the same WiFi network.
Learn how to pair additional readers

To connect your first reader to WiFi:
Go to POS Checkout in your site's dashboard.
Add a product, service, or charge to the cart (e.g. add a $1 charge from the Custom Charge tab).
Click Charge and select Card.
Click Pair Reader.
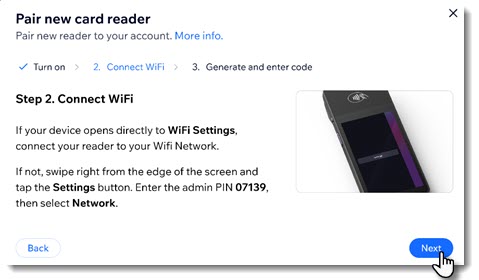
Select an option:WiFi networks are displayed: Connect to the relevant network.
WiFi networks not displayed:Swipe right on your card reader screen.
Tap the Settings button.
Enter 07139 as the PIN code.
Select Network.
Connect to the relevant network.
Return to the popup and tap Next.
Step 5 | Generate and enter your code
After connecting to WiFi, a code should appear automatically. If it does not, you can go into the setting to generate a code.
Tip:
If you're planning on pairing more than one reader, give them names that will help tell them apart.
To generate and enter your code:
Go back to the popup on your computer.
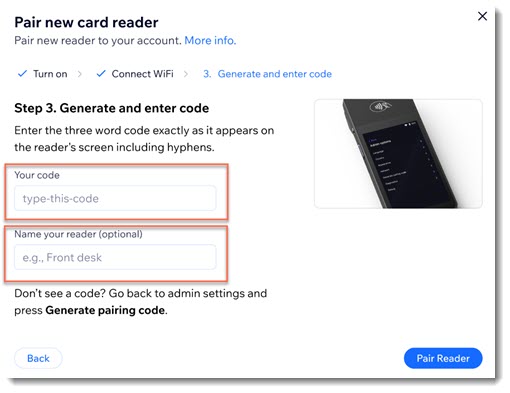
Select an option:Code is displayed: Enter the three-word code in the pop-up, including the hyphens.
Code not displayed: Generate a code and enter it:Swipe right on your card reader screen.
Tap the Settings button.
Select Generate pairing code.
Enter the three word code in the pop-up, including the hyphens.
(Optional) Give your card reader a name.
Note: If you plan on using more than one reader, this will help you manage them.Click Pair Reader
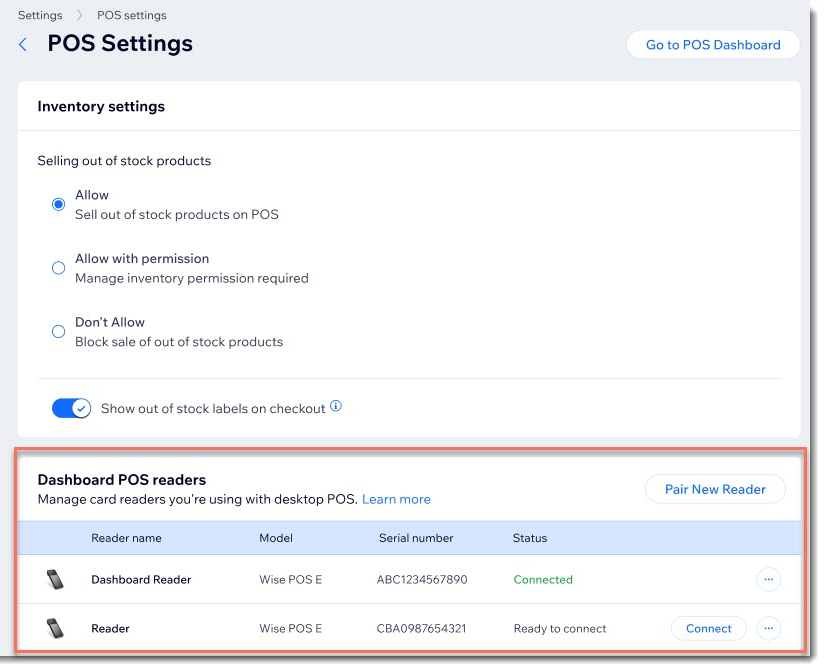
After a reader is paired, you'll see it listed in your POS settings.
Next steps:
Learn how to:
Step 6 | Enable POS in Accepting Payments
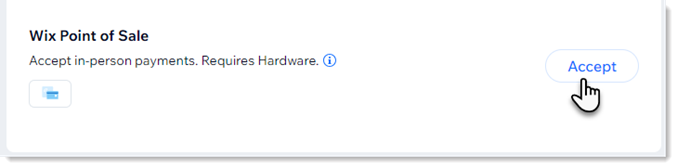
Now you can go to Accept Payments and enable Wix Point of Sale to so you can start collecting payment.
To enable POS:
Go to Accept Payments in your site's dashboard.
Scroll down and click Accept or click the toggle next to Wix Point of Sale to enable it.
Step 7 | Complete the sale
Now that you've completed setup, go back to POS checkout and complete the sale.
To complete the sale:
Go to POS Checkout in your site's dashboard.
Complete the sale. Learn more
Troubleshooting
If you are experiencing any issues setting up card reader, click a question below.
Why can't I pair the card reader to my computer?
Any of the following may prevent you from pairing with your computer dashboard:
Card reader is turned off: Turn on the card reader.
Card reader battery has no charge: Charge the card reader.
The reader is connected to another WiFi network: To connect, both your computer and your reader need to be connected to the same WiFi network. Check which network each of them is connected to and make any necessary changes.
The reader is connected to your corporate VPN network: Your company's network may run a firewall which prevents you from connecting your reader. Learn more
Your integration is unable to communicate with Stripe. Learn more
DNS errors: The card reader is encountering DNS errors when connecting to an Internet reader. Learn more
How can I reconnect the card reader after my computer crashed in the middle of a sale?
If you were about to use the card reader and your computer shut down, you most likely tried to do the checkout steps again. In this case, you'll find you're not able to reconnect the card reader because it' "stuck" on the previous sale.
To reconnect your reader:
Click POS Settings.
Scroll down to Dashboard POS readers and click the More Actions icon
 next to the relevant reader.
Click Force reconnect reader.
Click Force reconnect to confirm.